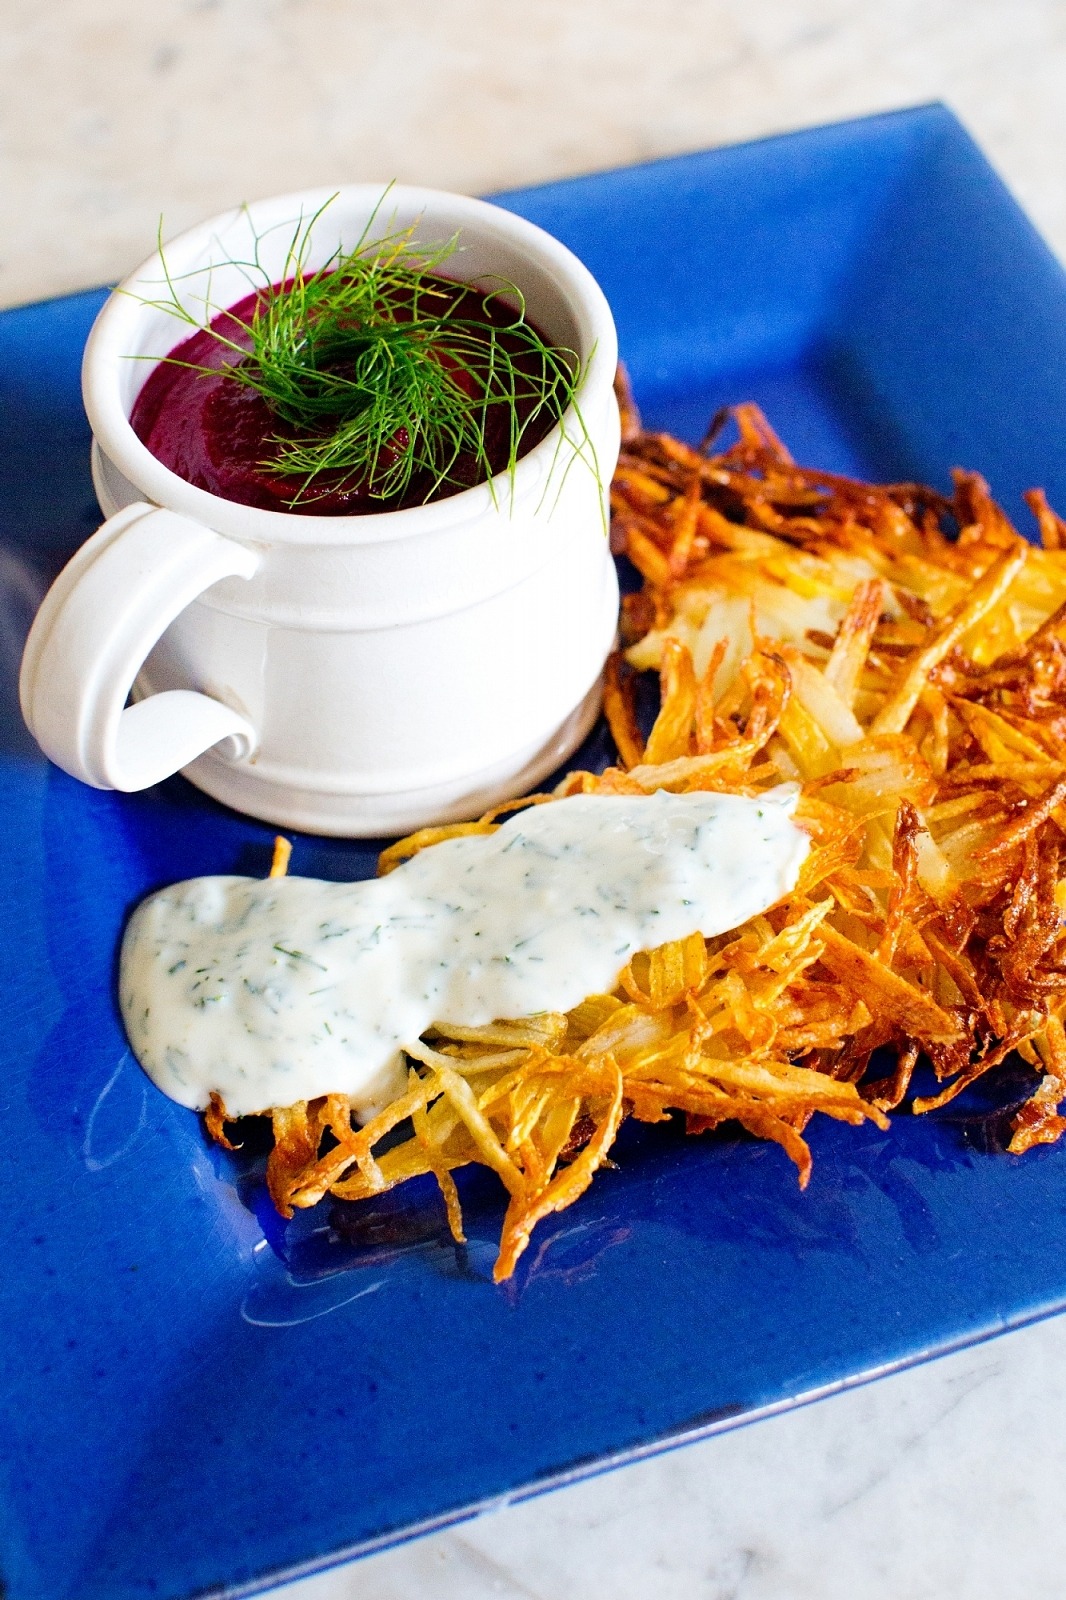
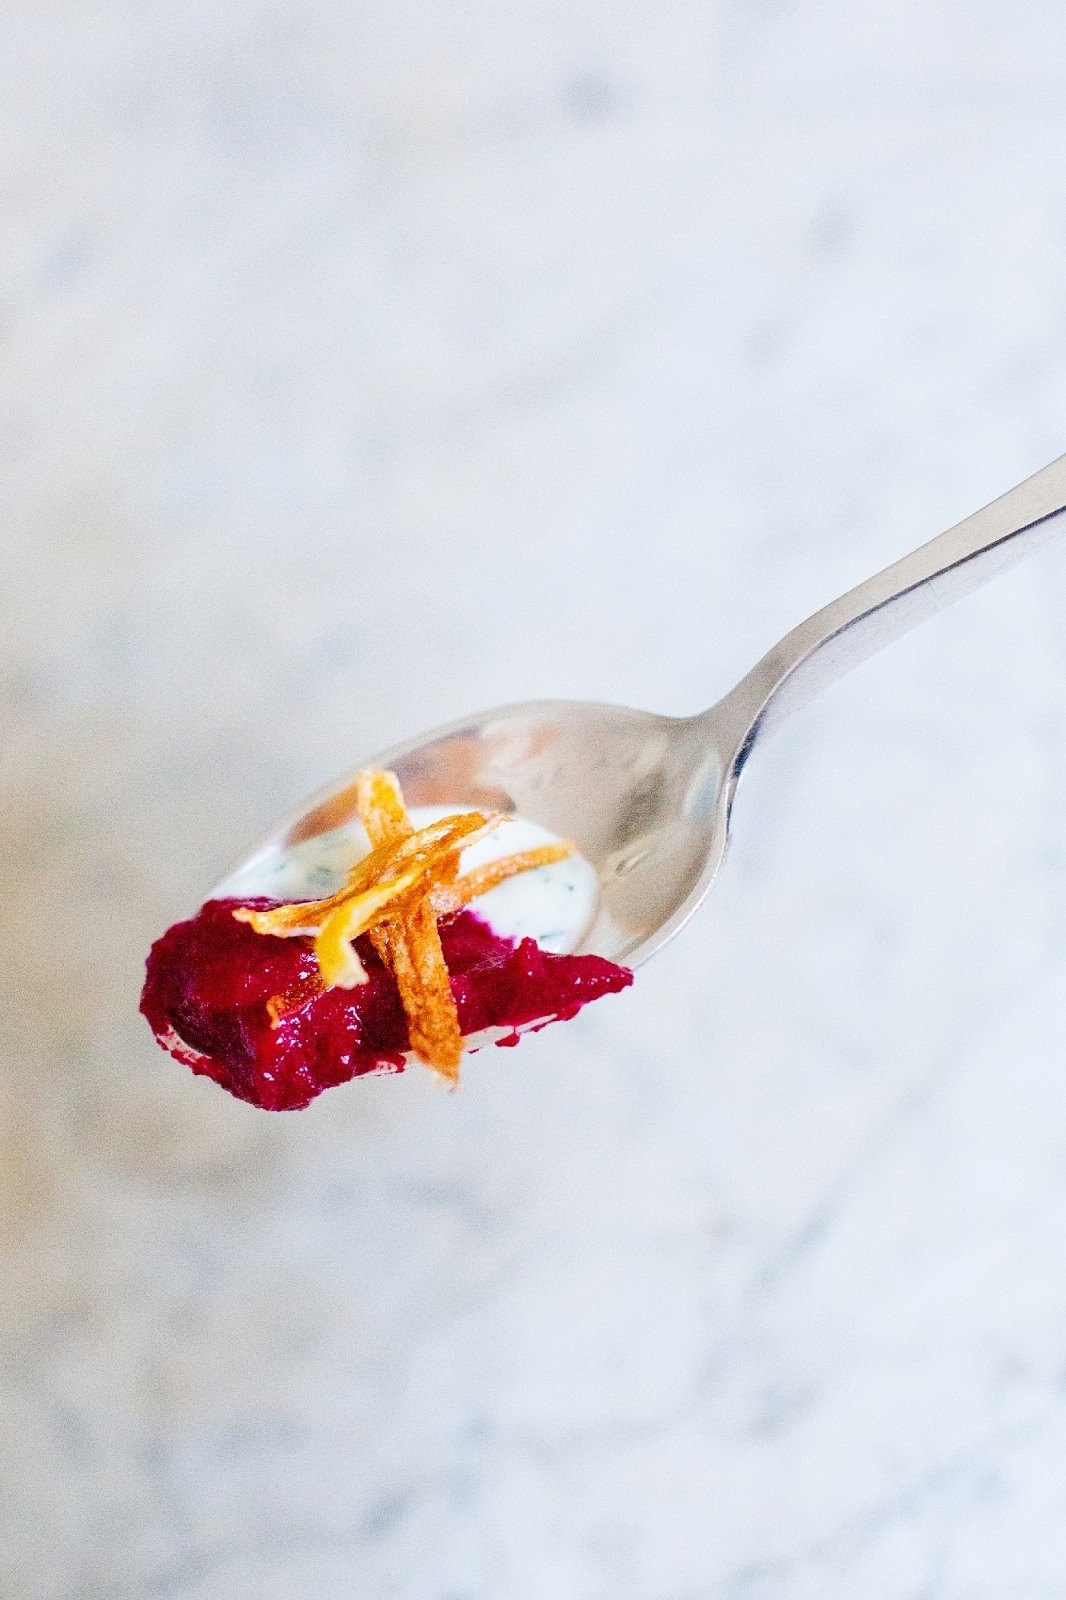
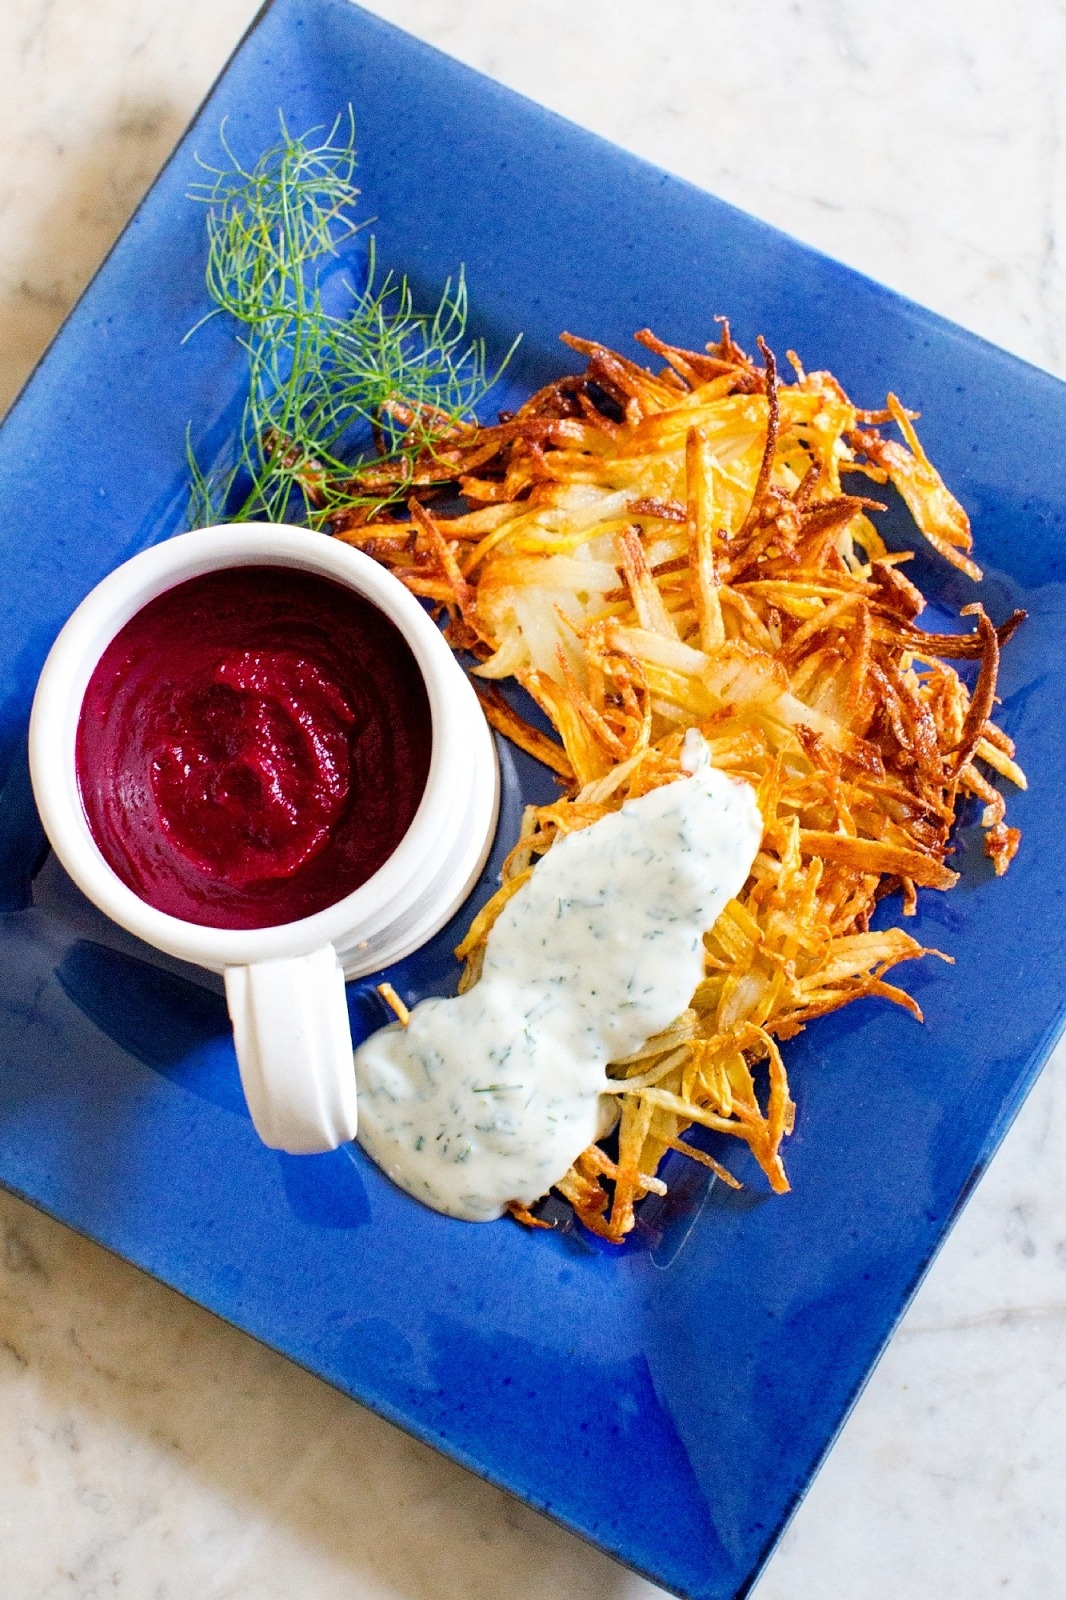
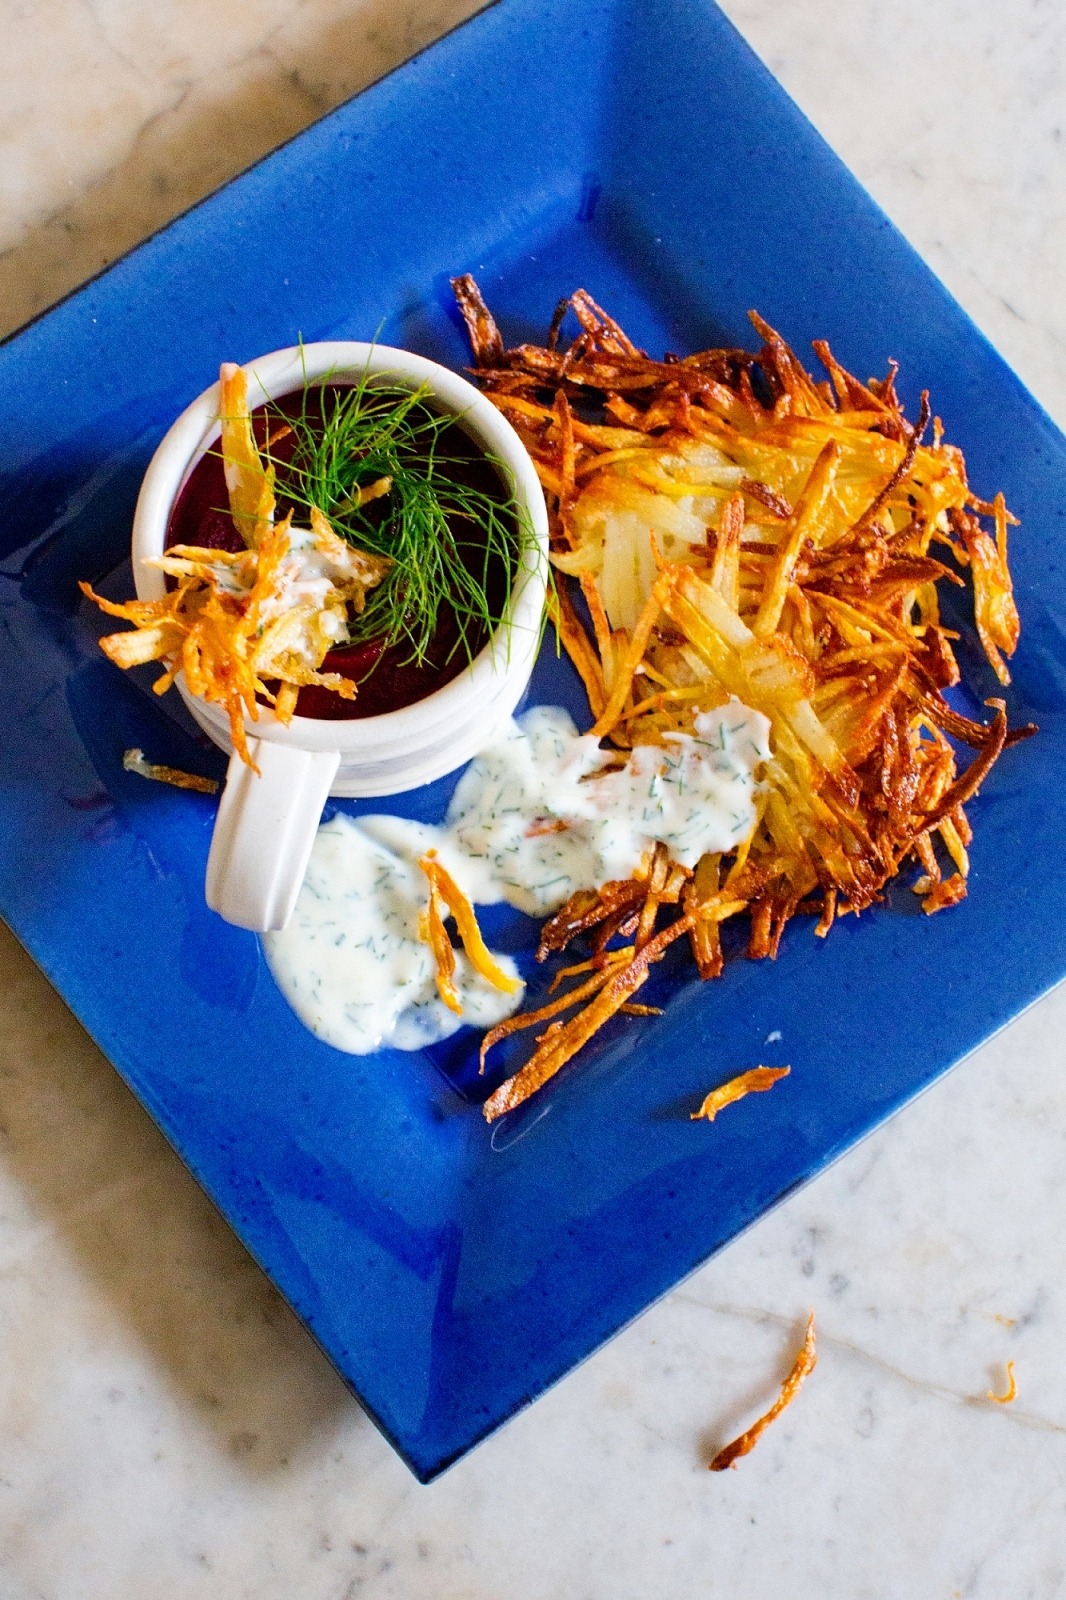
Beetroot Soup with Swede and Potato Latkes and Fennel Yoghurt
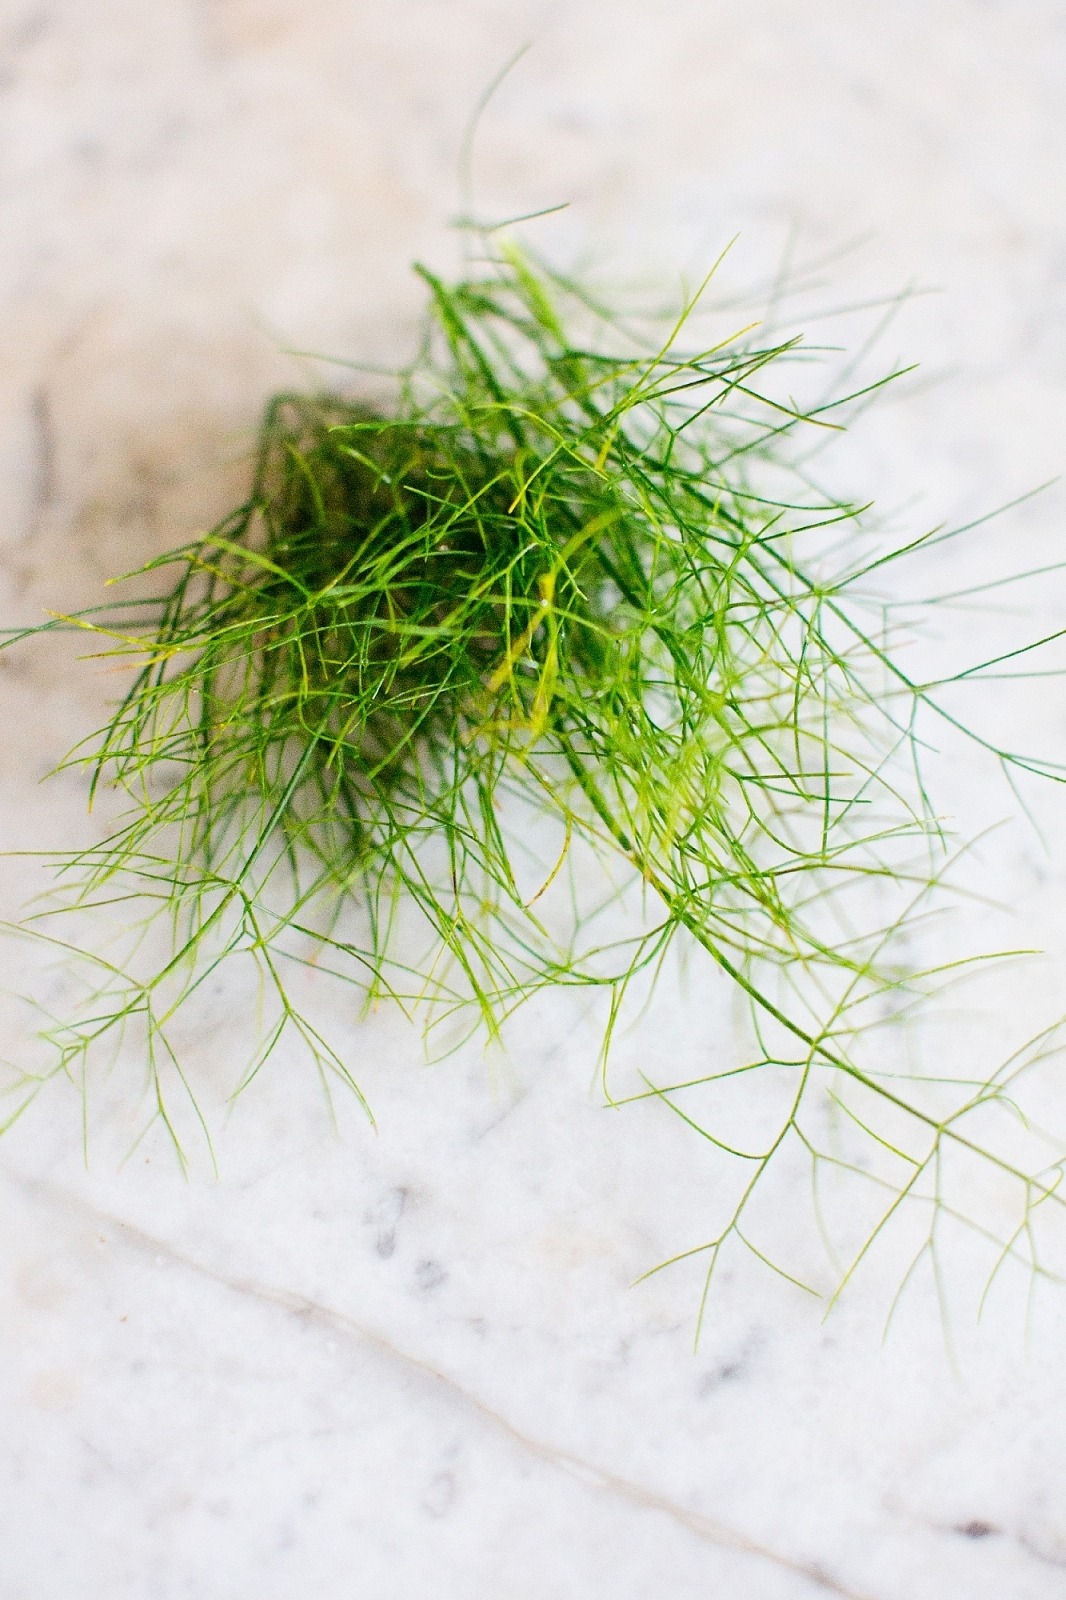
The perfect Autumn dish this will warm your soul and energise your body. Fennel leaves can be hard to come by but Dill tastes just as good. I like my Latkes to be a bit irregular and freeform (I find you get more of those delicious crispy edges) but if it isn’t your thing just use a metal ring to shape them in the pan.
1
Soup
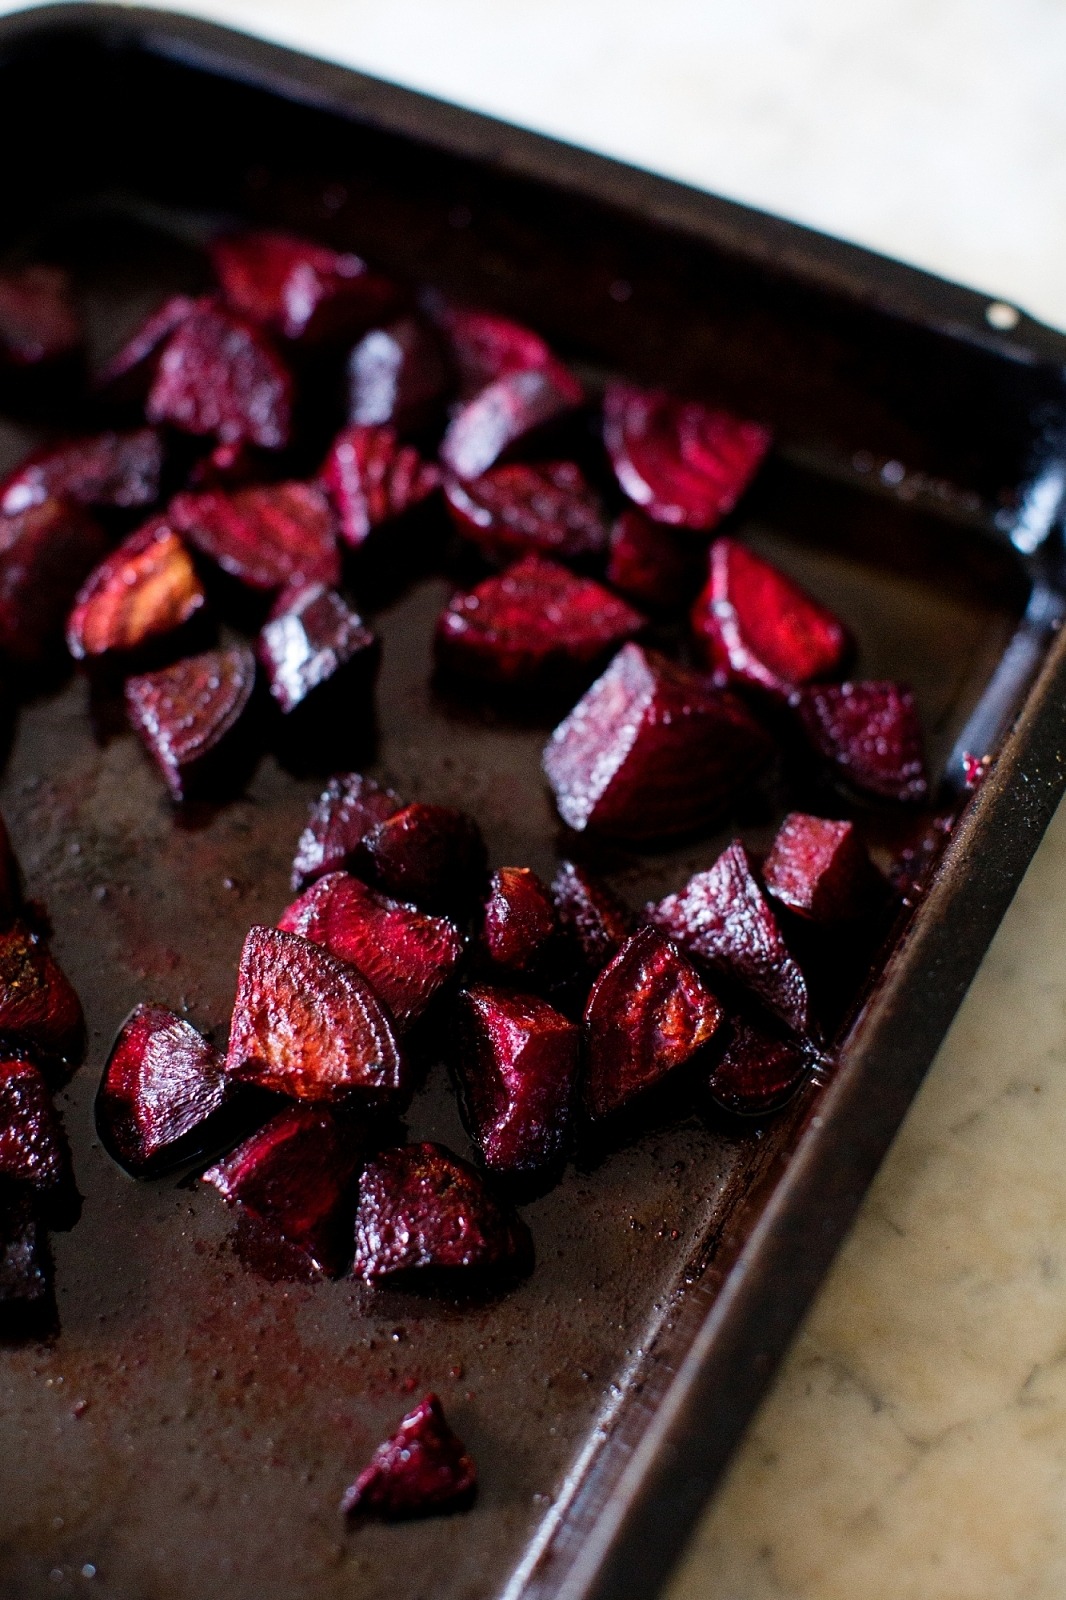
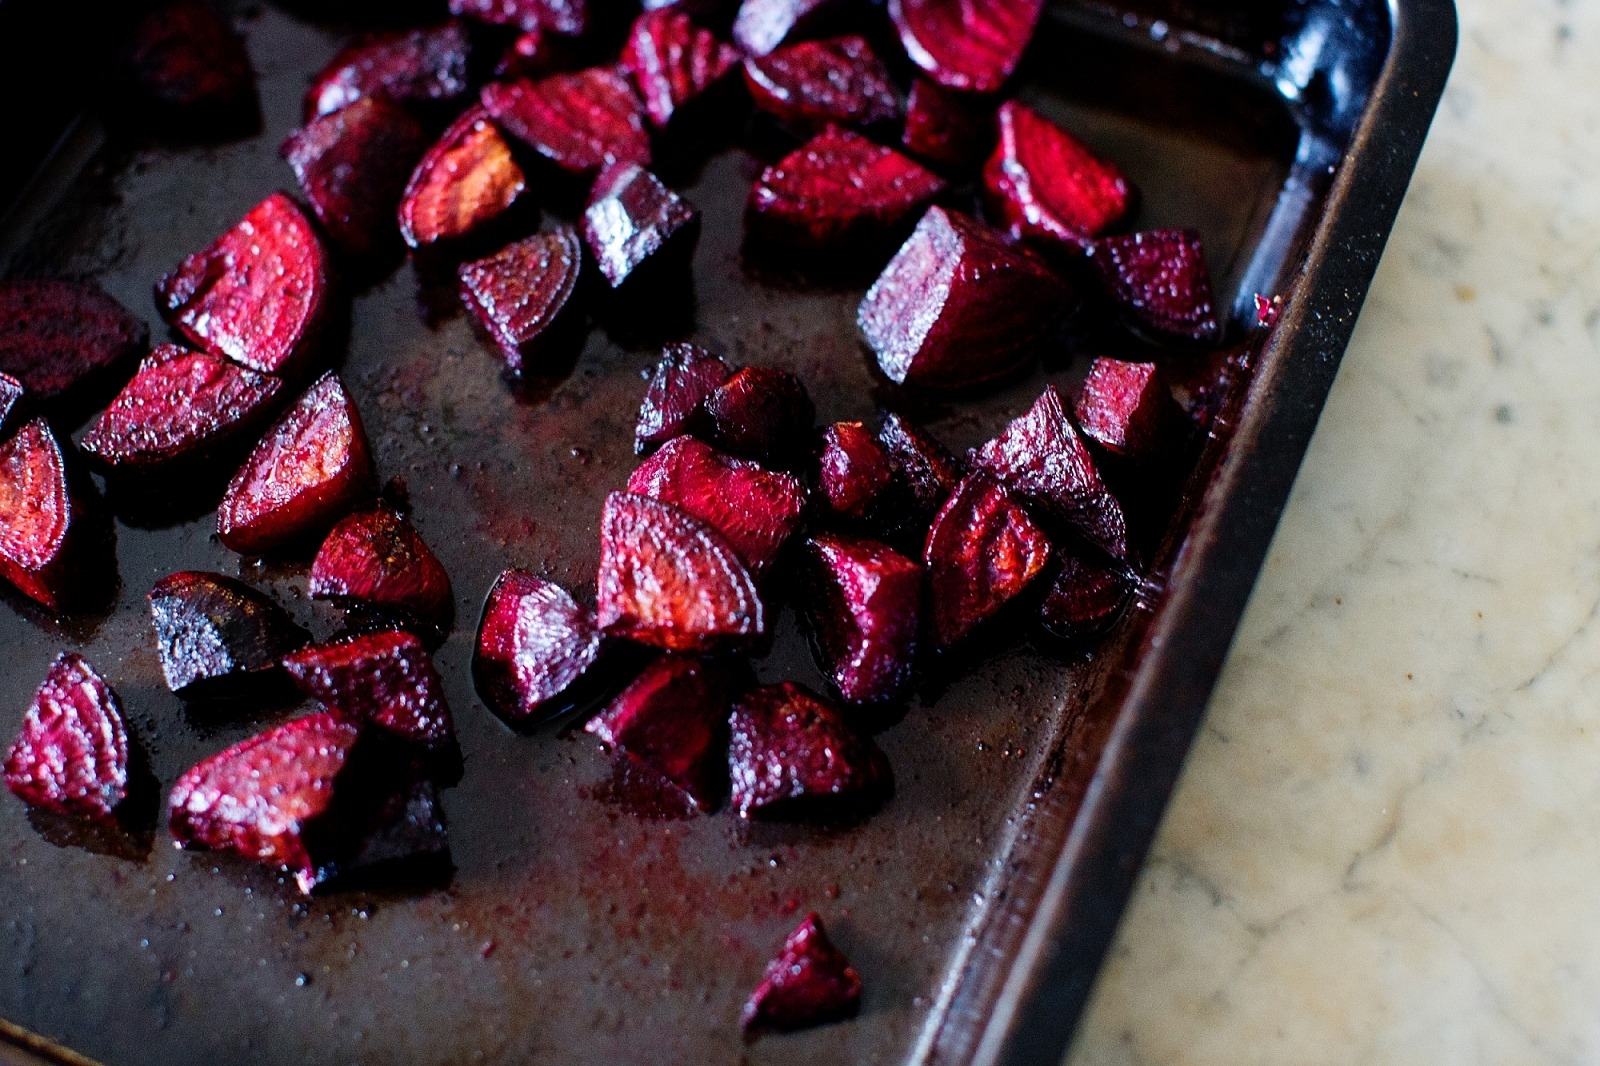
- Preheat the oven to 150°C.
- Peel and quarter the Beetroots and place them in a roasting pan with Olive oil, Salt and Pepper
- Roast for 30mins.
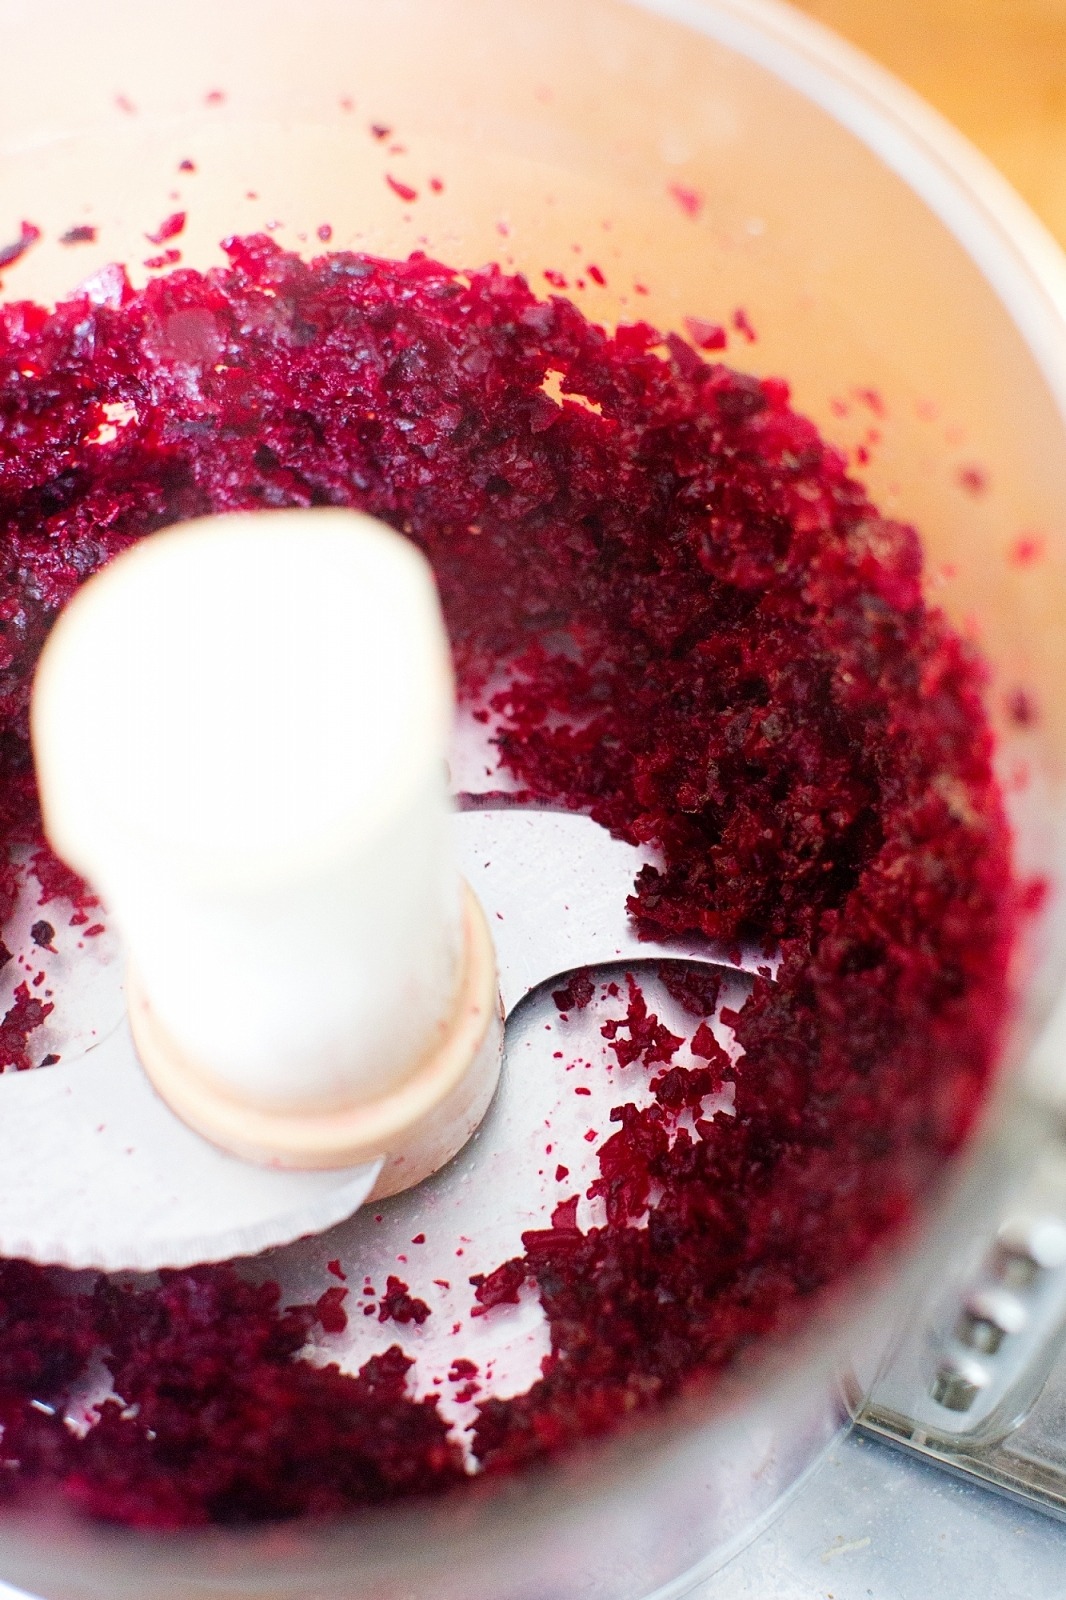
- Scrape the roasting pan contents into a food processor and blitz with Milk, Stock, Water and Butter.


2
Potato and Swede Latkes
- Peel the Swede and Potatoes, then shred them into a bowl of cold water.
- Finely chop the Shallots.
- Drain the Potato and Swede mix, and squeeze out access water, then combine with Shallots and Rice Flour.
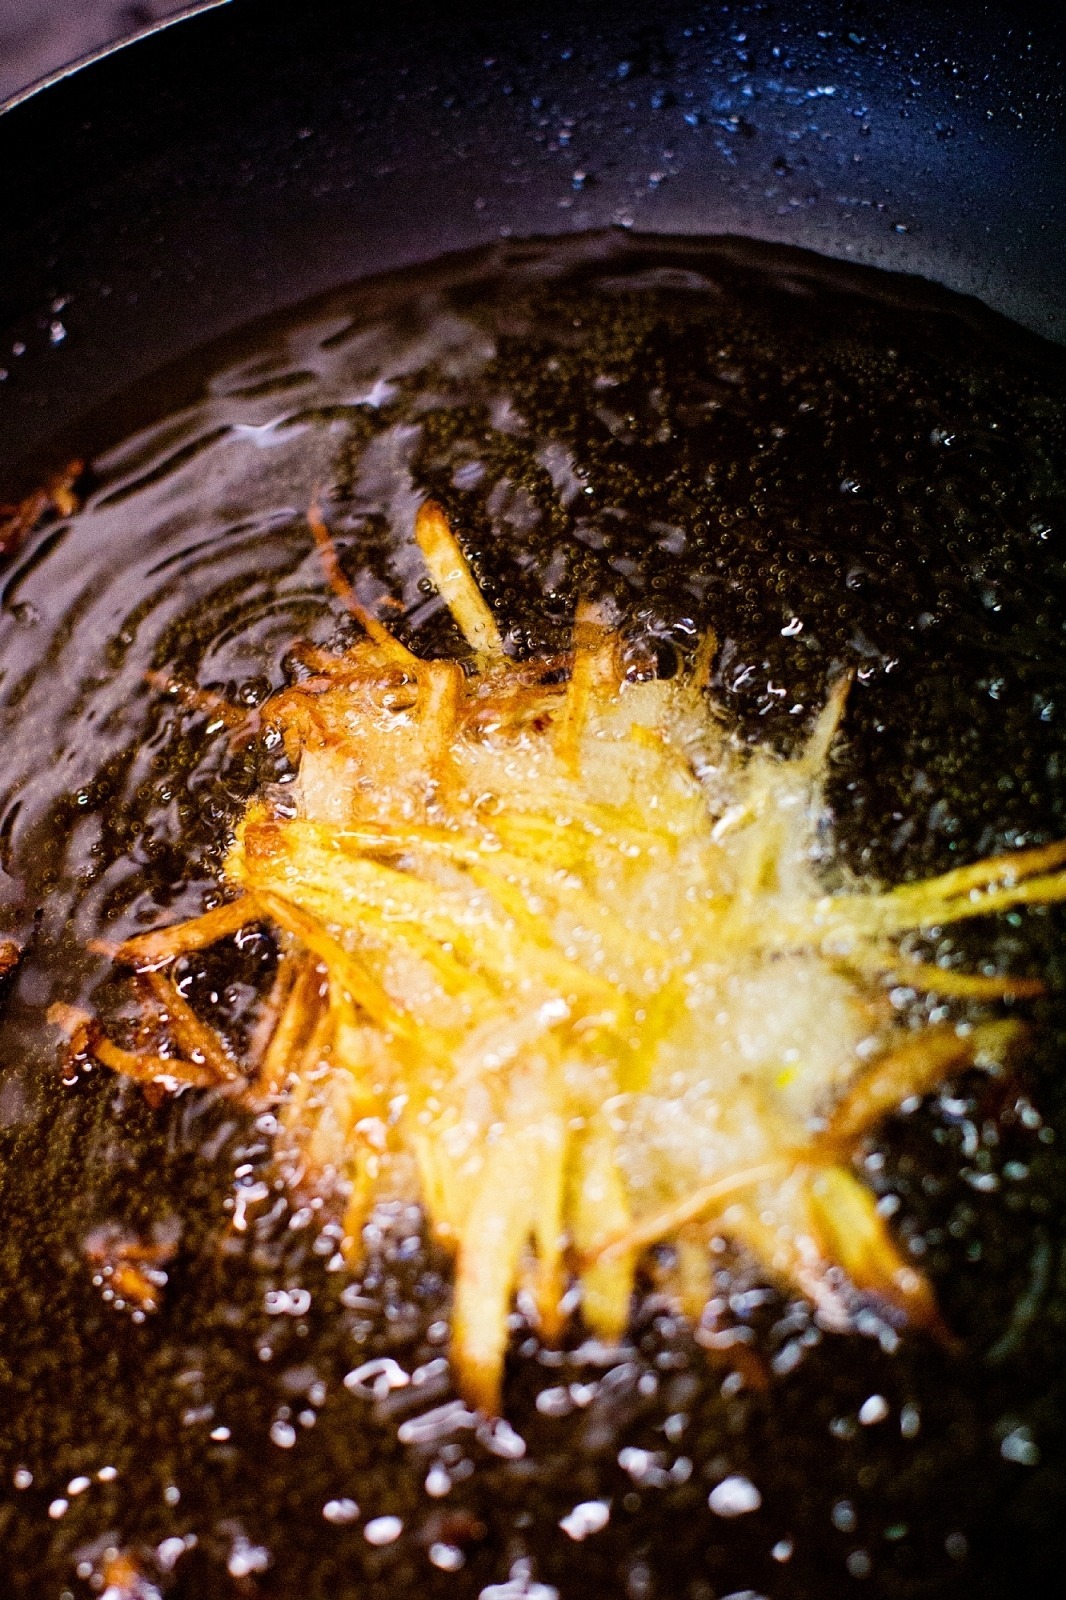
- Heat Sunflower Oil in a frying pan over a medium heat and shallow fry handfuls of the mix, use a spatular to press the mix down. They will be golden brown on the edges when cooked. You should be able to fit about three is a pan.
- At this stage, if needed you can place the Latkes in the oven to keep warm.

3
Fennel Yoghurt
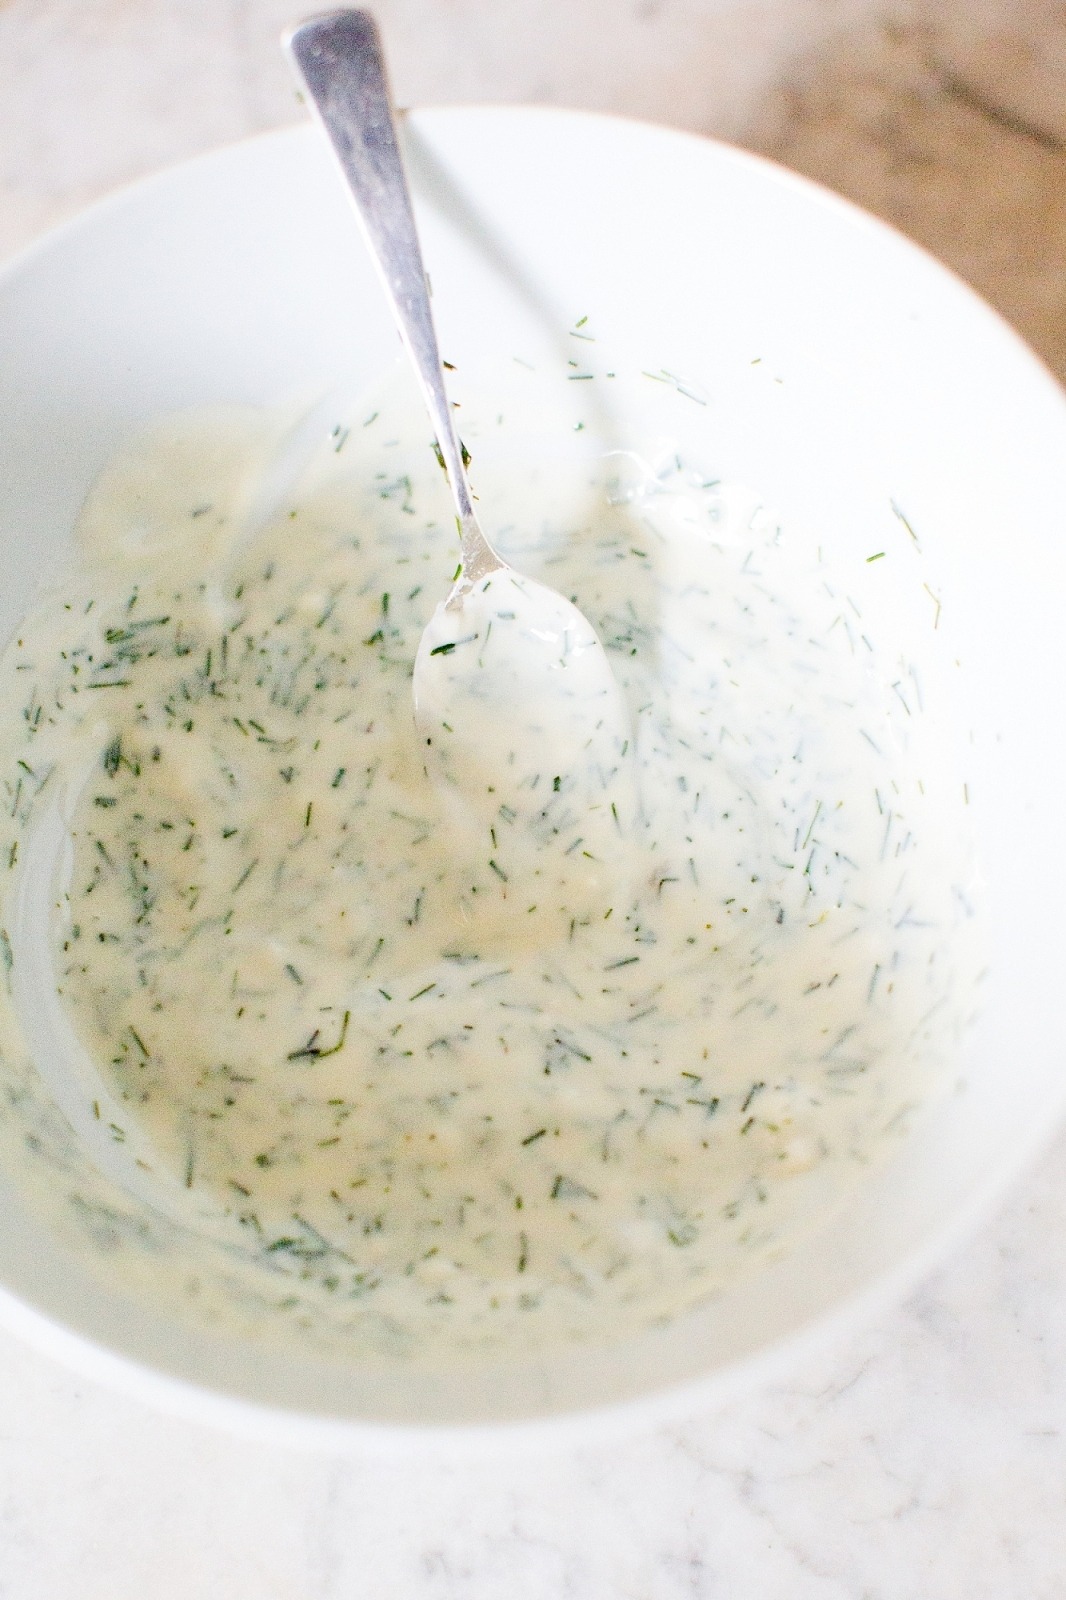
- Chop your Herbs and then combine with the Yoghurt and Salt.


Conde Nast Traveller
I’m so delighted to be a new contributor for Conde Nast Traveller! I actually covered this recipe along with where I buy my produce in London. You can see the piece here. Although for these photographs this recipe was cooked with our own garden produce.