DIY Marble Box Project
Marble is having it’s moment right now. Sadly it is super expensive. So I thought it would be fun to come up with a few easy and cost effective marble paper DIY projects. This is a step by step guide on how to cover a standard box lid to look like it has a marble top. I used a simple rectangular box I found at Zara.

What you'll need
Basic jewellery Box
Self-Adhesive Marble Wallpaper
Craft Knife
Blunt Cutlery Knife
Dust Cloth
1
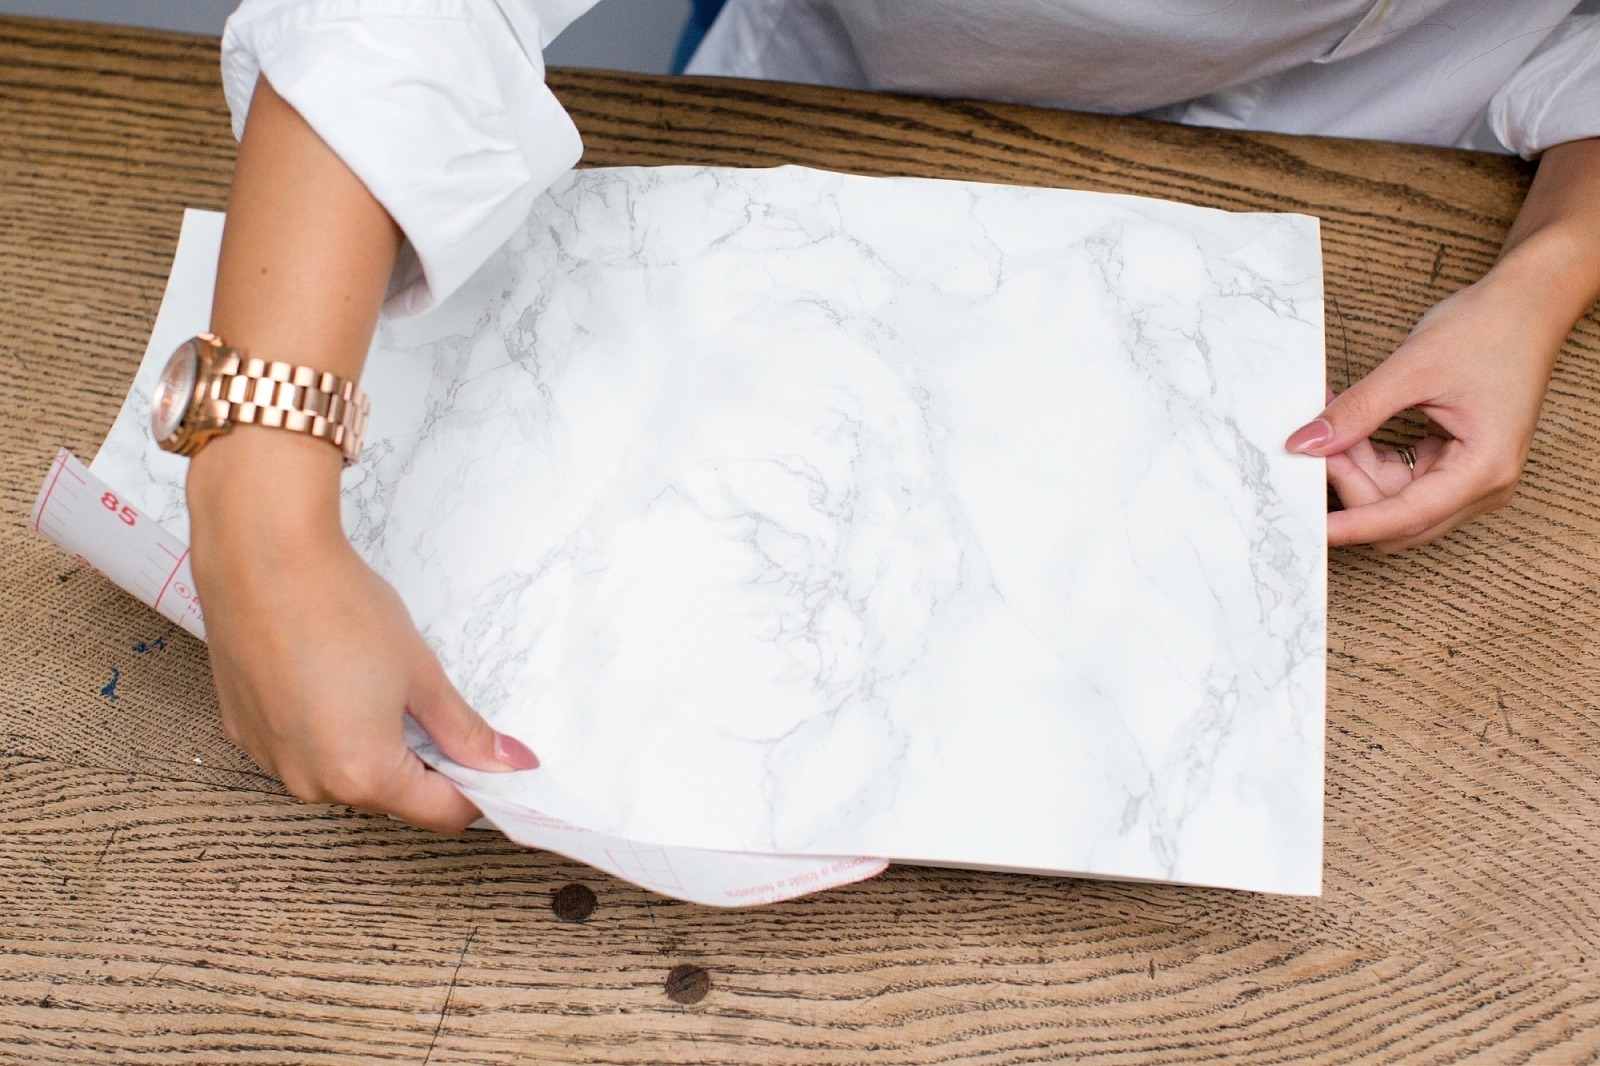
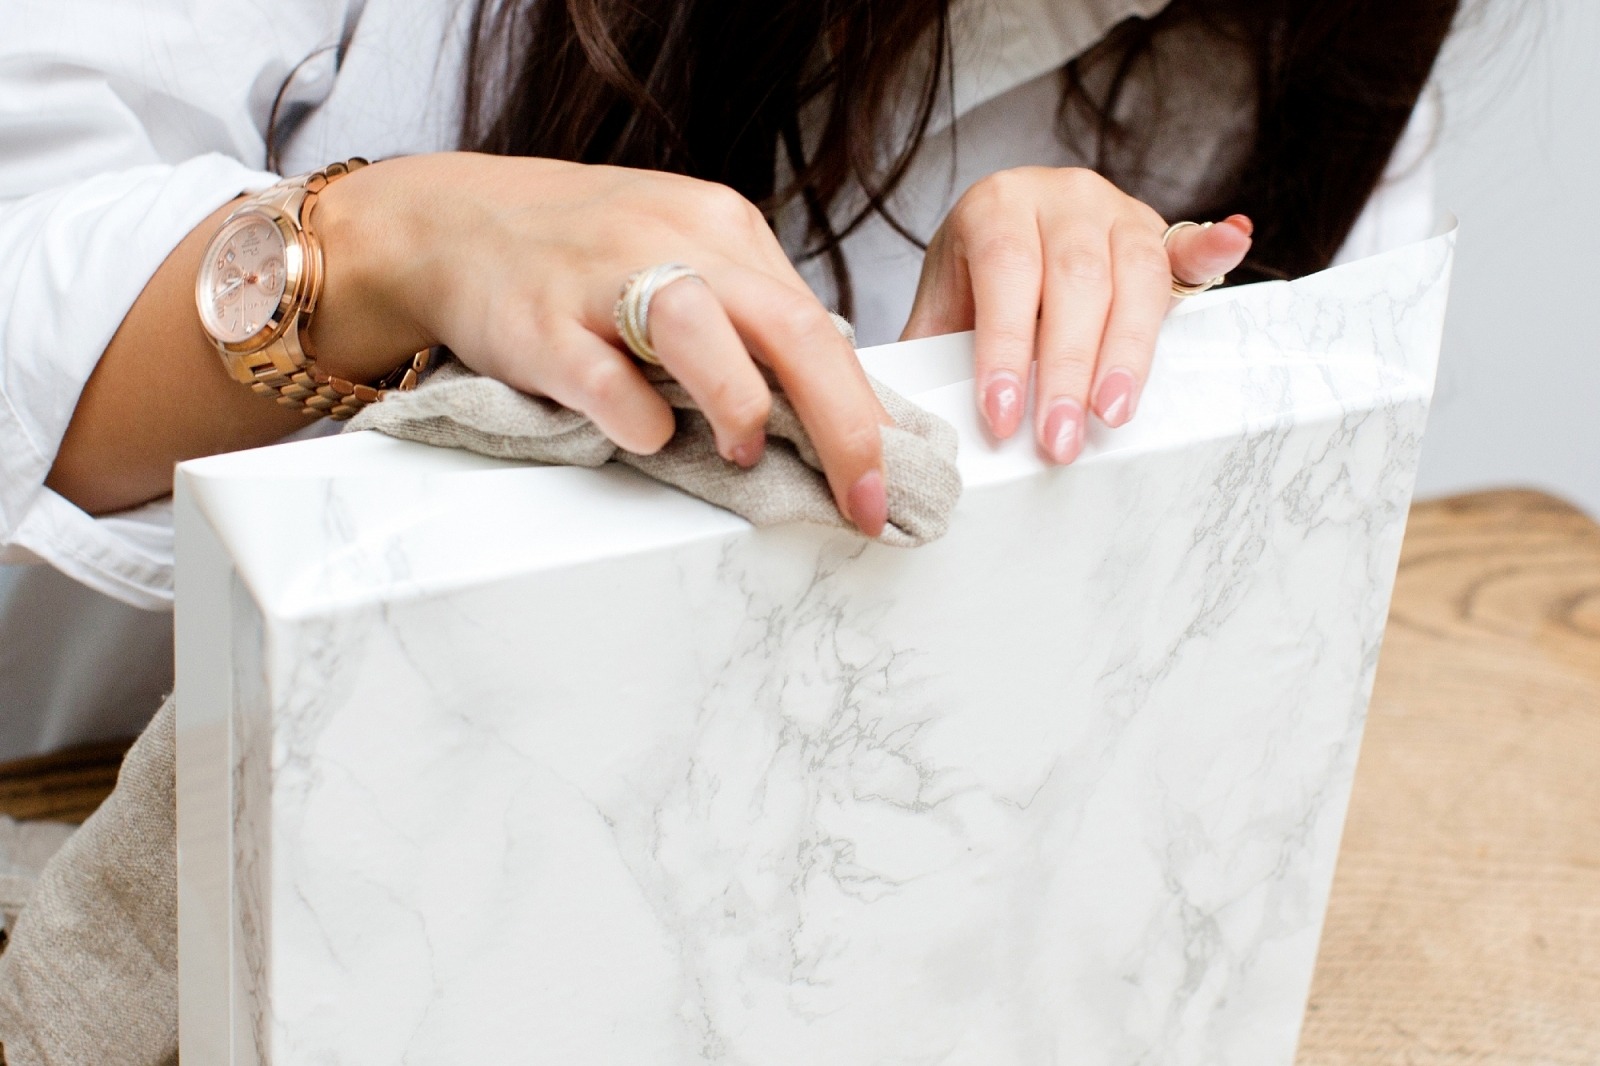
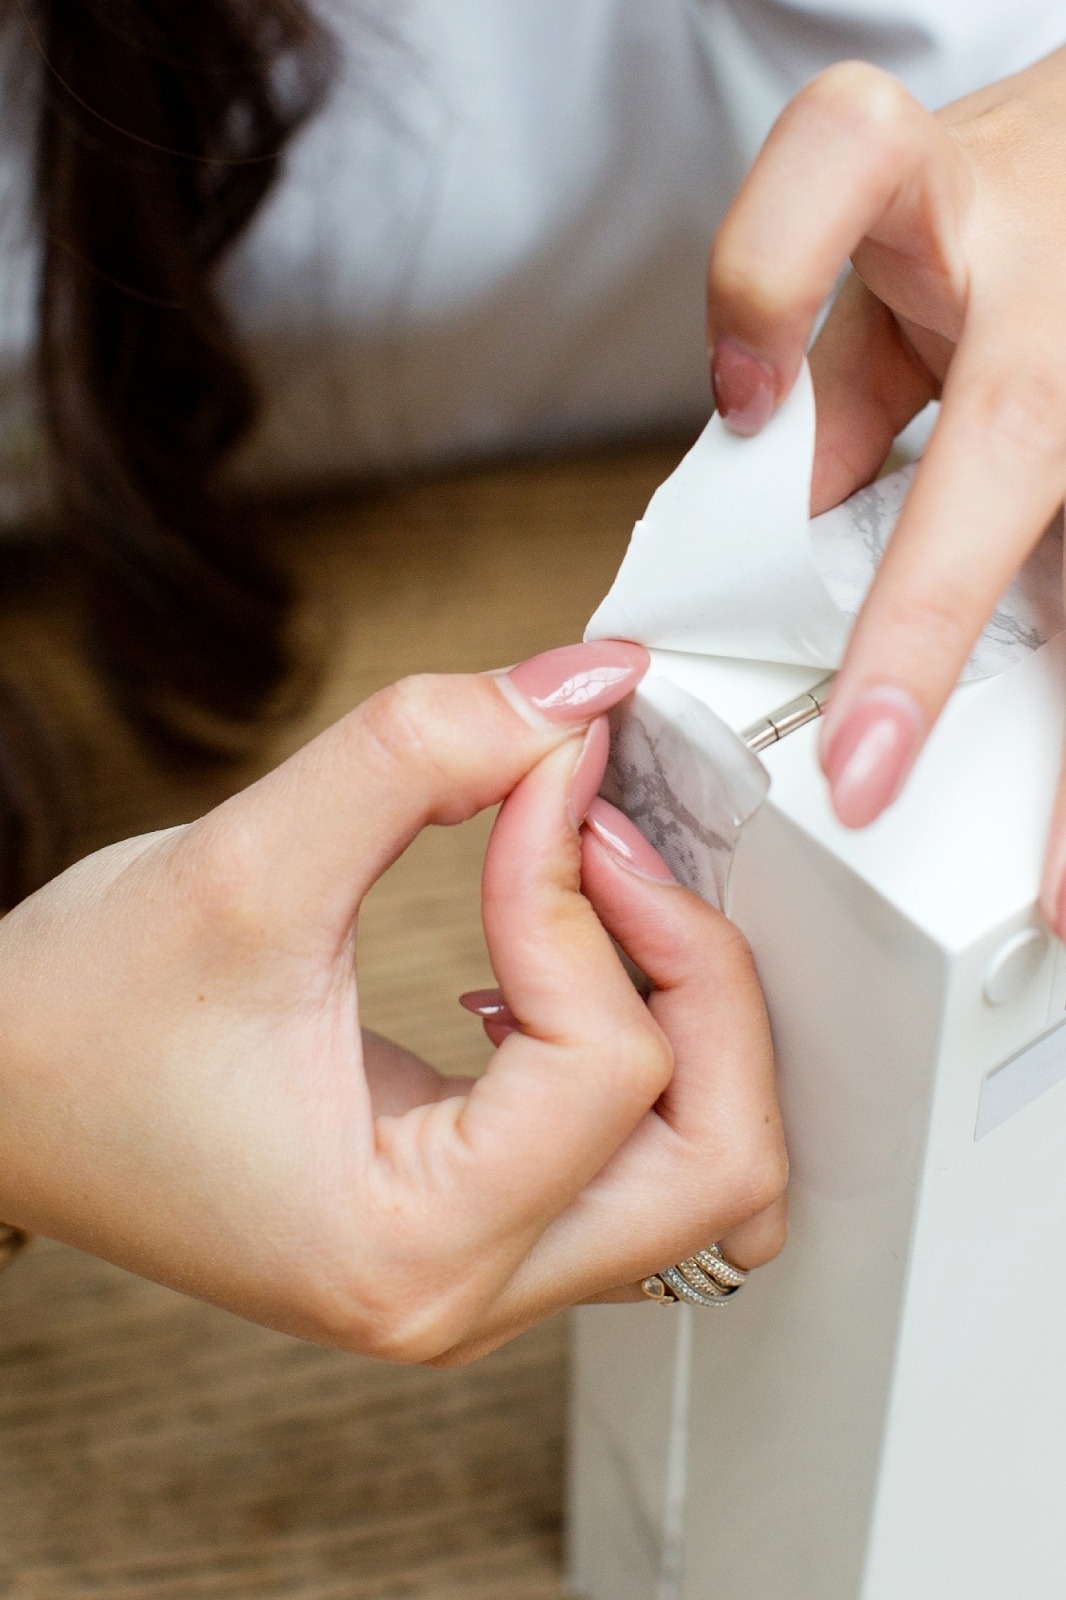
To start
- Cut your wallpaper to fit the top of the box with a cm spare around all four edges.
- Peel away the sticky back (only a small amount at a time) and start on the end. Making sure the paper is lined up so that it will be even when you complete the stick.
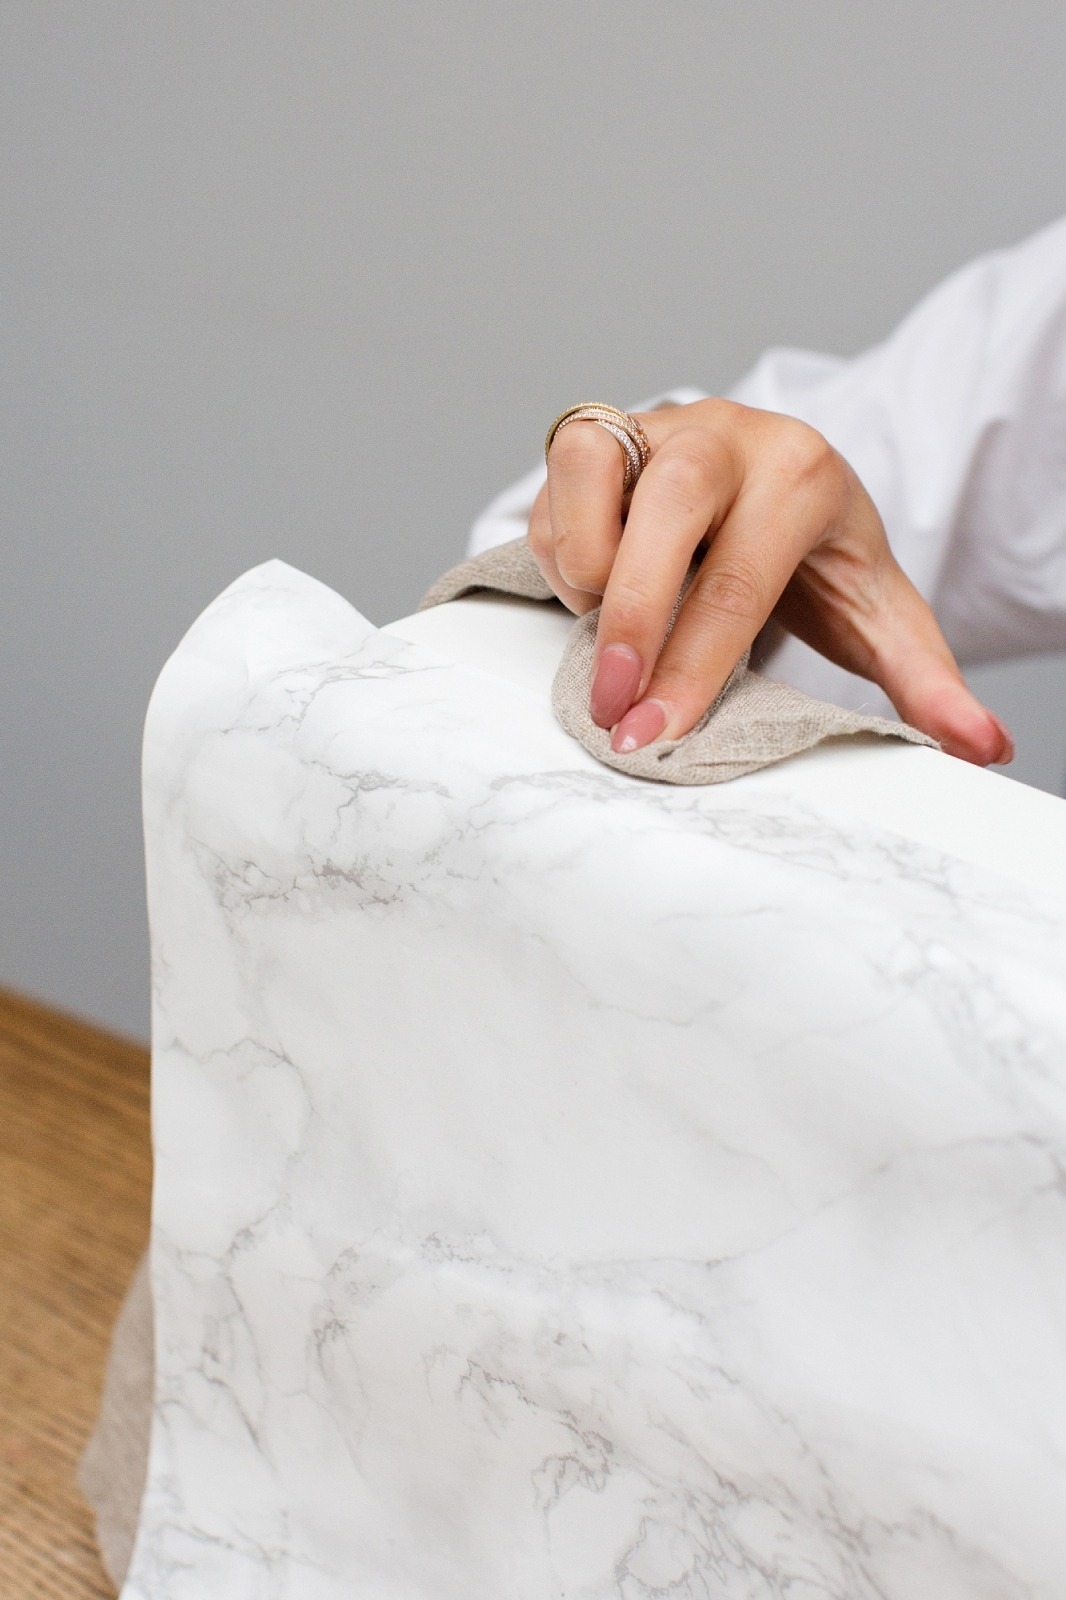
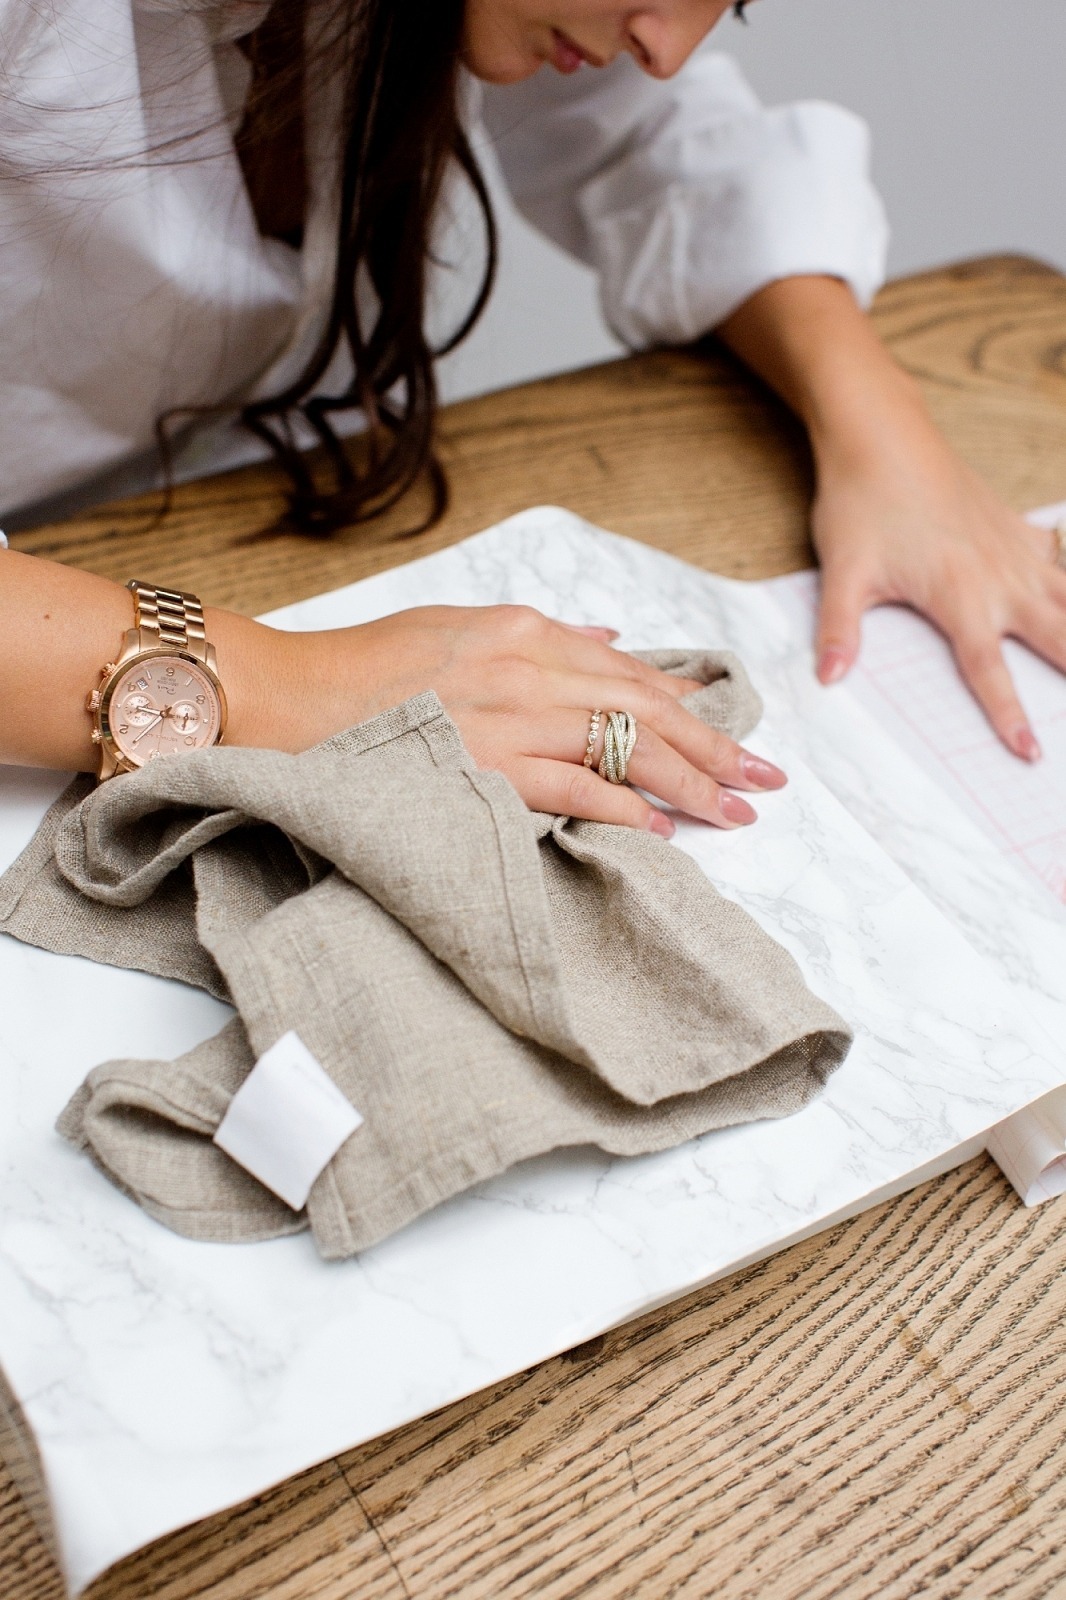
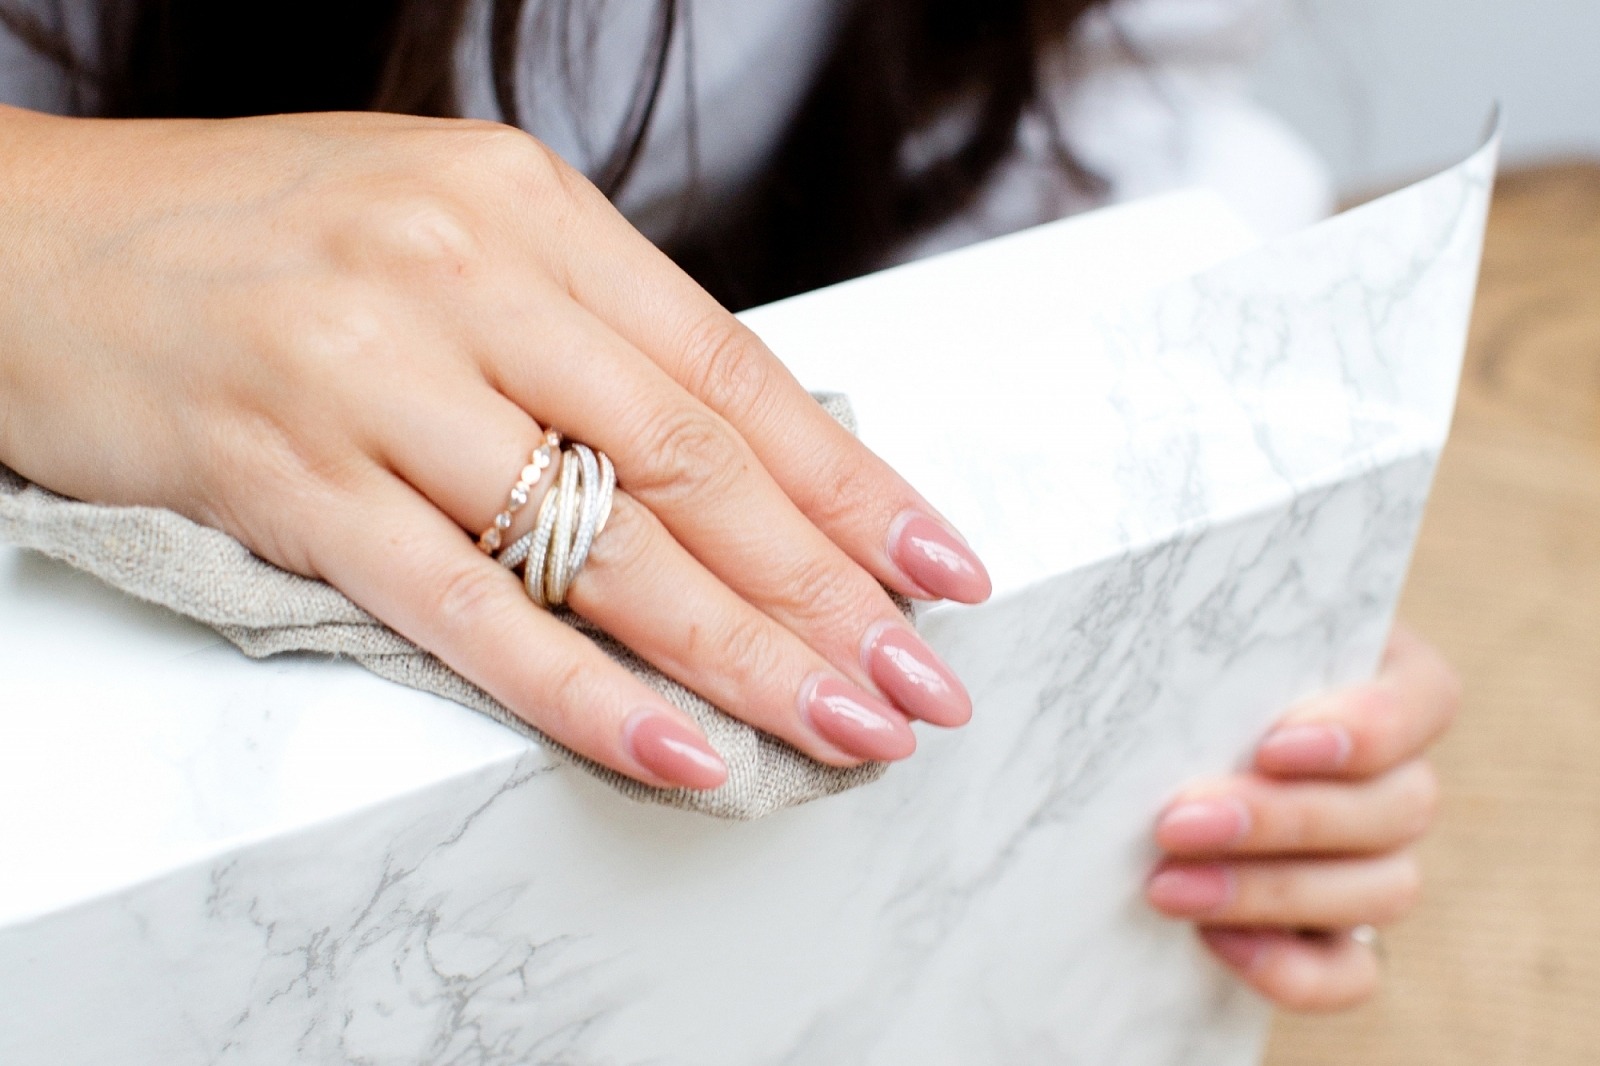
- Using a dust cloth rub the sticky side of the paper to the box in lines, peeling away the back as you go. Little by little (this prevents bubbles from emerging).
- When you get to the ends, bring the paper up the sides and pinch the spare on the corners.

2
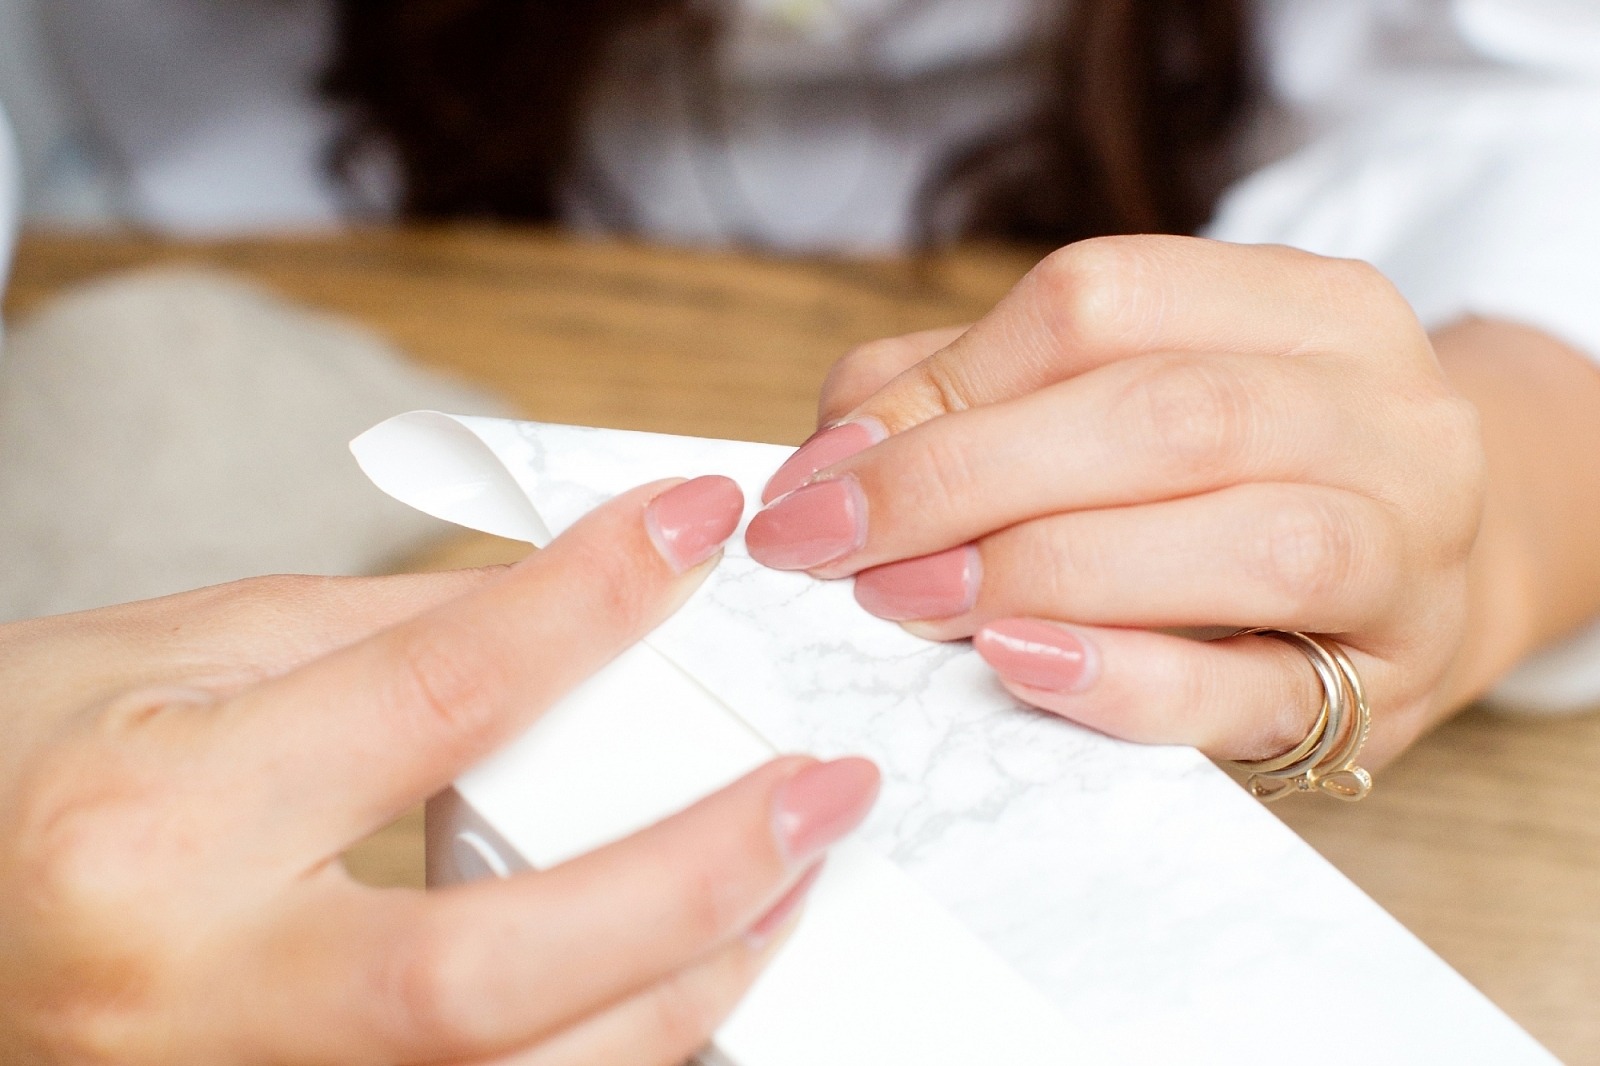
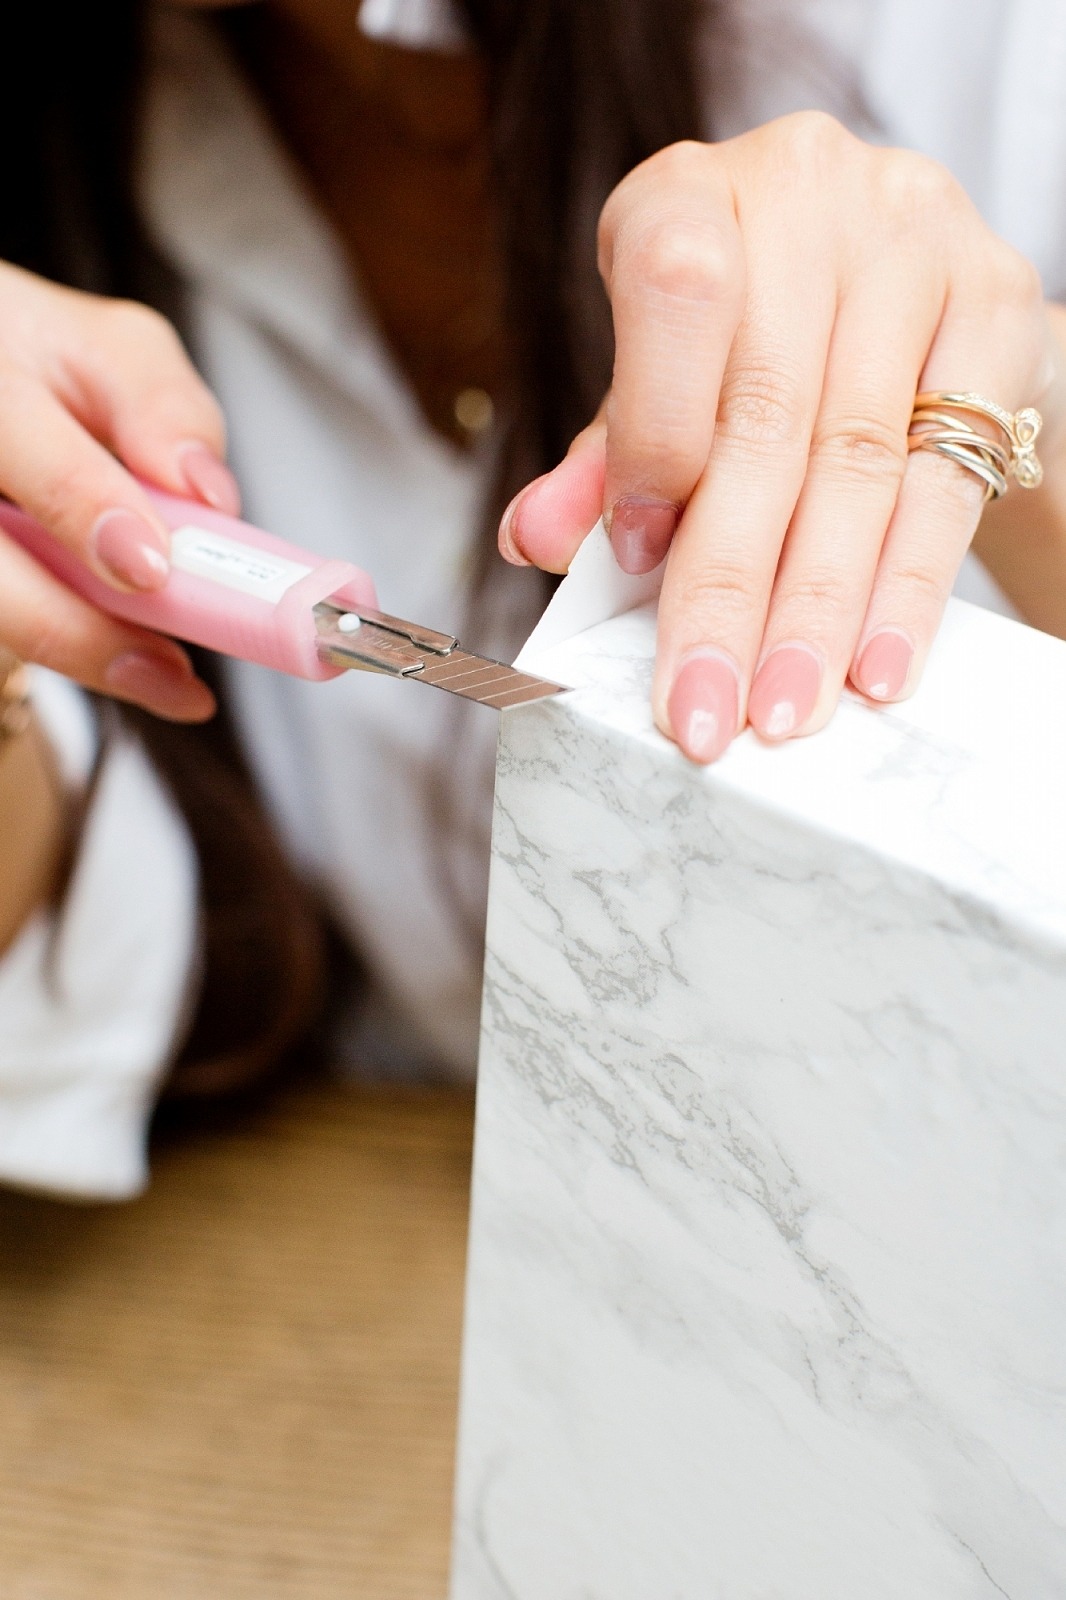
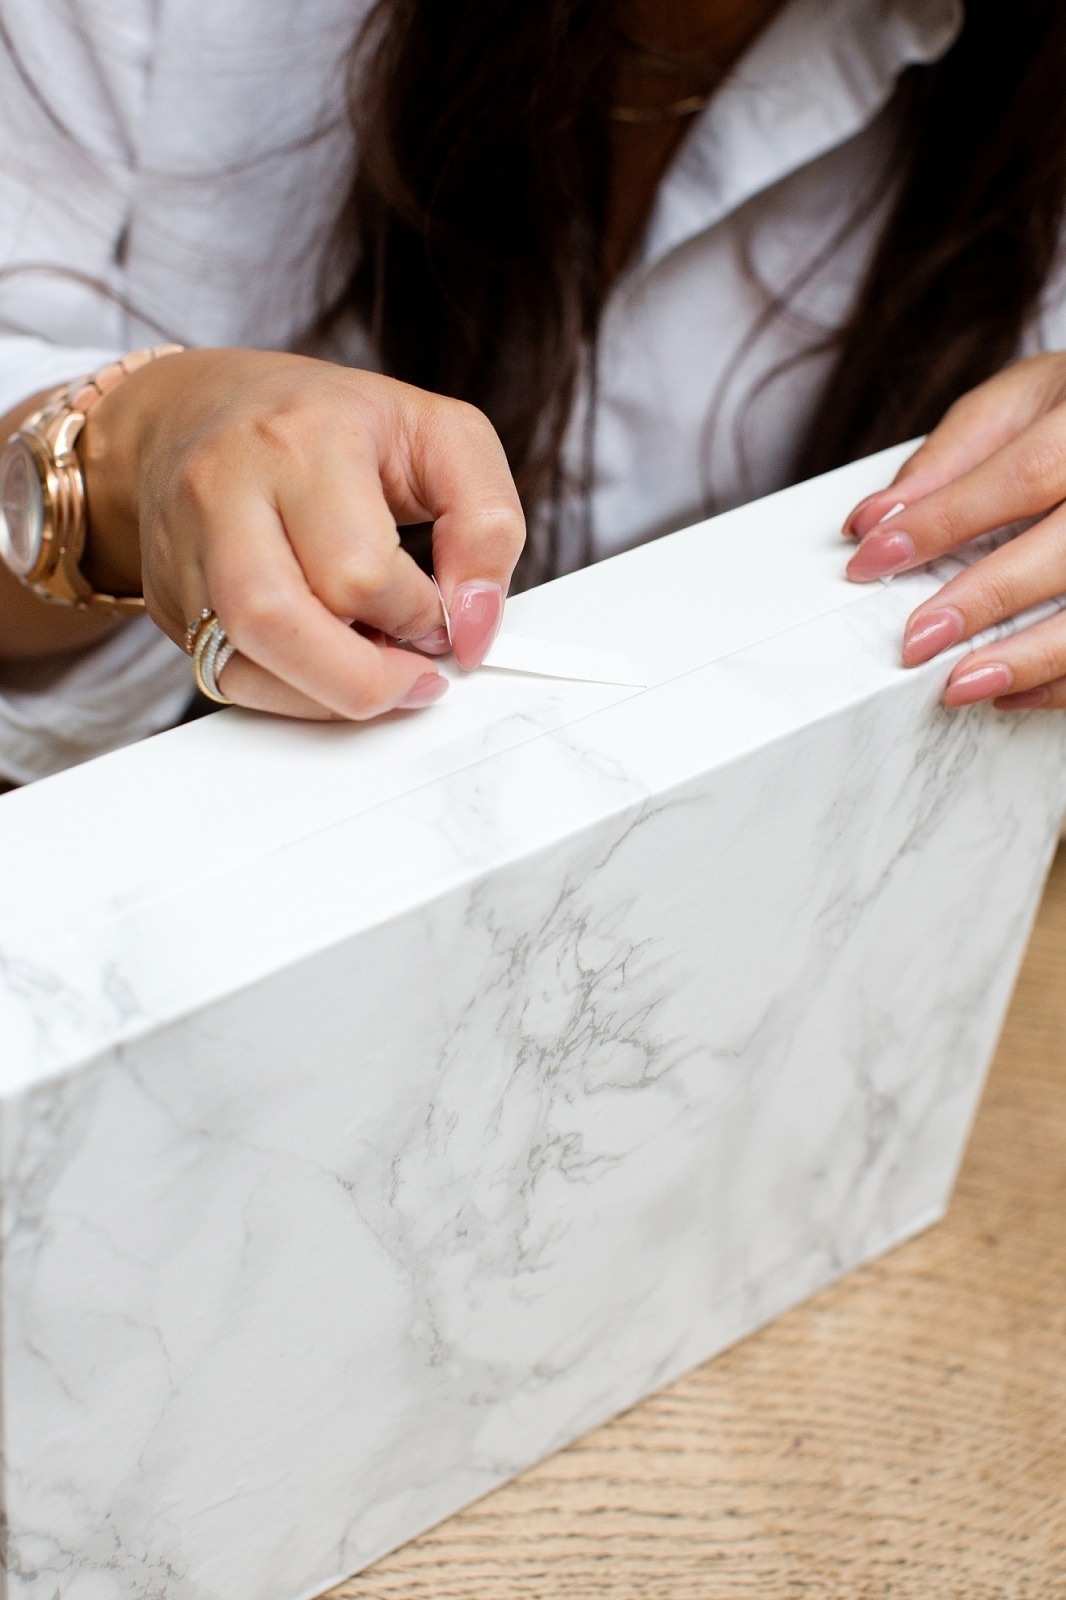
Corners
- Take your craft knife and slit the pinched corners up to the box. Cut away nearly all the spare.
- Press one side under firmly and the one over the top.
- Trim the remaining with the knife to be flush with the corner.
3
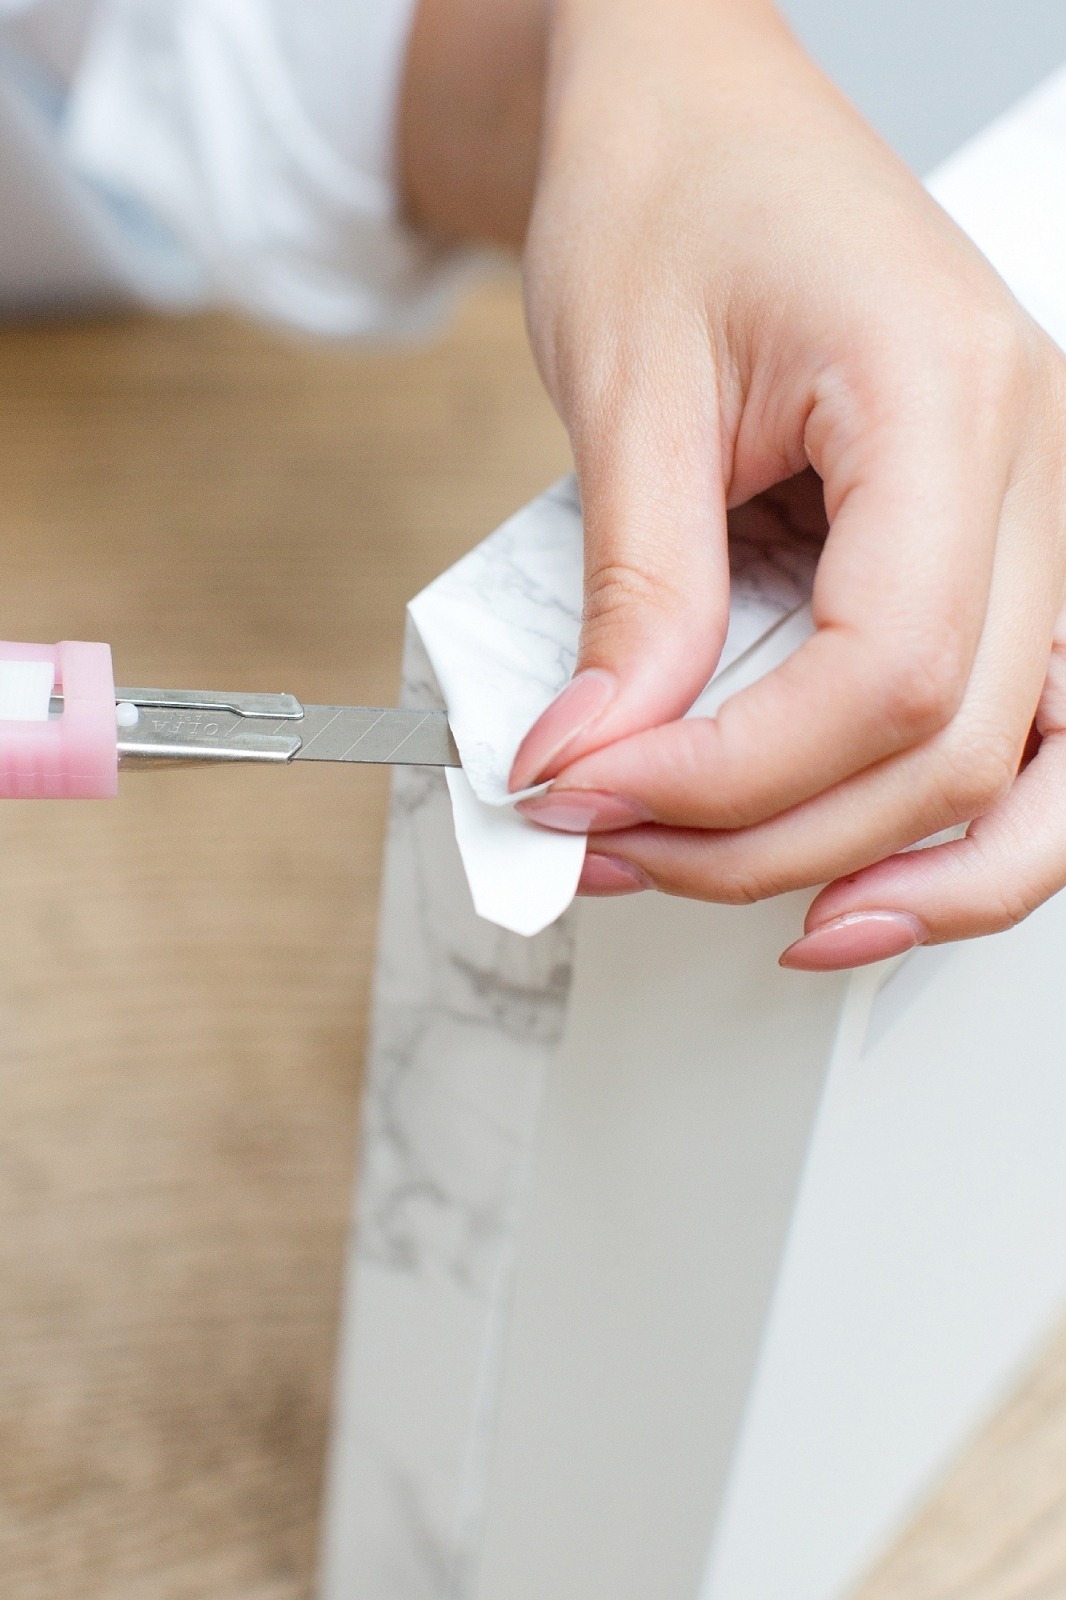
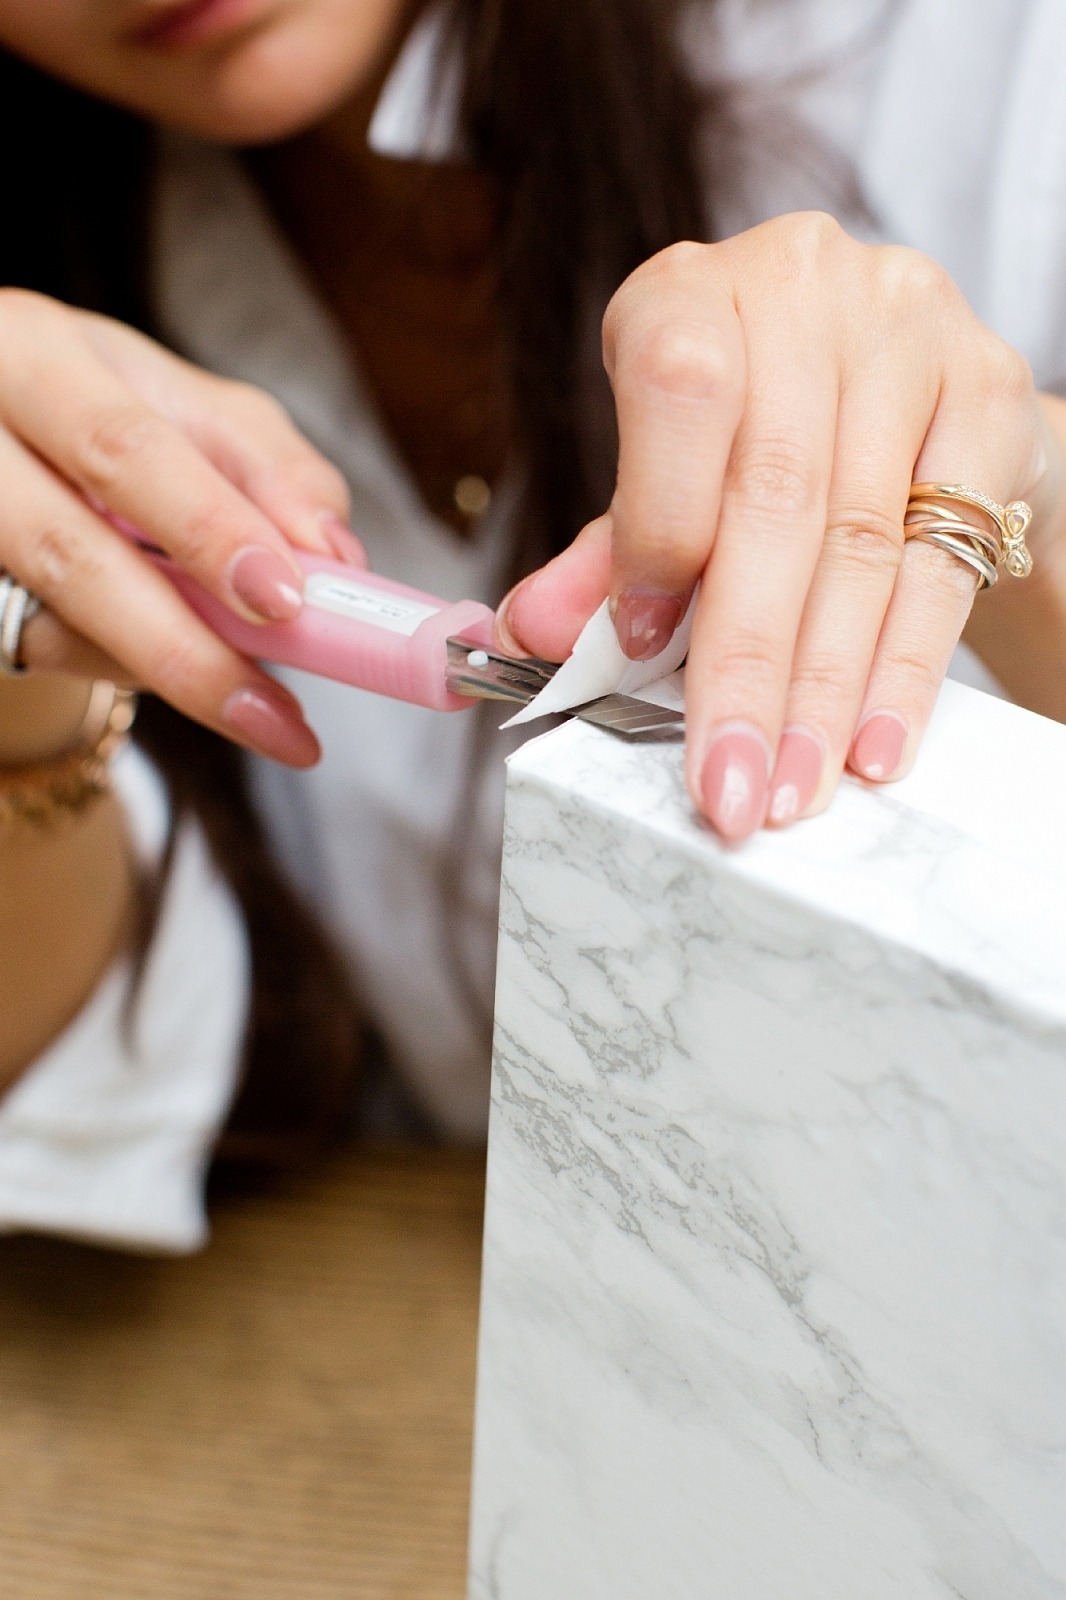
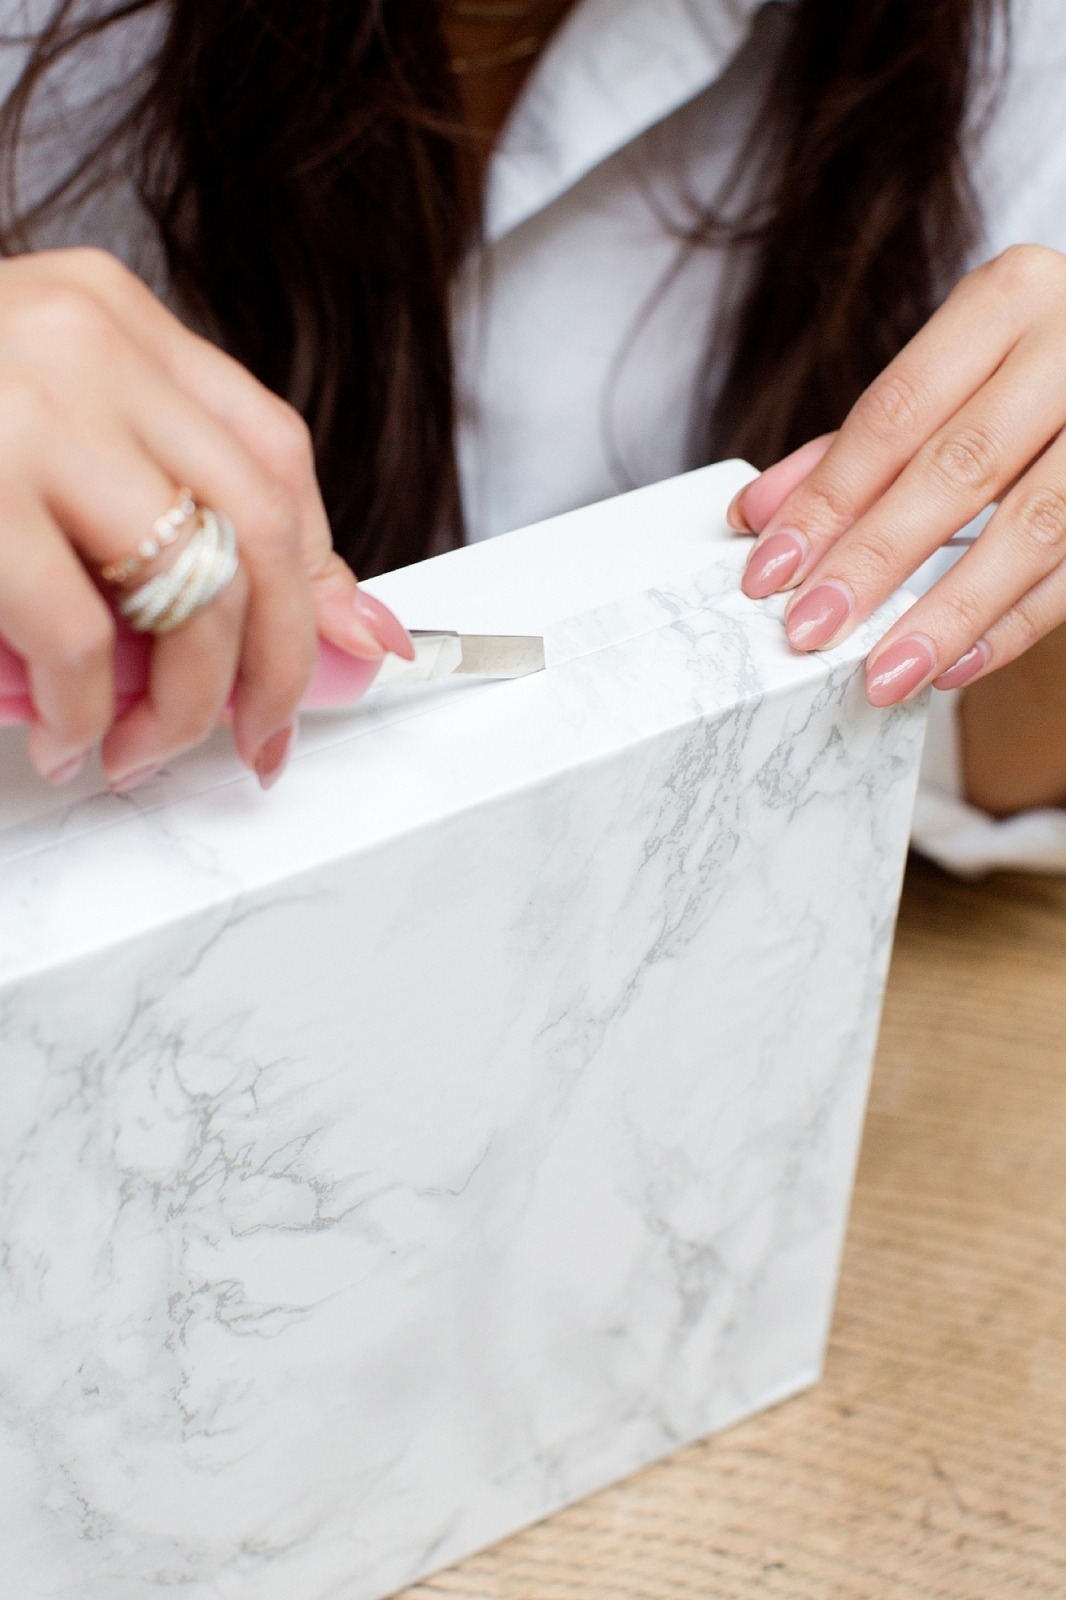
Hinge
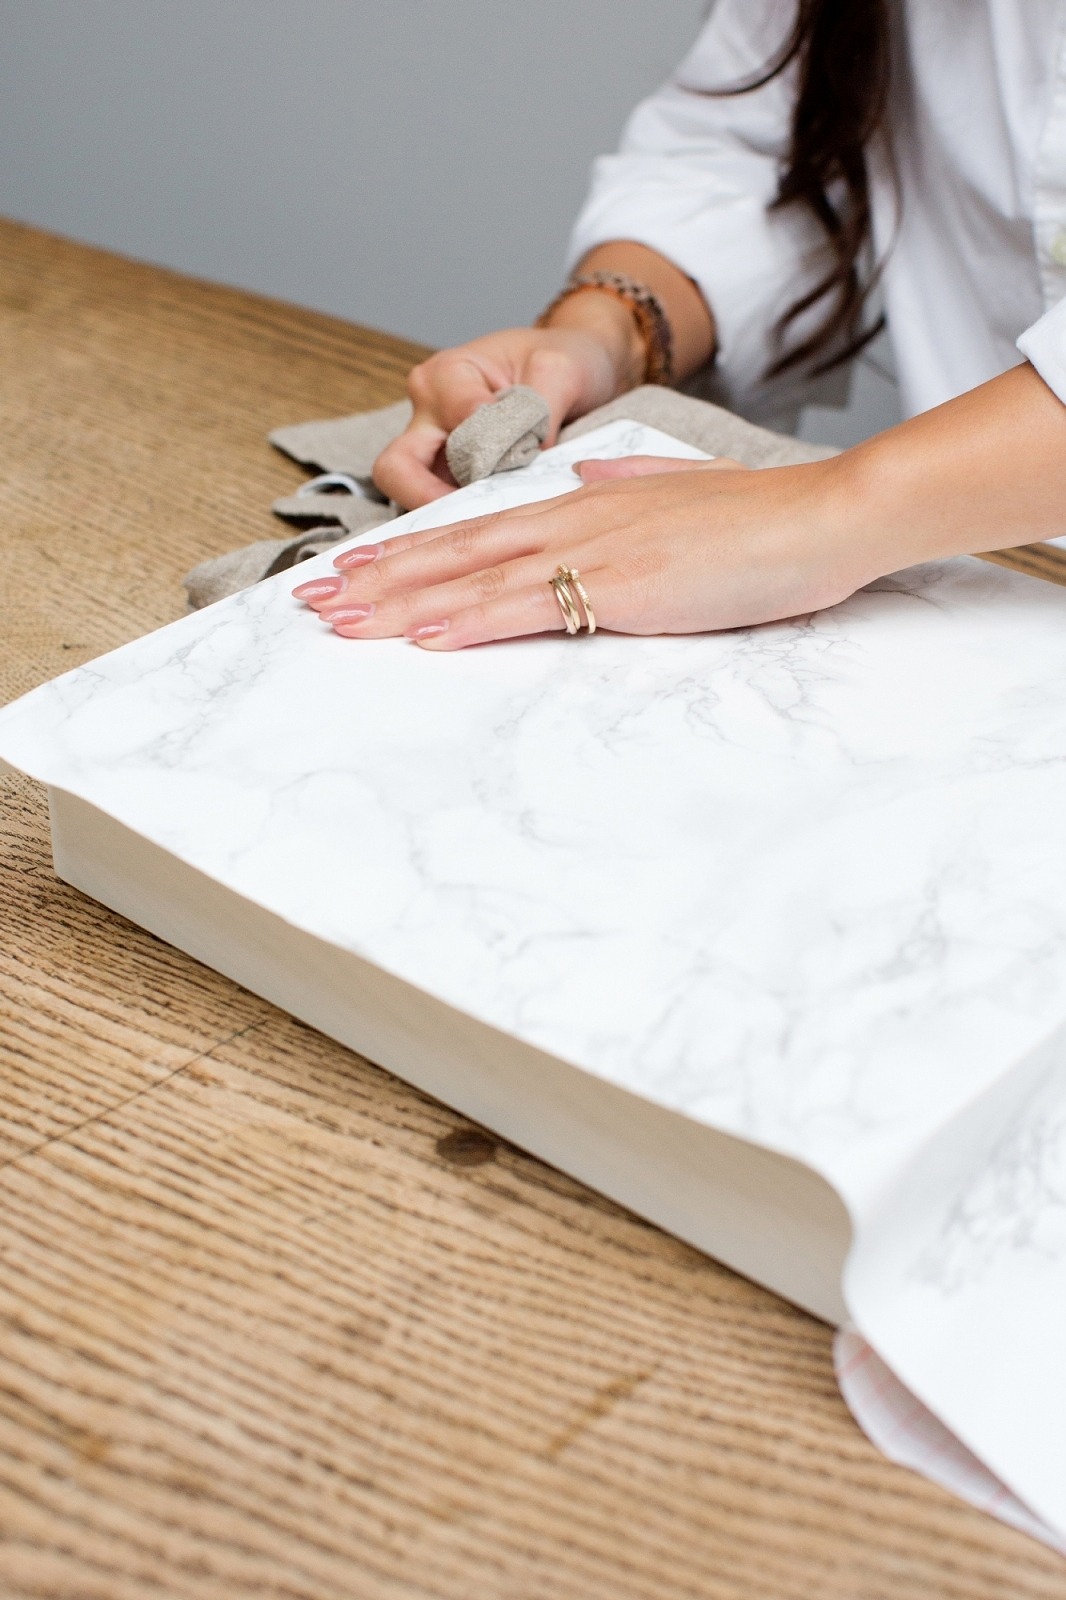
- Round the edges of the lid of the box firmly with your fingers.
- When you get to the hinge, cut the spare away with the knife to allow the paper to wrap around.
4
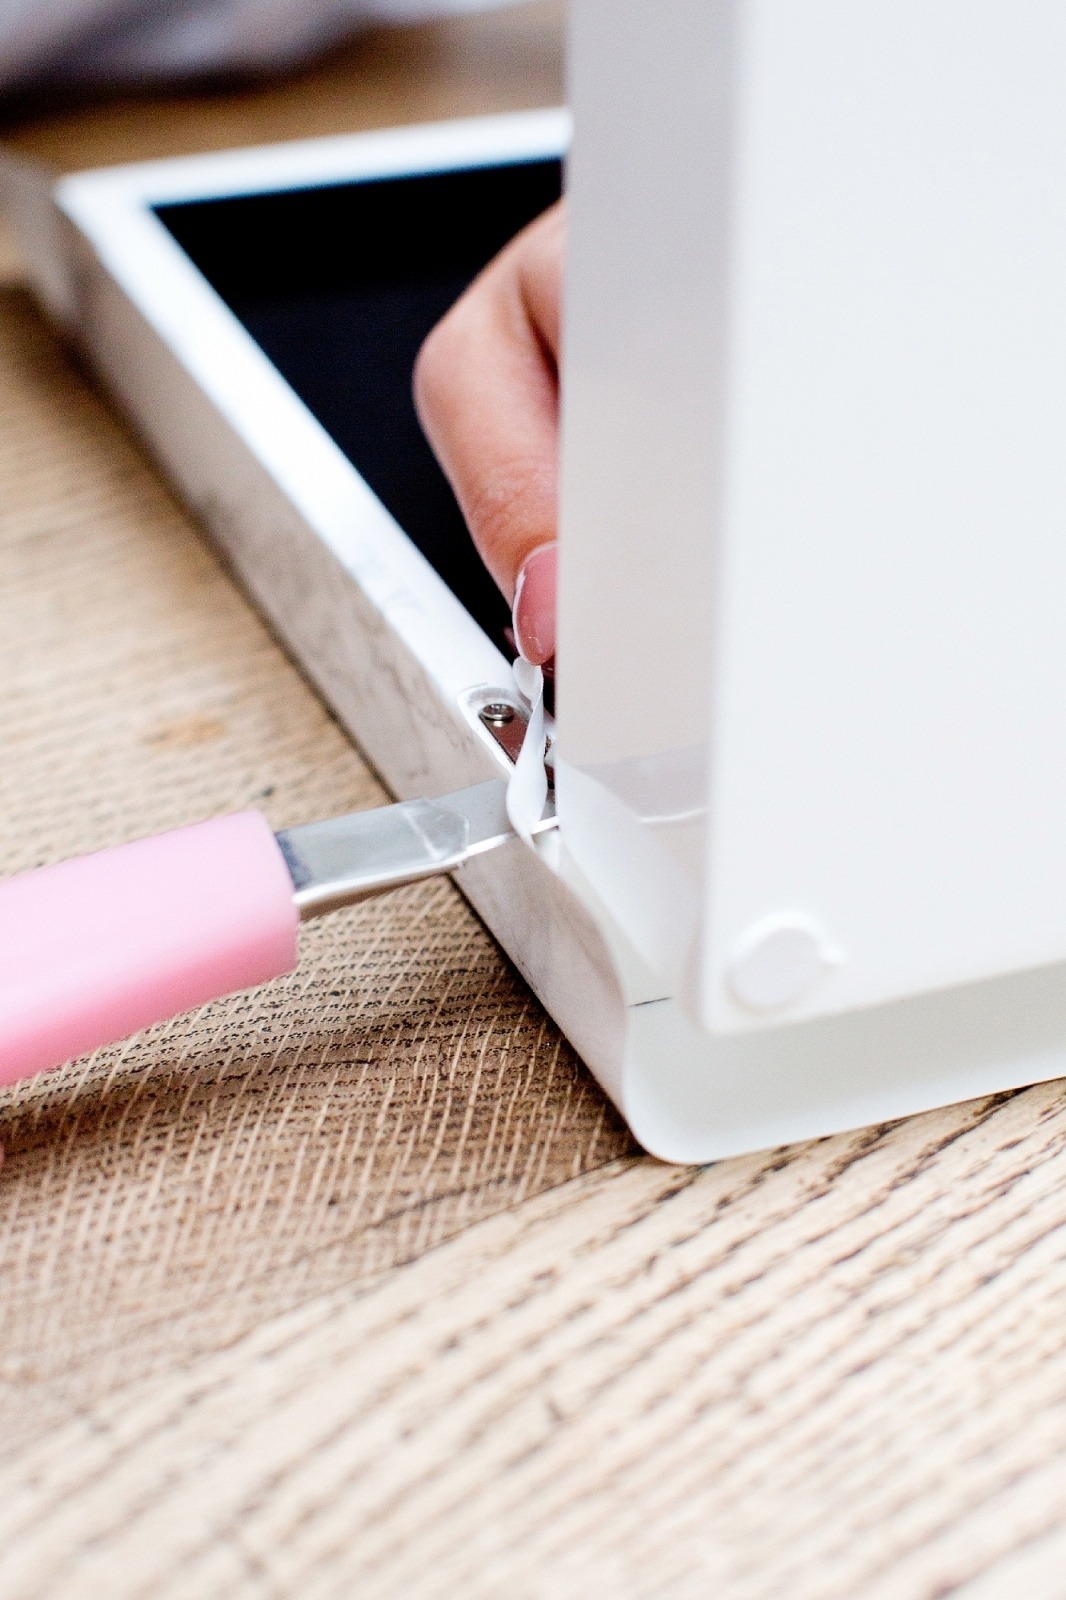
Back
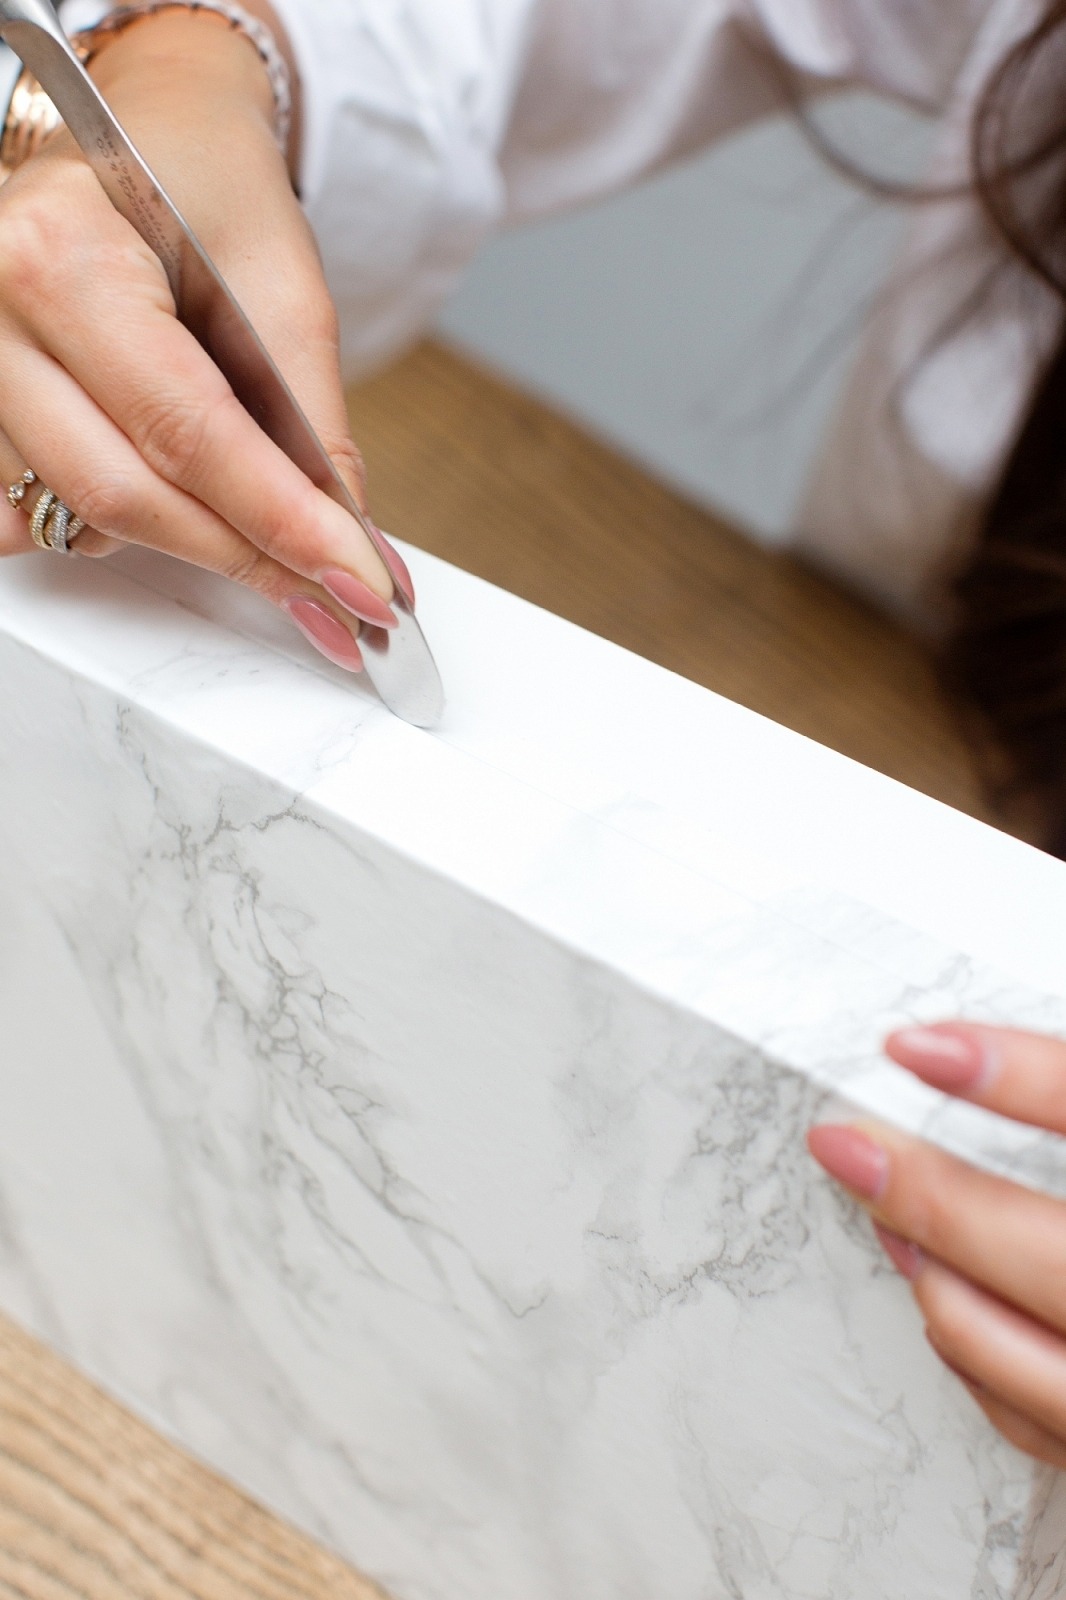
- Using a cutlery knife press the paper into the hinge on the back of the box so that it slips in neatly.
- Then take the craft knife and cut down between the hinge.
- Peel away the excess.
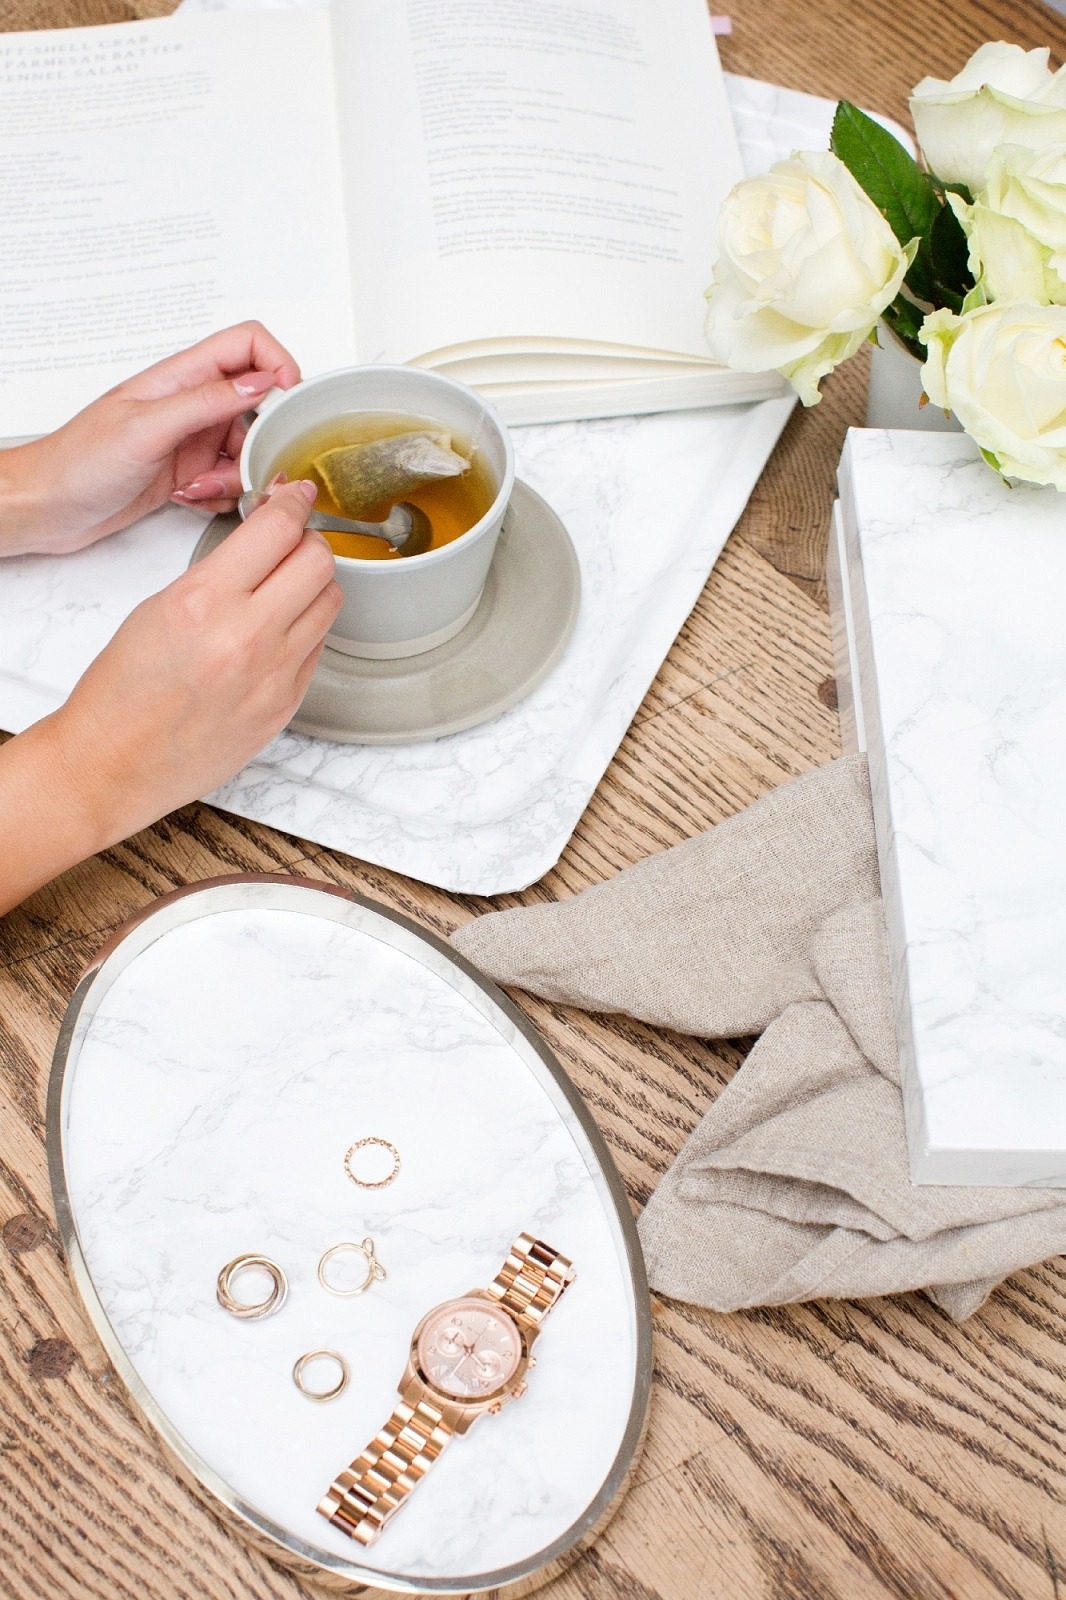
Top Tip
You can cover all sorts of things with not only marble patterns but any you like. Here are some trays I did too. I also love to use regular paper, you just spray it with glue and then continue in the same way.
Shop the Post
