Gone on holiday


Summer is in full swing and I've decided it's far too unpleasant to stay in the city.  So I've left for a holiday.

I won’t be publishing any new content till I return. I know this makes me a sucky person, so as a bandaid for this peonylim.com bullet wound, I can promise that when I return it will be with a new lease of life and some amazing surprises. There’s so much I want to tell you that has been in the works for nearly a year, but all will be revealed when I return. So stay gunned, enjoy your summers, and keep up with me in Instagram in the meantime.
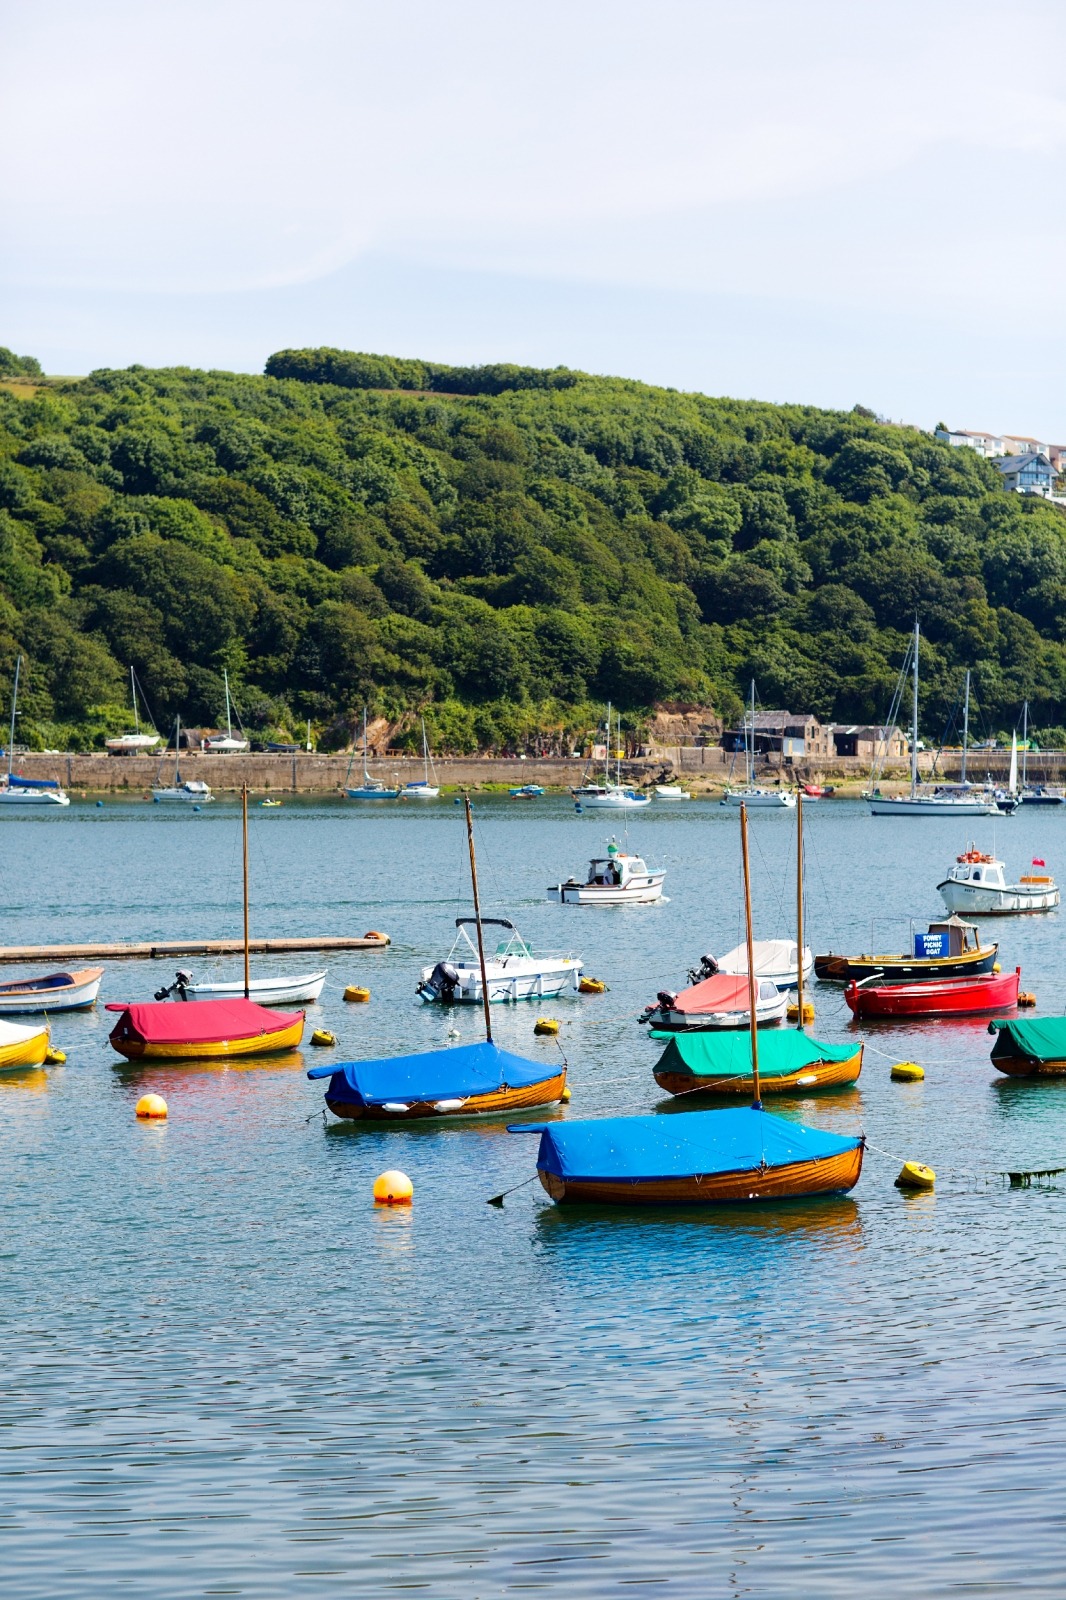
Sugared Elderflower Bundt Cake


BakingSweet

This cake is beyond pretty in real life. The colours are so delicate and subtle. It’s perfect for a birthday, engagement, christening or bridal shower.  Pre-nonstick, Bundt cakes were hit and miss, would it come out?! I actually used a traditional cake pan and just buttered it really throughly, but you can buy nonstick ones now which completely remove the concern, you could also make mini versions which are enchanting. This Sponge is based on the WI recipe, it is very traditional and very light. Just make sure you see the butter change colour when you cream it with the sugar.

1

First make the decorations

See full the full recipe for more tips.

  1. Take the egg white and use a fork to loosen it (don’t create any bubbles doing this).
  2. Take you chosen flower or berry with tweezers and using a small brush cover the whole thing lightly with egg white and then pour the sugar over the top with a spoon. Completely coat and then leave on a sheet to dry.
  3. They will take at least an hour to dry.
2

Bake the cake

  1. Preheat the oven to 180°C.
  2. Cream the Butter and Sugar together until pale and fluffy.
  3. Beat in the Eggs, and then sift the Flour and fold it into the mix.
  4. Grease your bundt tin, I did this with a good layer of soft Butter brushed on.
  5. Pour in the mix and bake for 20-30mins or until golden and springy.
  6. Allow the cake to start to cool in the tin and then turn out went warm but not hot. If necessary loosen the cake with a little knife before hand.
  7. Brush the whole cake with Elderflower Syrup.
3

Make it pretty

  1. Sift the Icing Sugar and then slowly beat in the Elderflower syrup with a spoon, until you get a consistency of a thick paste fondant. Don’t add too much or you will end up with a thin icing that won’t stay on the cake.
  2. Pour the icing, with a spoon, over the cake so that it falls into the groves irregularly.
  3. Take your Crystallised Berries and Flowers and cover the top of the cake with them.
Shop the Post

Crystallised Flowers and Berries


ExtrasSweet

If you’ve been following this site for a while you will already have seen the Crystallised Blueberry recipe I decorated my Strawberry Ruffle Cake with. This recipe is a progression on from that. It really uses the same process (with a little more care). I have also since experimented with the kinds of berries you can use. In my experience they need to have a lightly waxy skin. Fruit like blueberries, currants, gooseberries, grapes, figs and physalis work really well. You can find a list of edible flowers to work with here.  Flowers take their flavour from their fragrance so Lavender has a strong flavour while Rose is more subtle (but stronger from a scented rose).

I love these natural jewels to decorate everything from cakes to puddings.

Important Tips
  • Choose flowers that are as fresh and firm as possible.
  • Use powdered egg white if your feeding delicate tummies (children, pregnant women and the elderly), also you can keep them up to a year if you make them with powdered egg whites.
  • Store them in an open container to keep them crisp.
  • Always make a few extra as they can be delicate and you will be upset if you break one. Plus you can’t have to many.
1

Take the egg white and use a fork to loosen it (don’t create any bubbles doing this).

2

Take you chosen flower or berry with tweezers and using a small brush moving carefully but briskly brush the whole thing lightly with egg white and then pour the sugar over the top with a spoon. Completely coat and then leave on a sheet to dry.

3

They will take at least an hour to dry. Then they are ready to use. Although you can make them a few days in advance.

A great video guide with a retro tv feel is here from Martha Stewart.

If this is all too much for you, I totally understand and you can buy them pre-made here.

Back to top