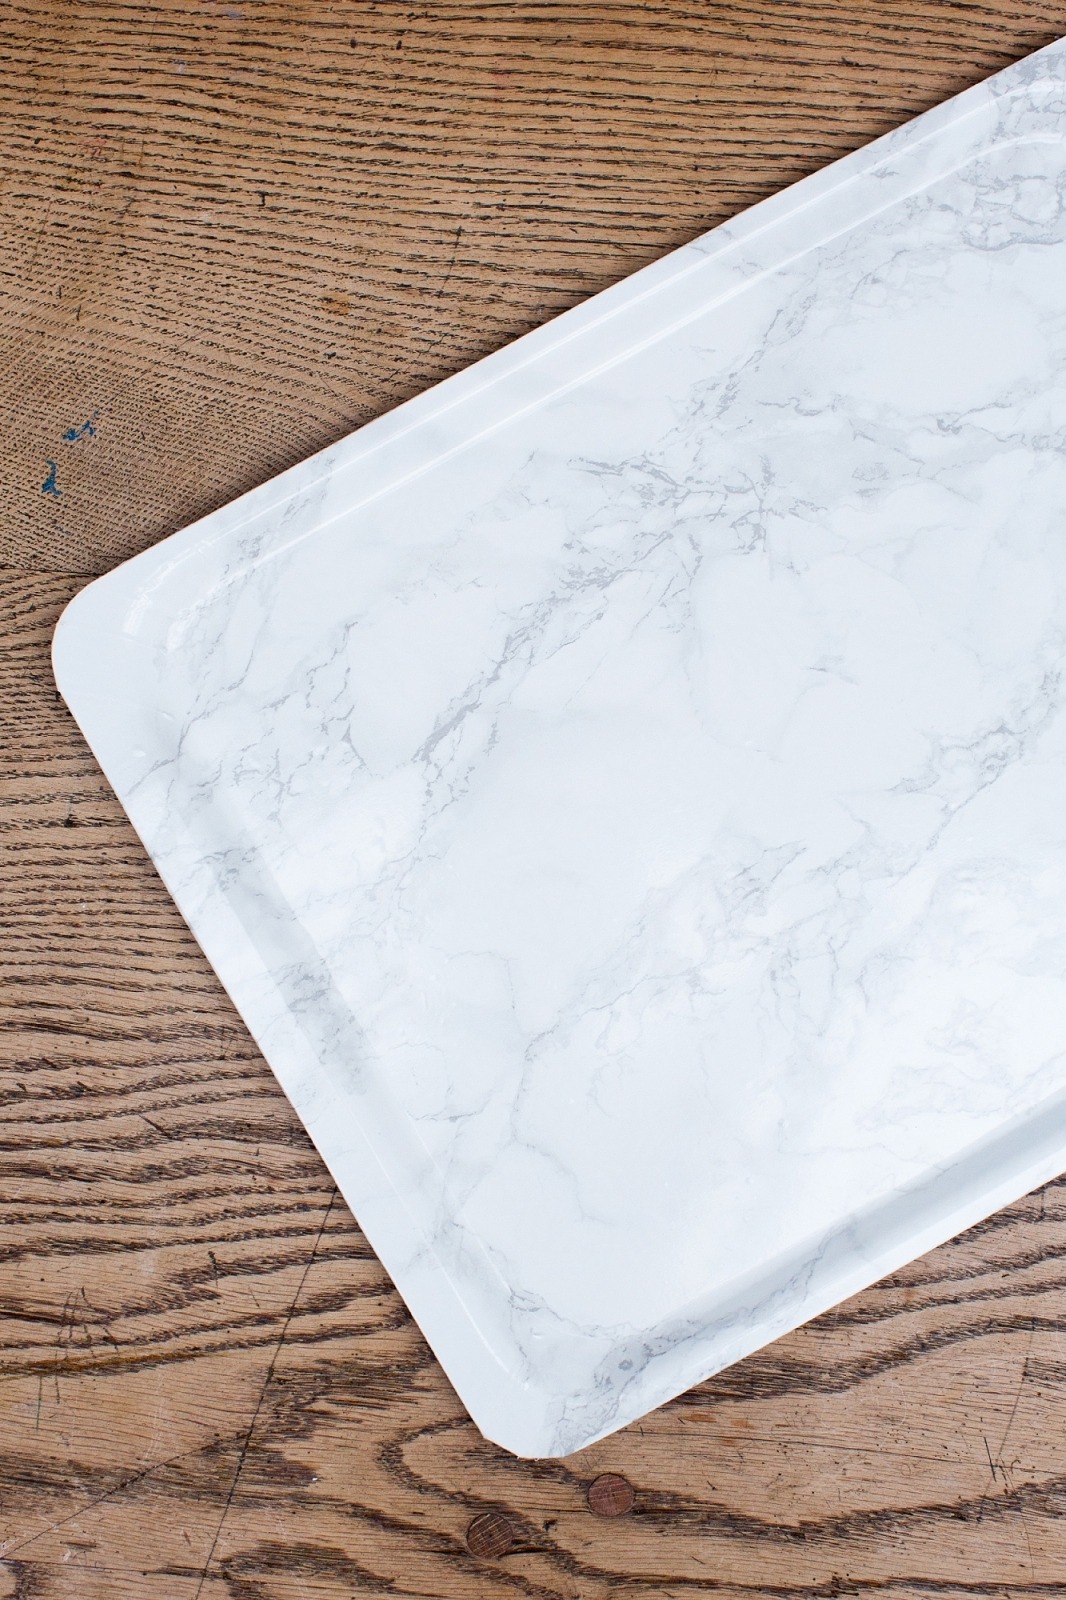
DIY Marble Tray Project
Like my DIY Marble Box Project this one is super easy and really effective. I did both in an afternoon so its a perfect weekend project.
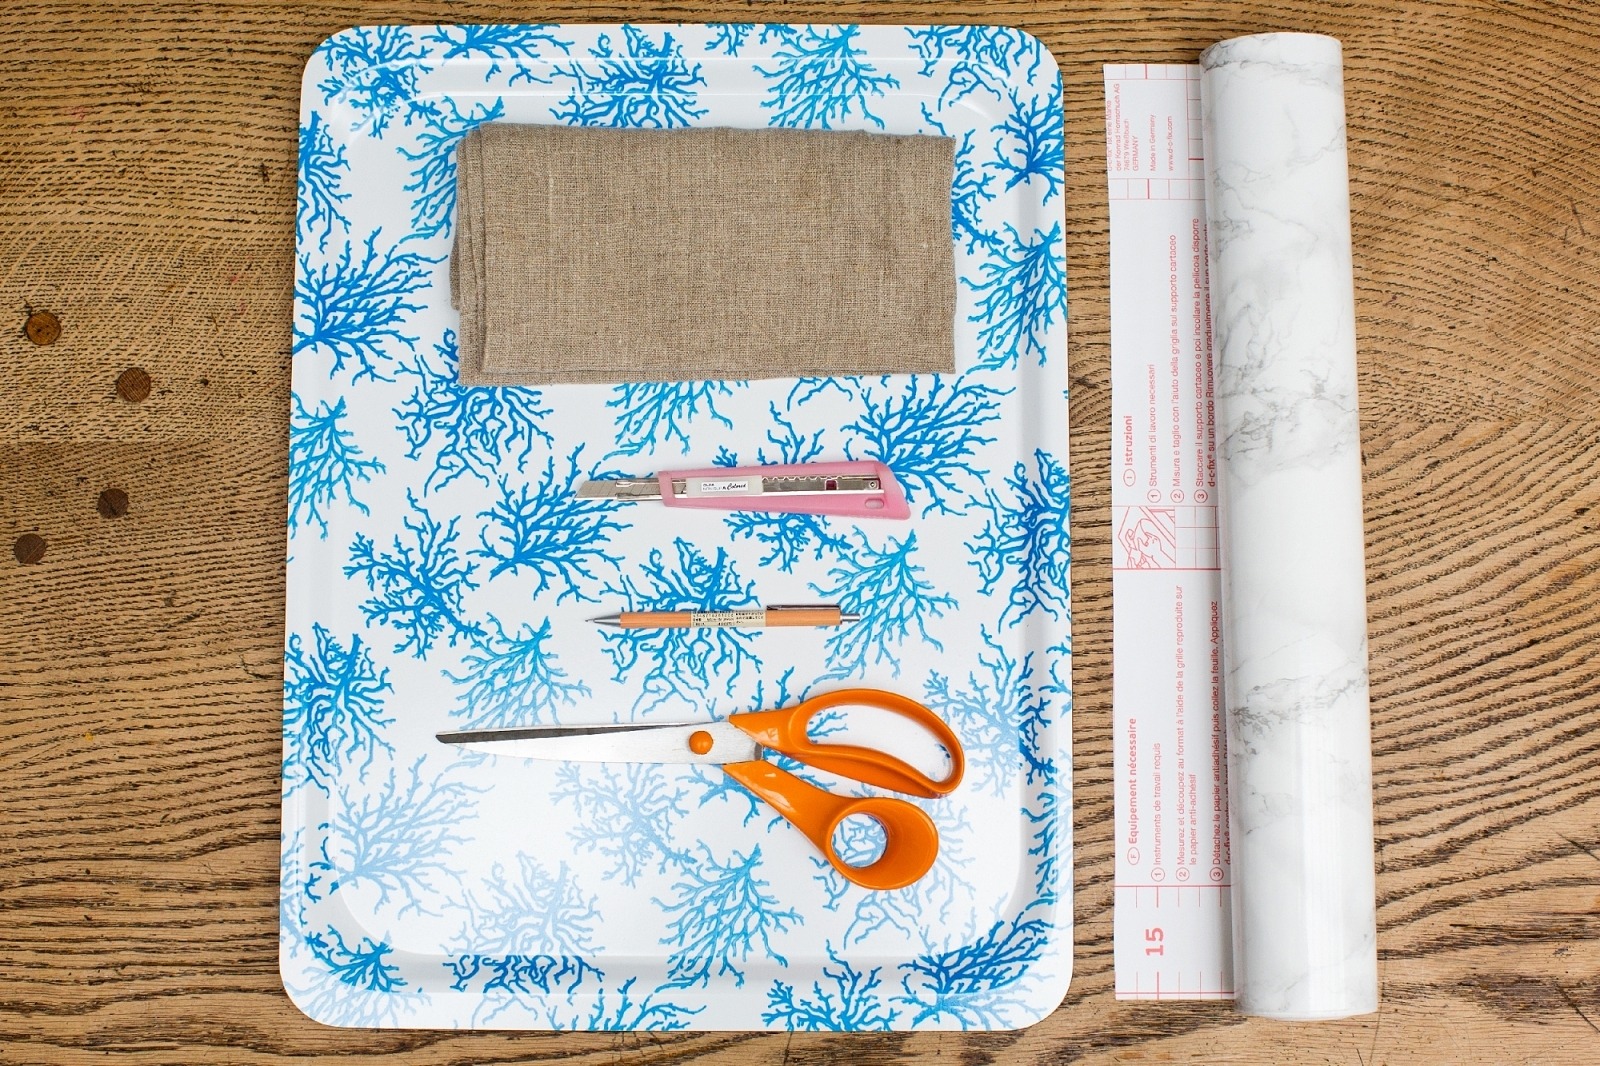
What you'll need
A Plastic Tray
Self-Adhesive Marble Wallpaper
A Craft Knife
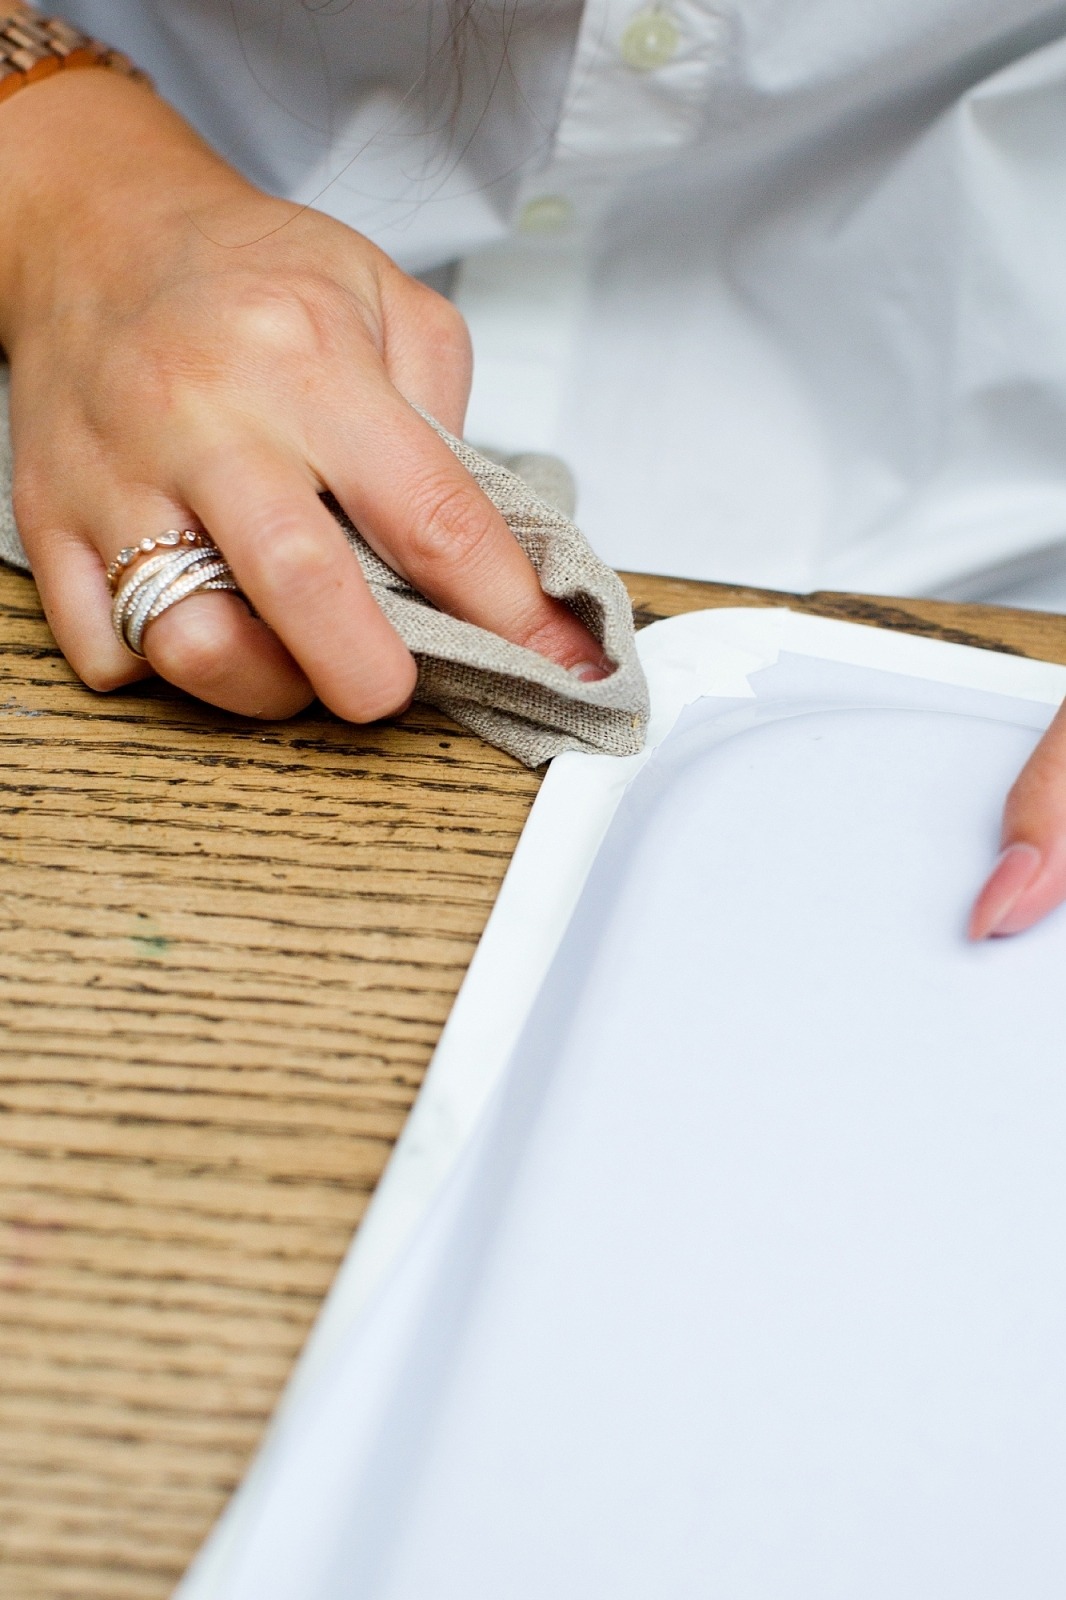
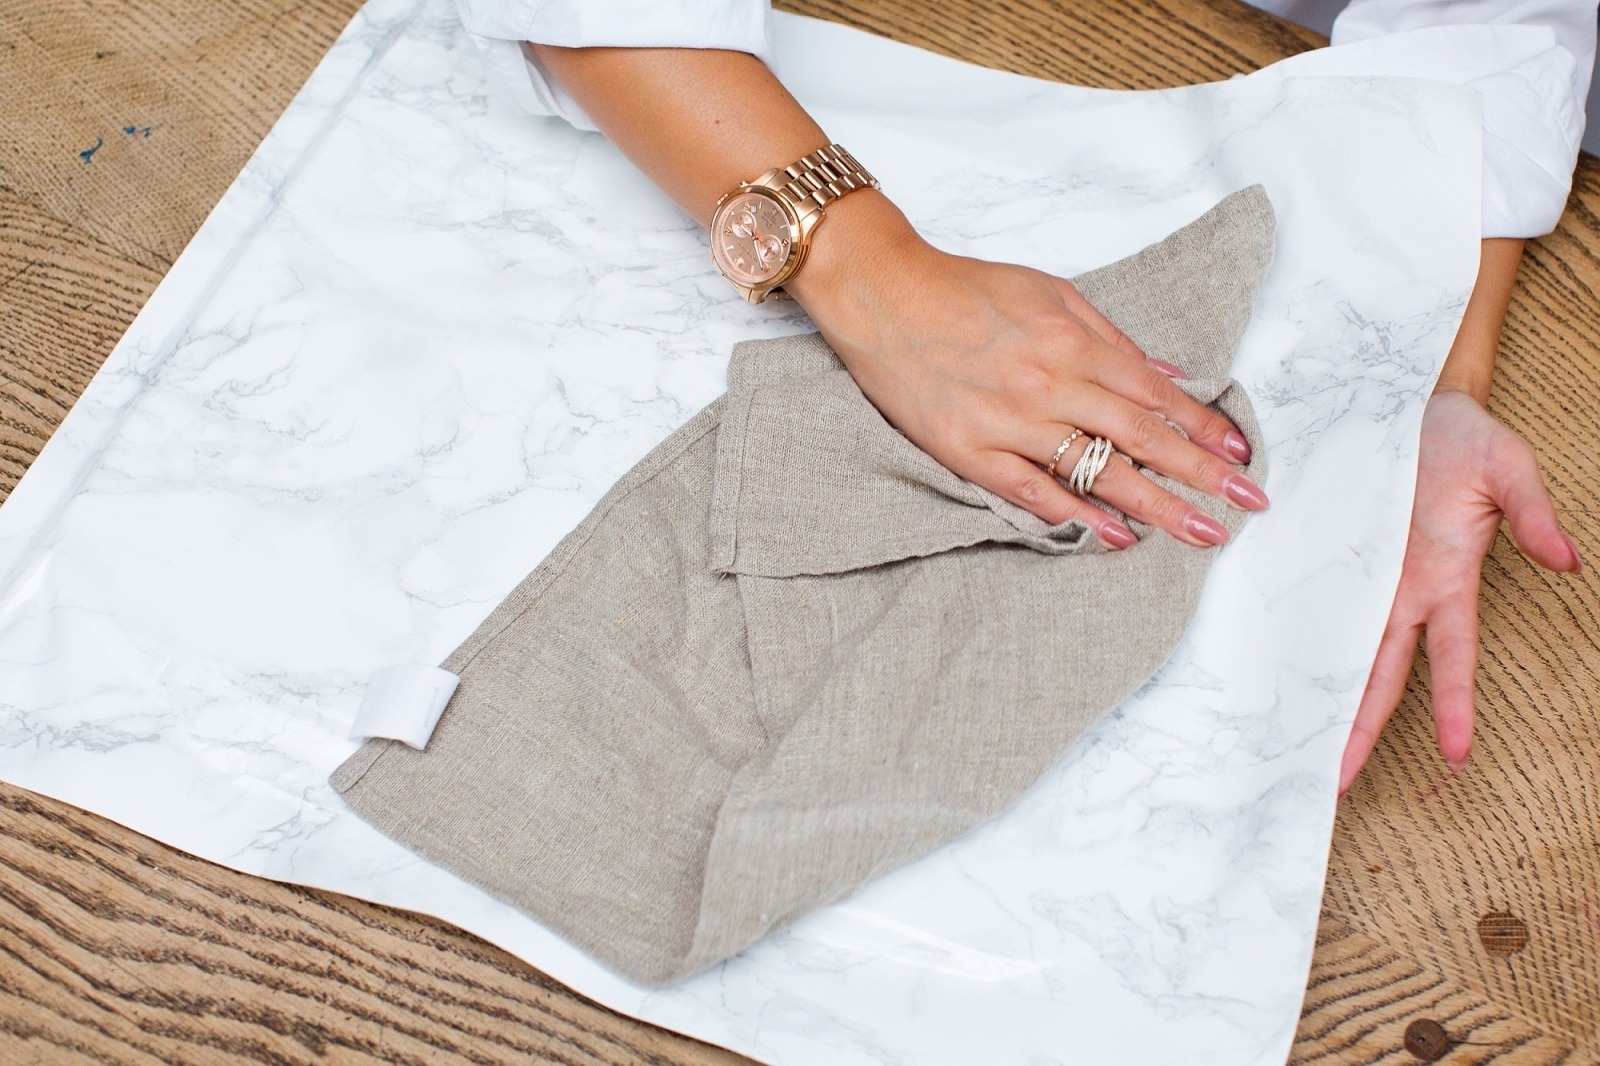
A Duster Cloth
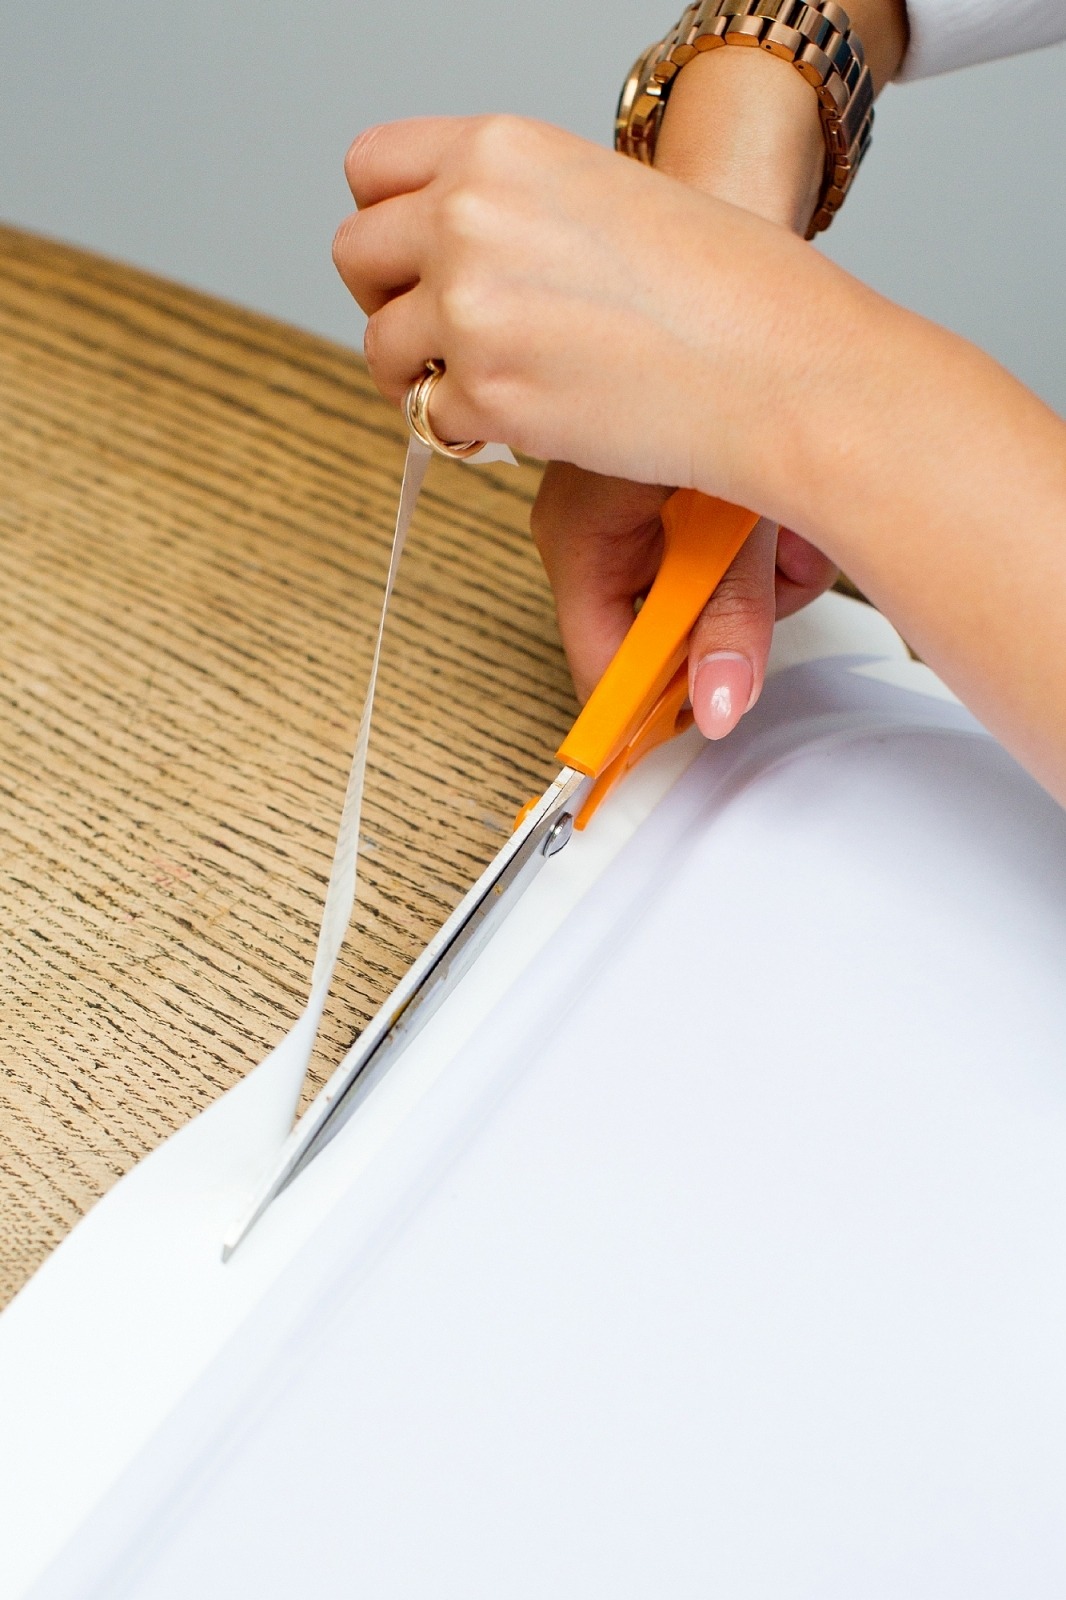
Scissors
1
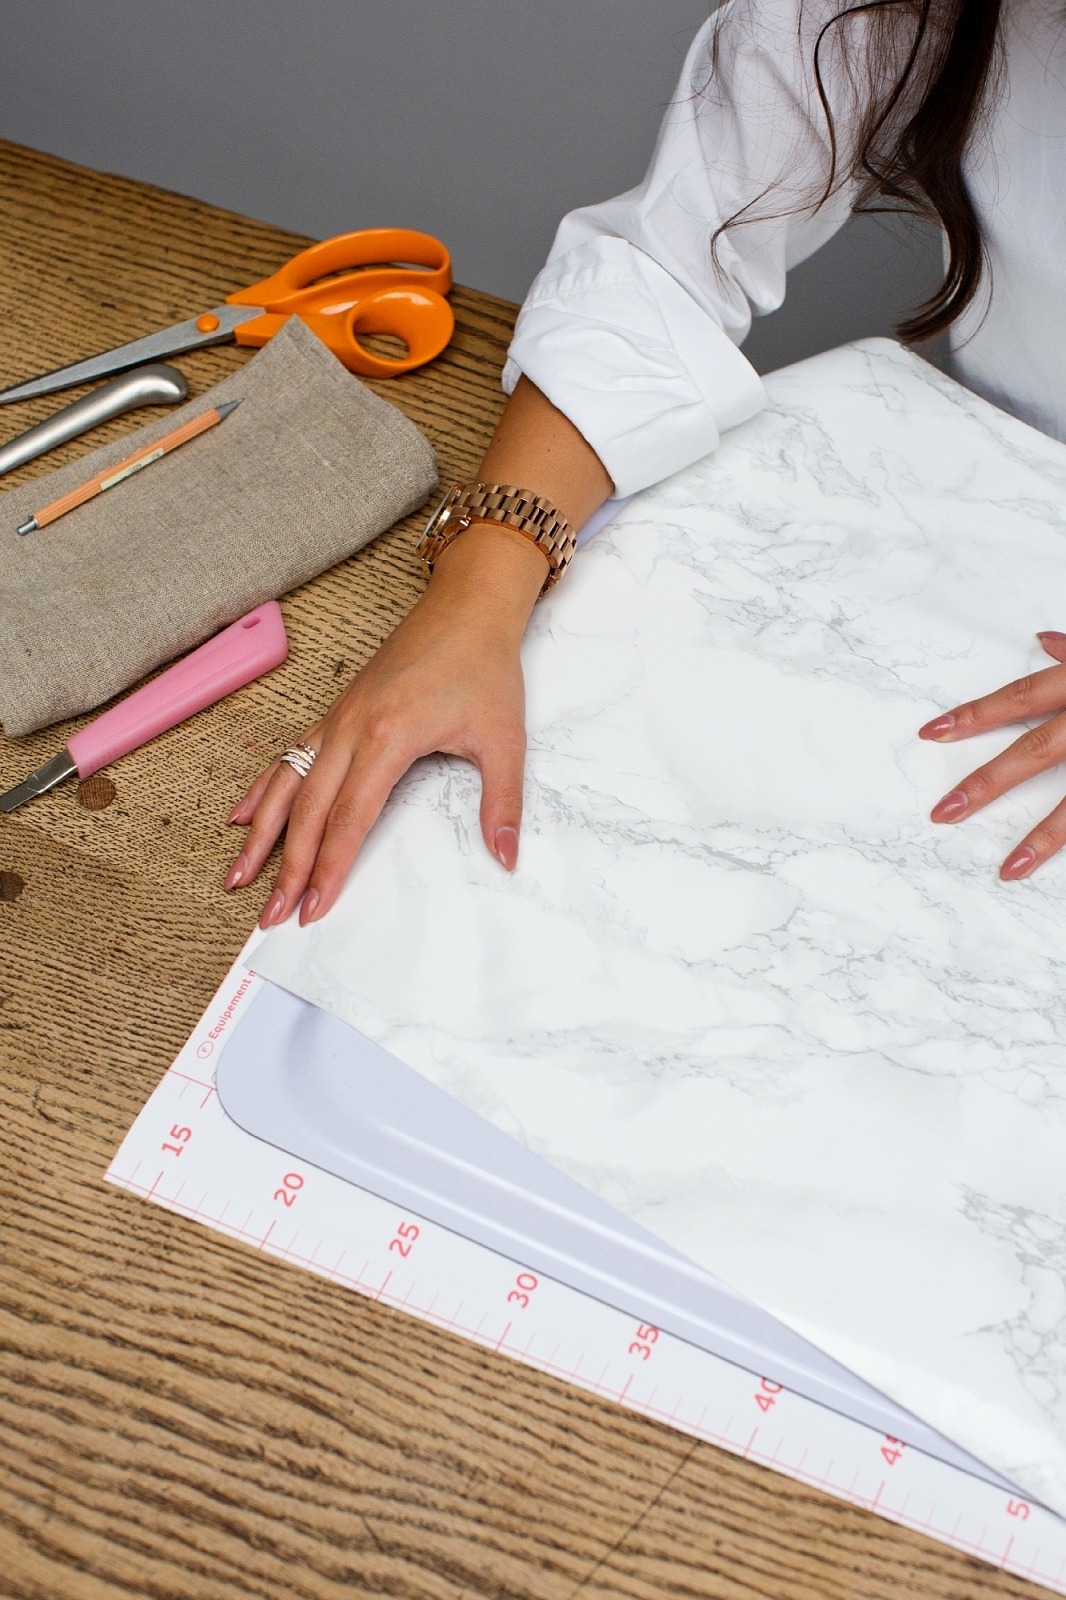
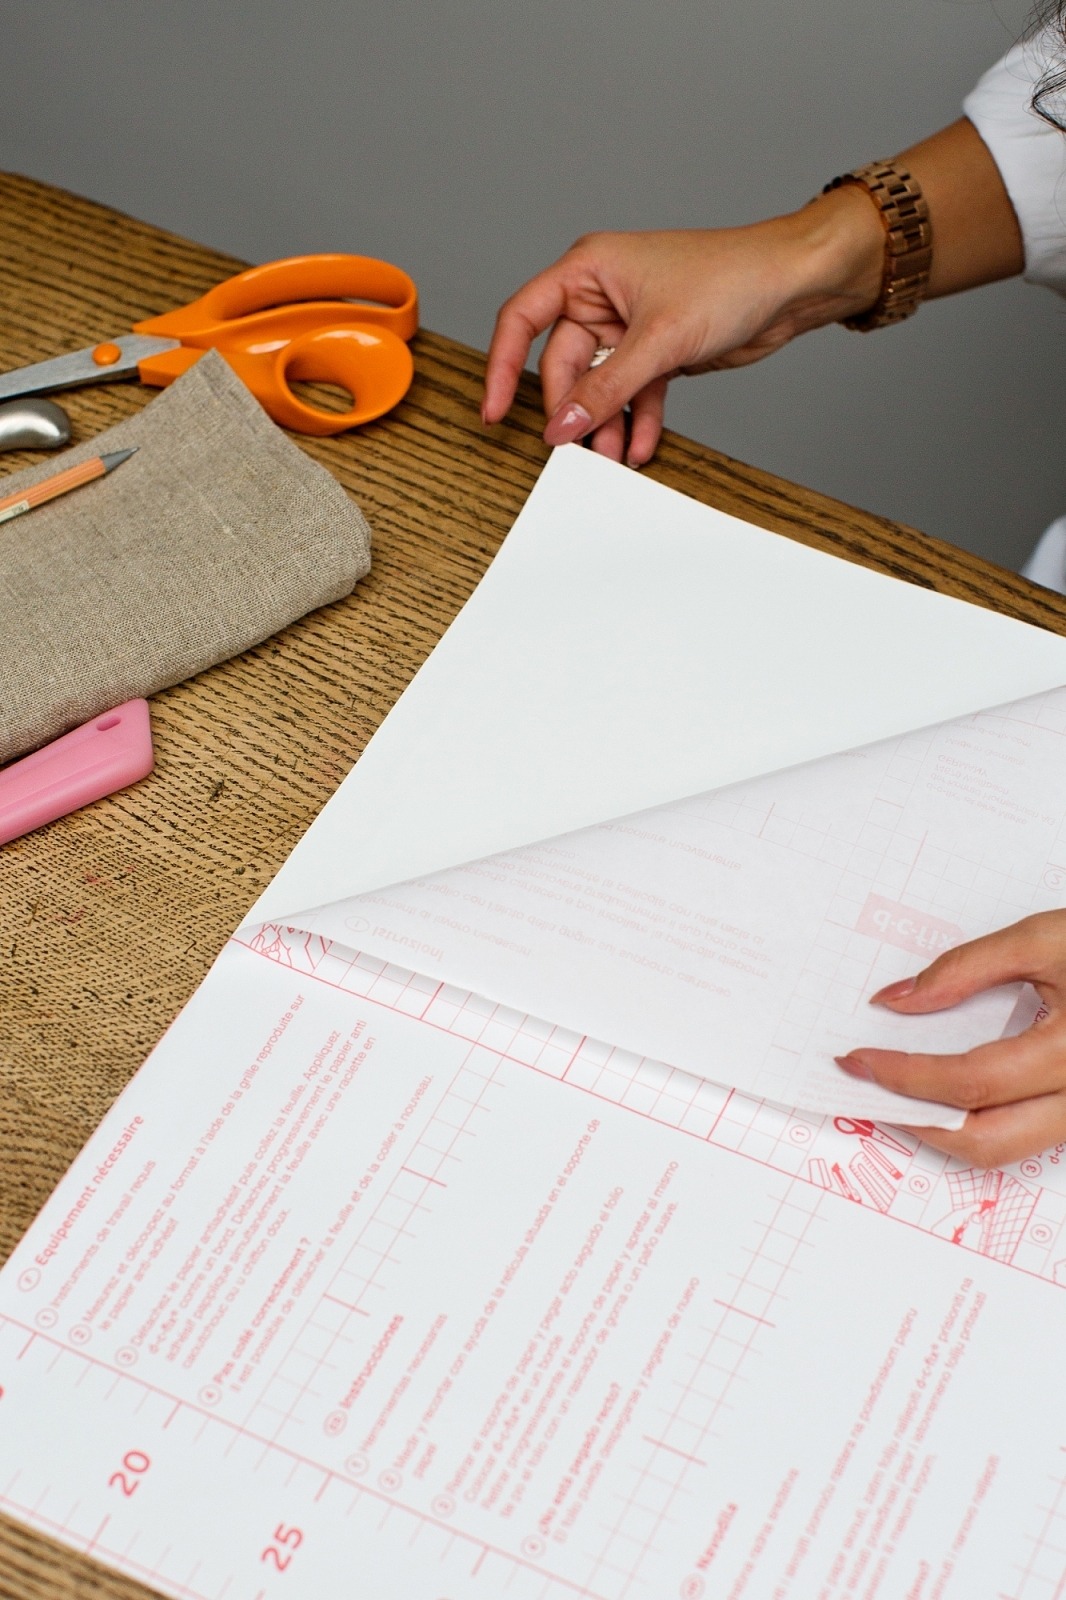
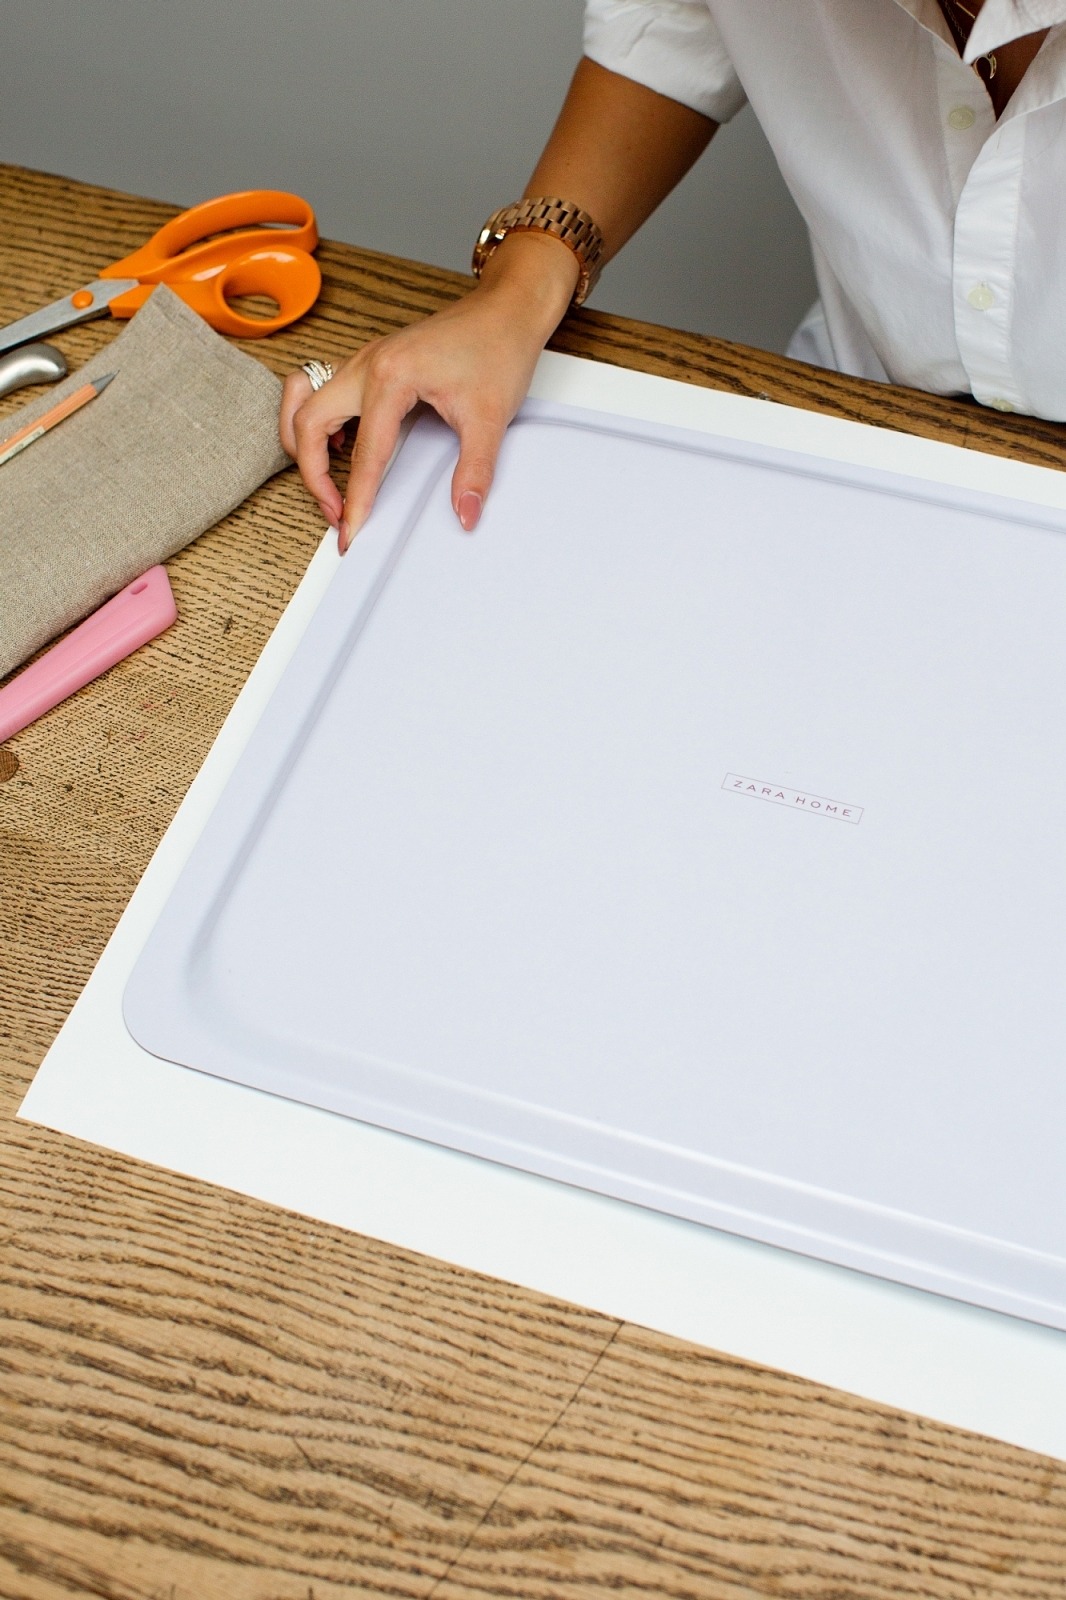
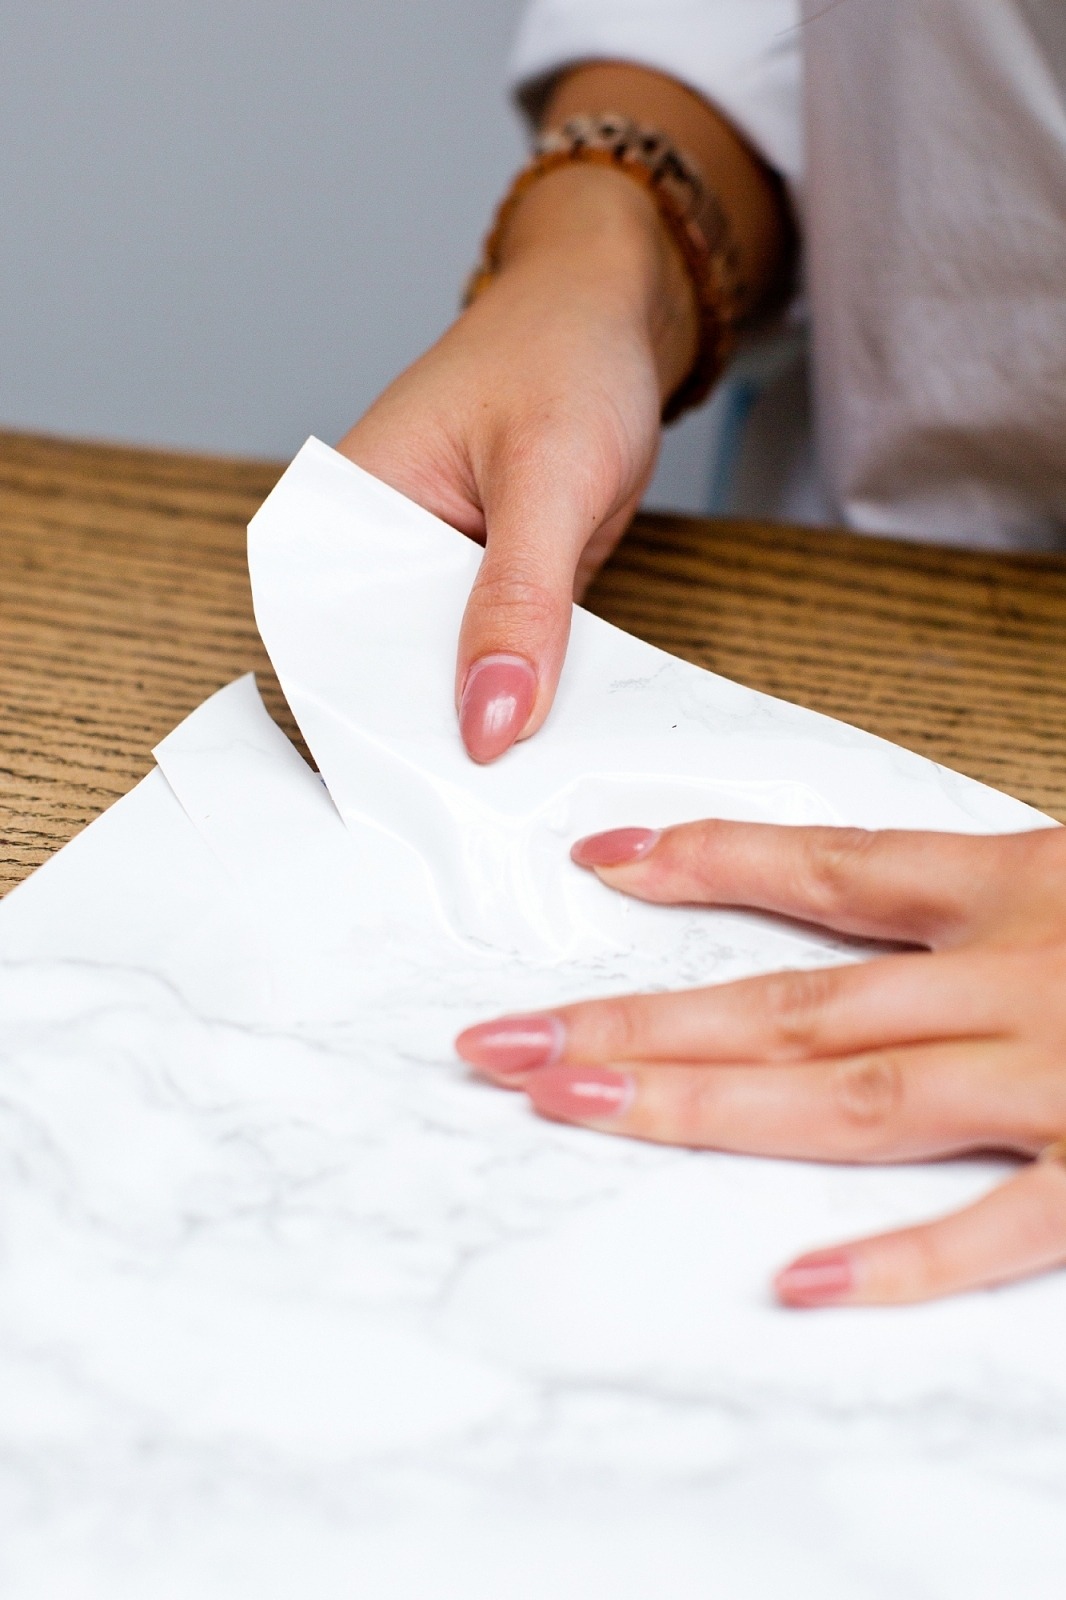
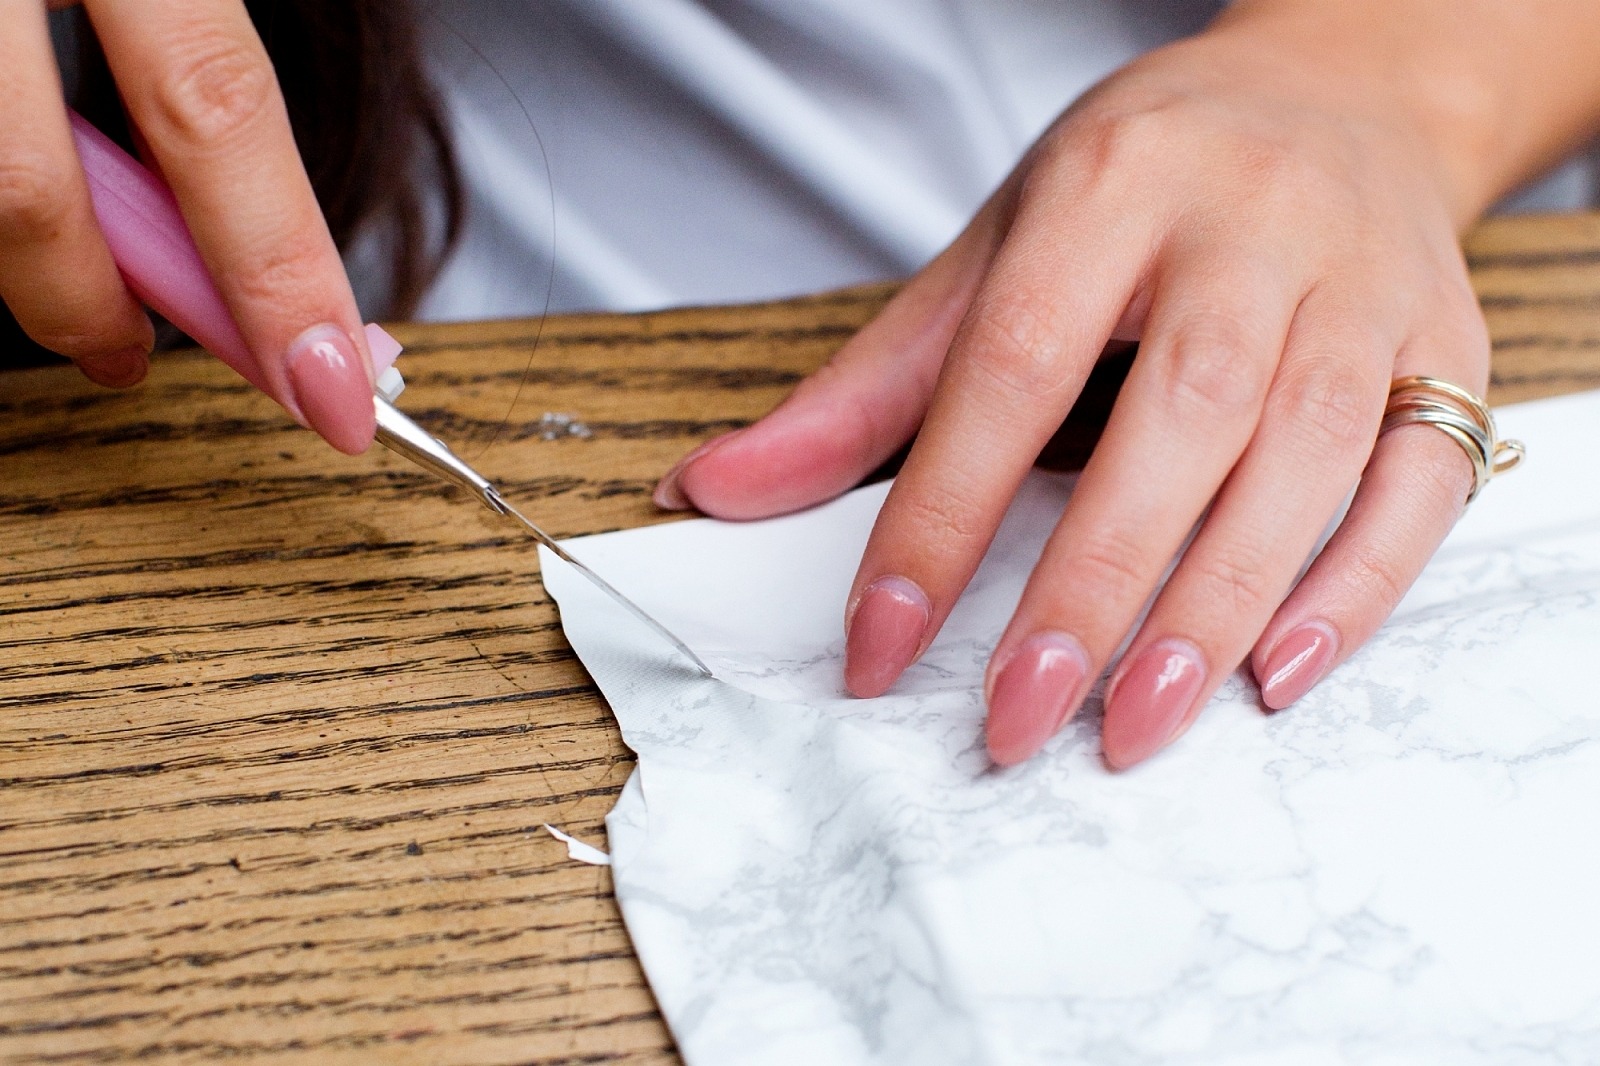
Cut the Marble
- Cut off enough self-adesive Marble wallpaper to just over cover both sides of the tray.
- Peel back the paper backing to show the sticky side and place the tray about 1/4 of an inch off the edge.
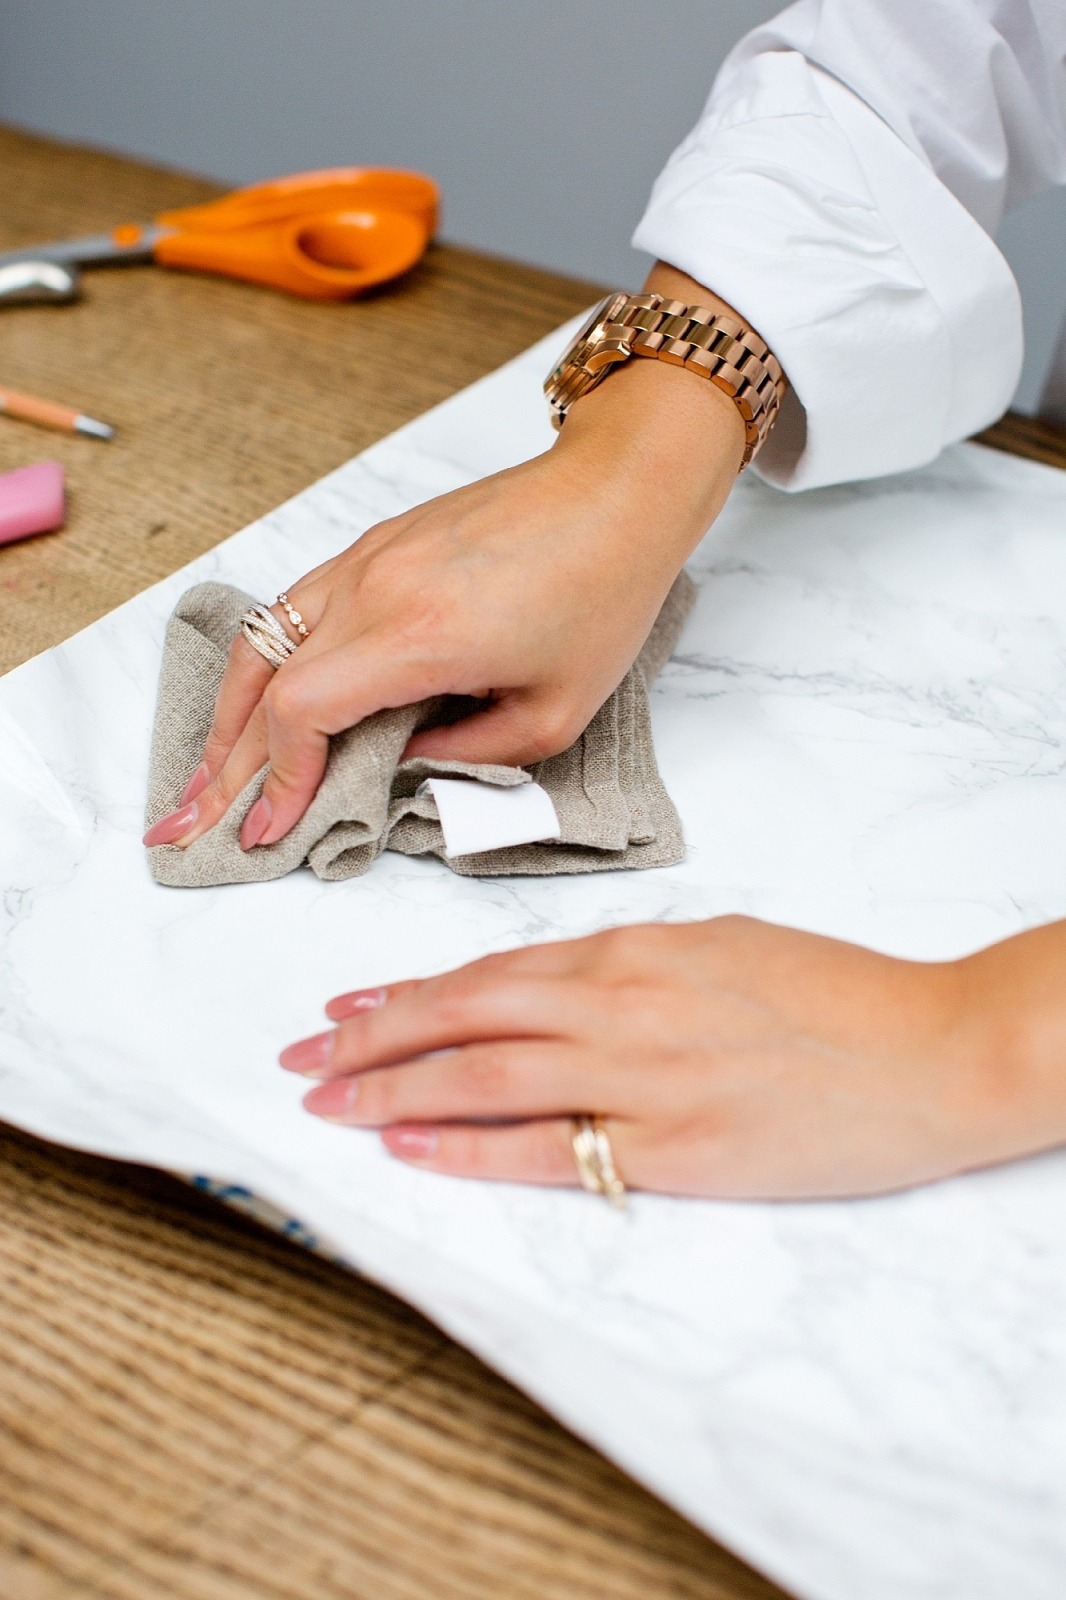
- Using your cloth, rub the paper onto the tray little by little to stop it from bubbling with air pockets.
- You should now have covered one side of the tray.
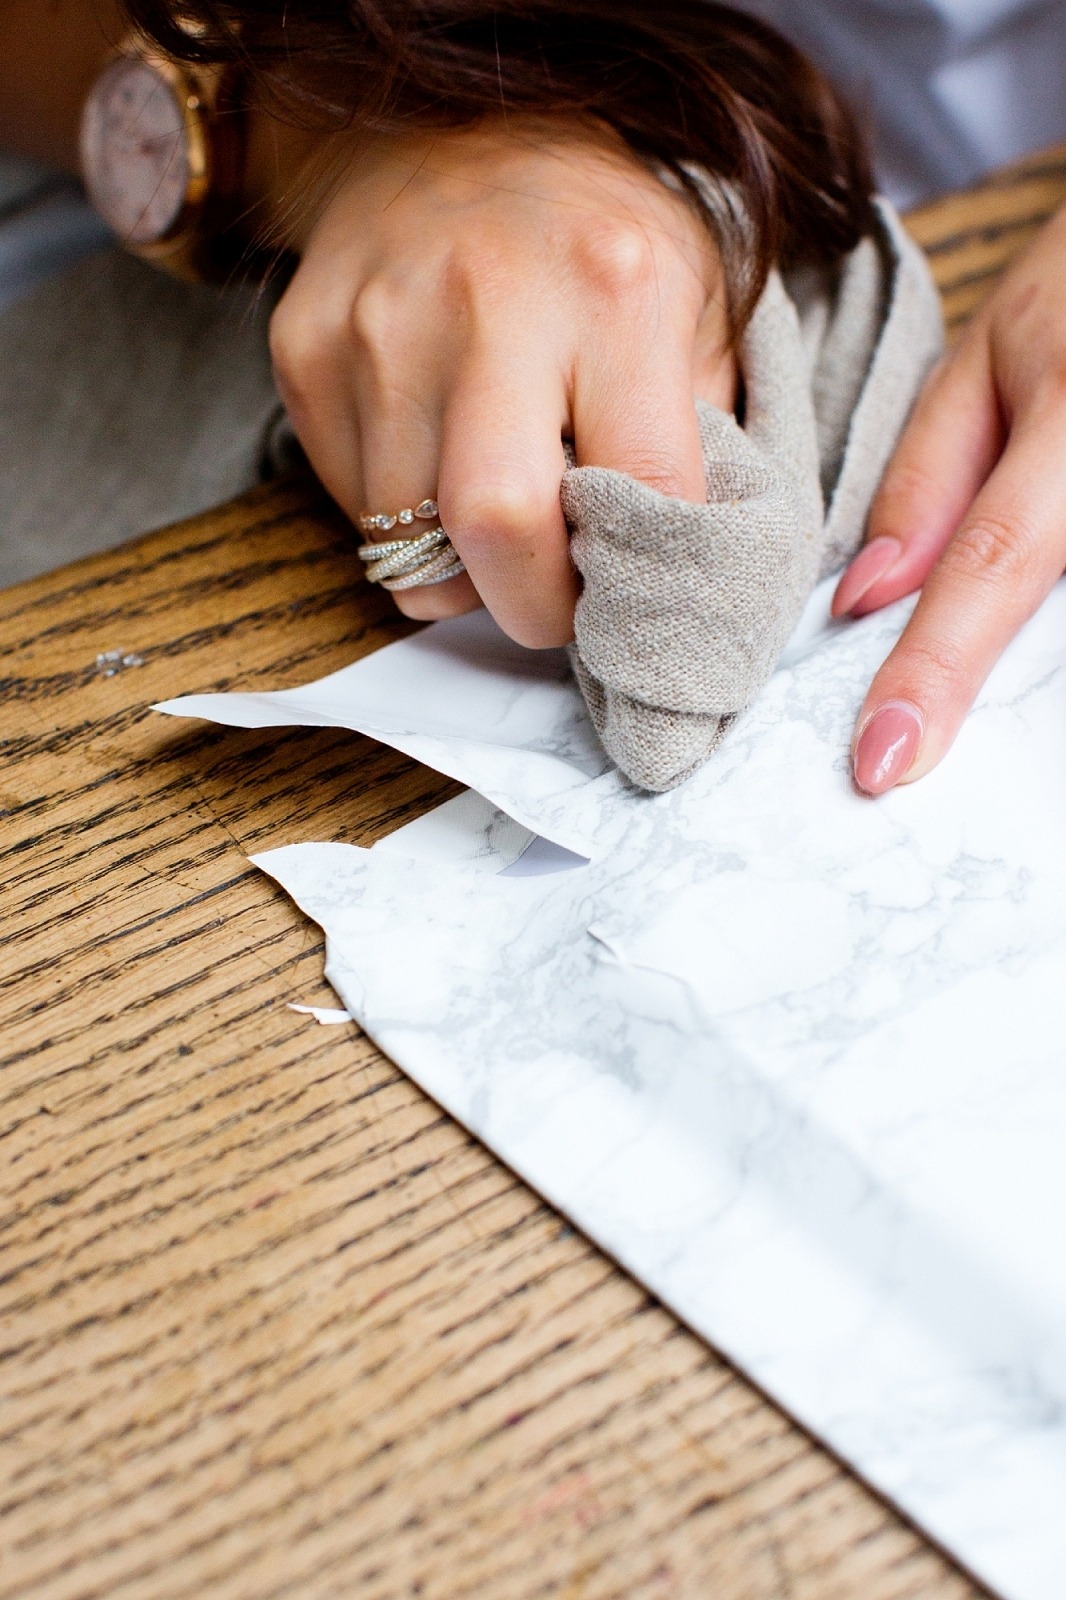
2
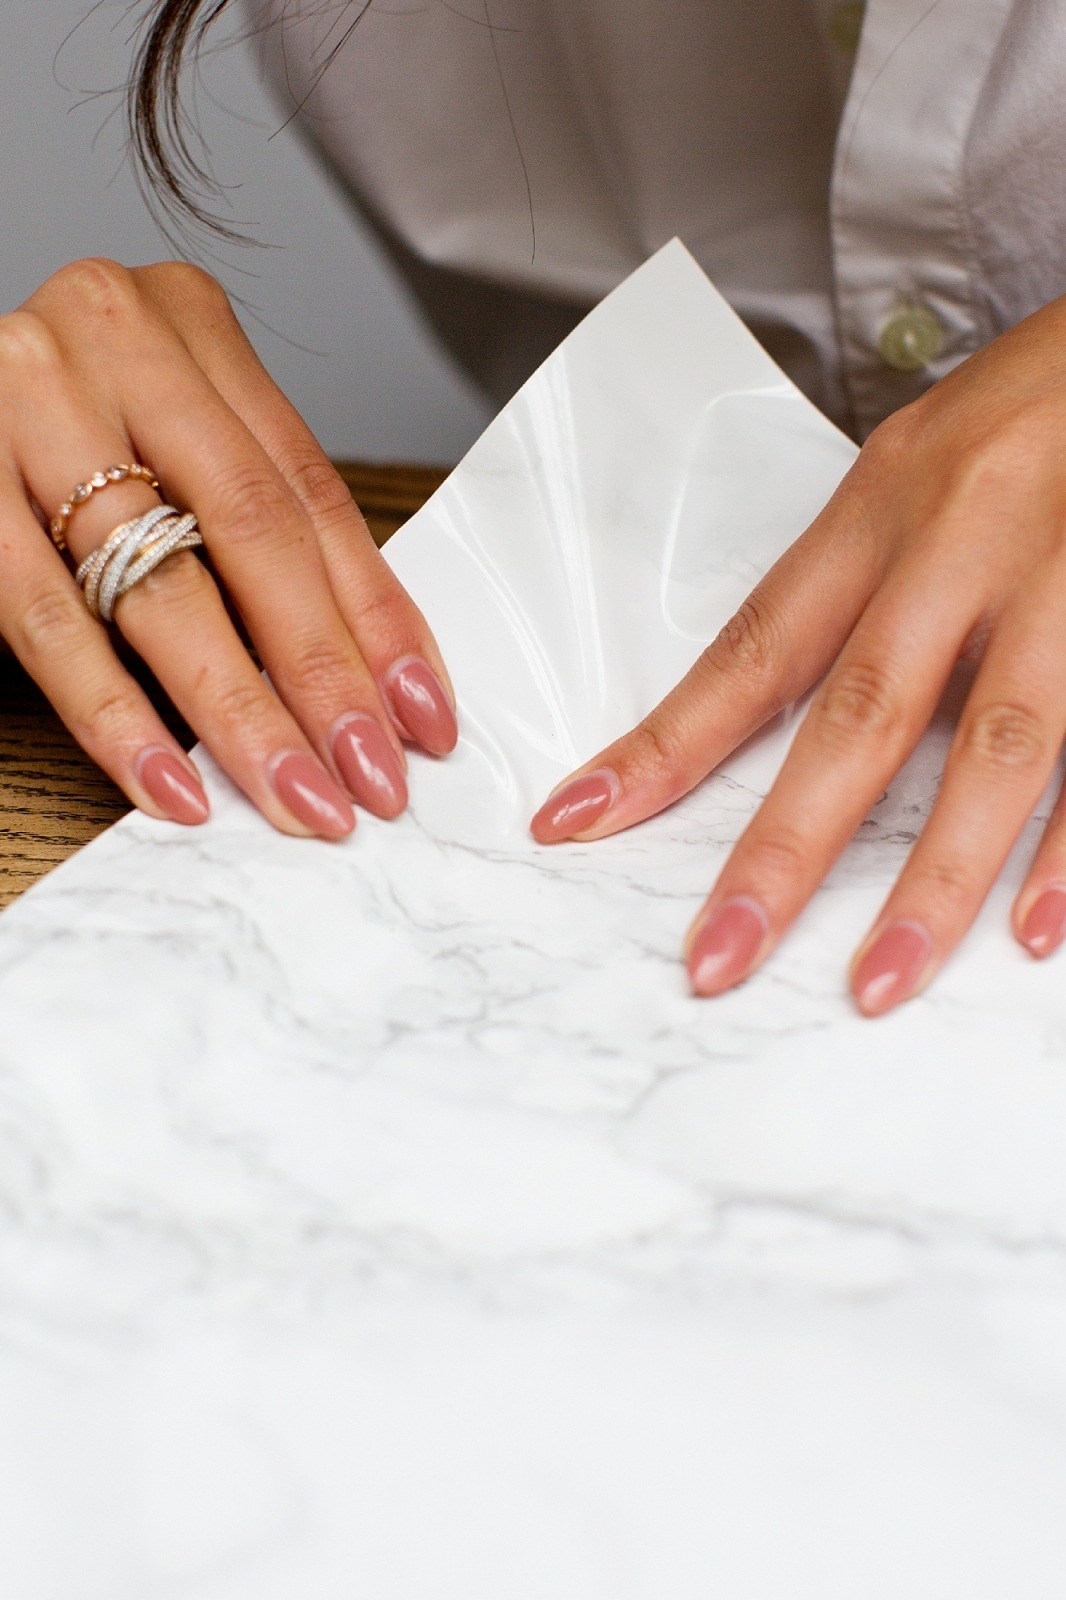
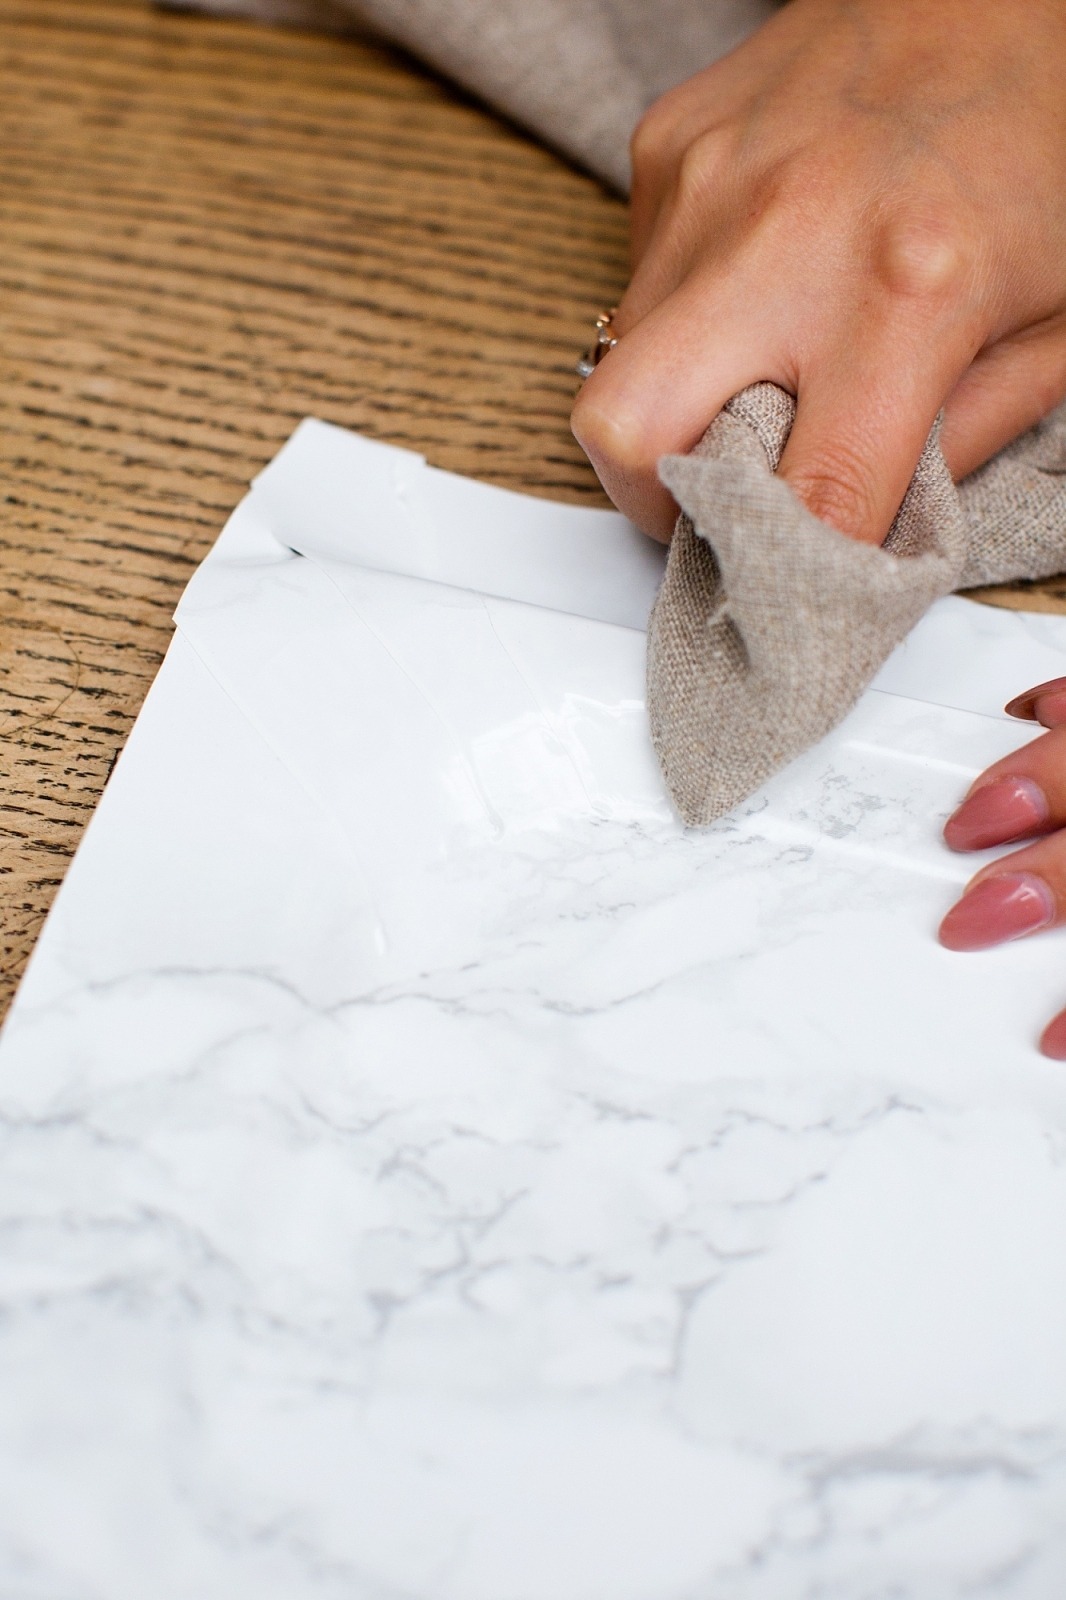
Top Corners
- Pull the edges towards the corner so that it is flush on the flat sides and the spare creases are all on the corners.
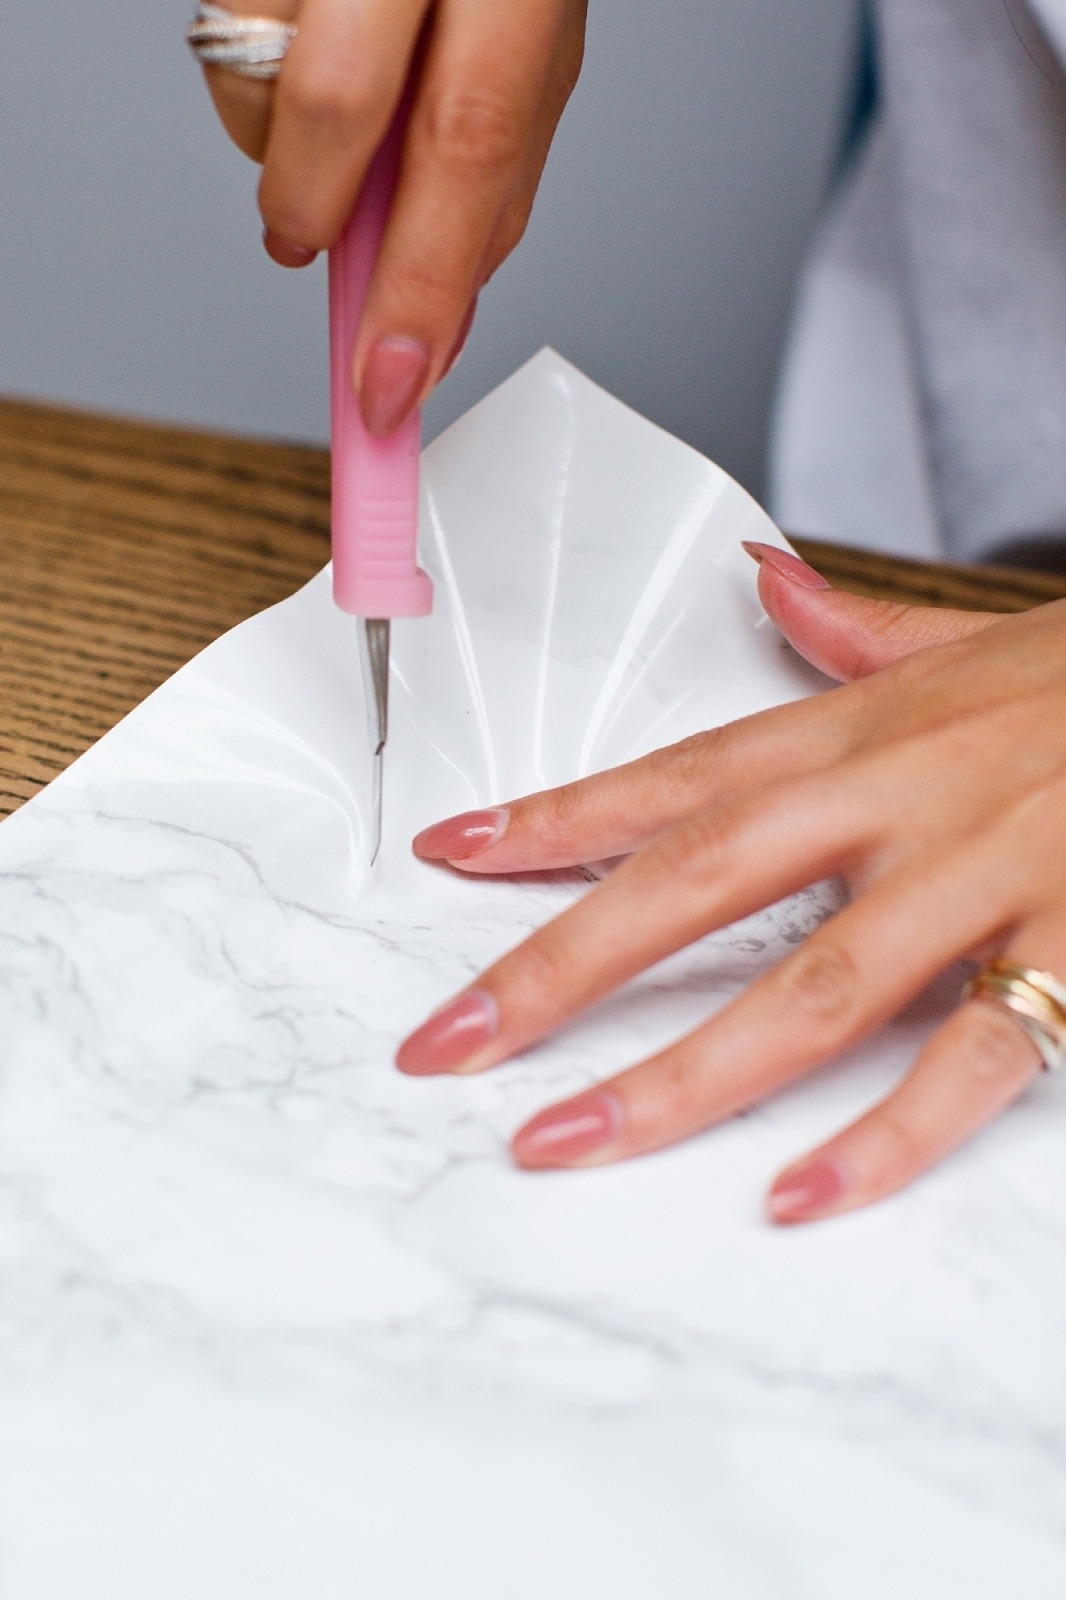
- Take your craft knife and cut three lines into the paper on a slight angle of each corner.
- Pull these slits so that they stick to the tray, lapping over each other and creating a smooth finish.
- Rub over the top with your duster to smooth off.
3
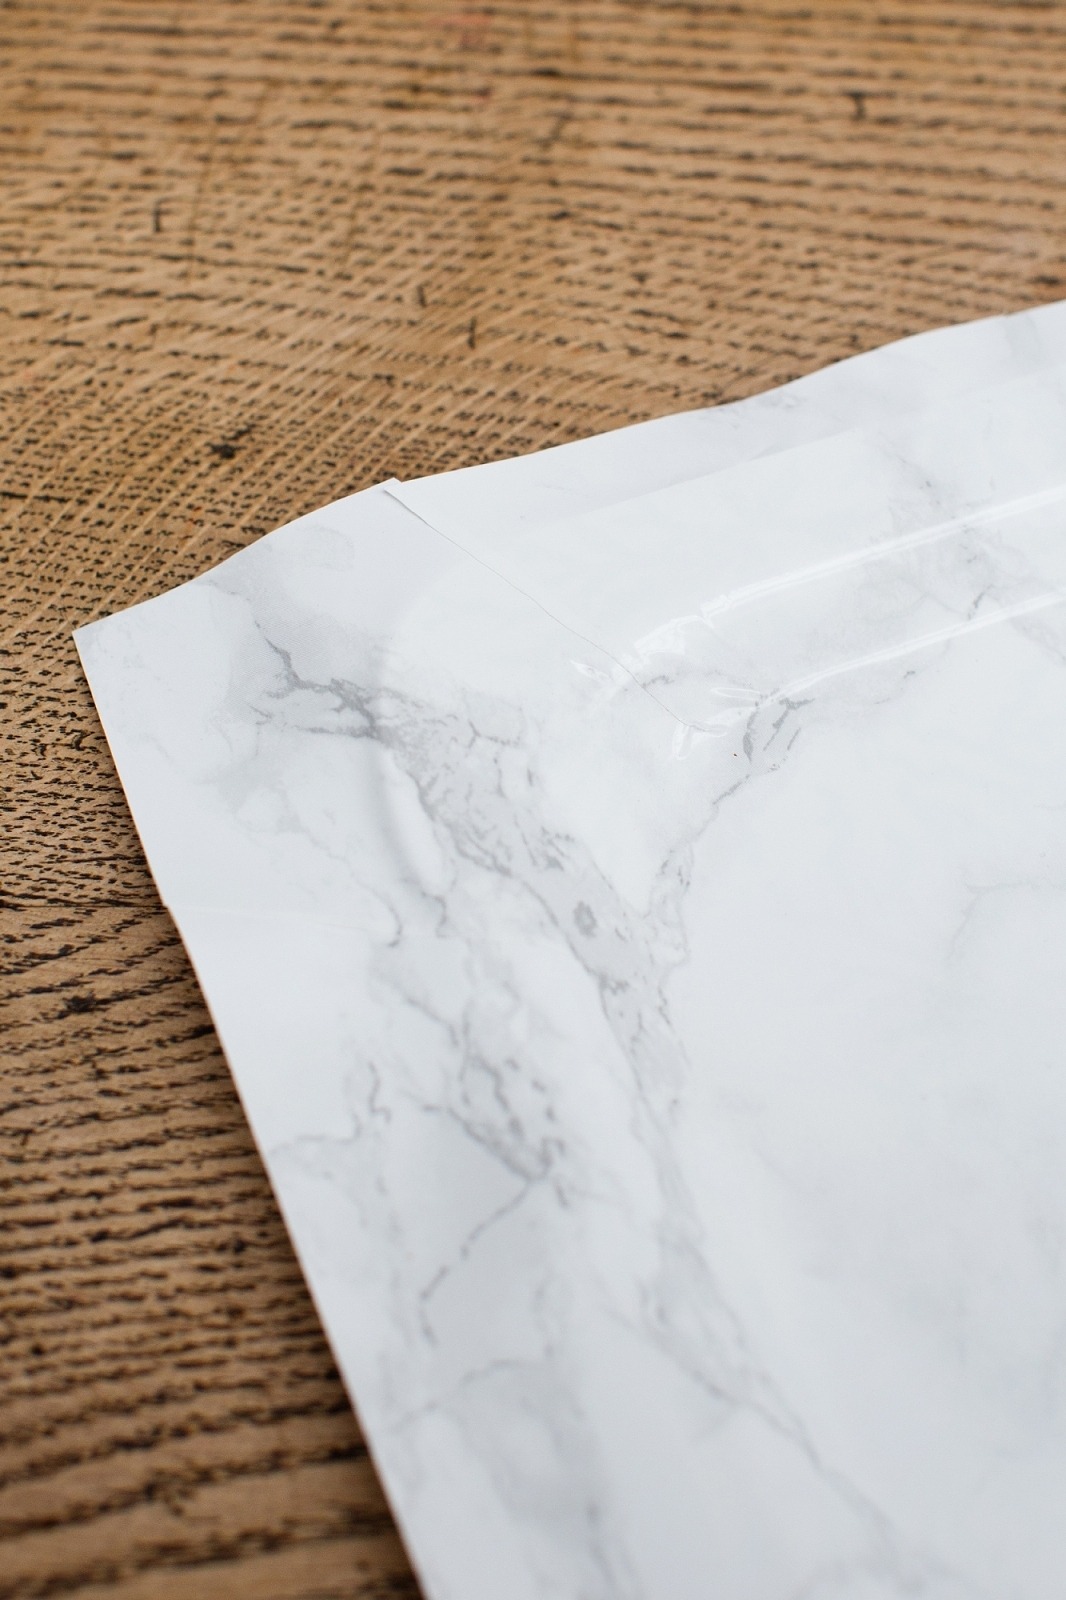
Turn over the tray
- Turn the tray over and fold over the open edge, from the middle out.
- Trim the edges with scissors and fold them over too.
- Taking the scissors cut open the corner edges too and fold them over to complete the corner.
- Smooth over with the duster again.


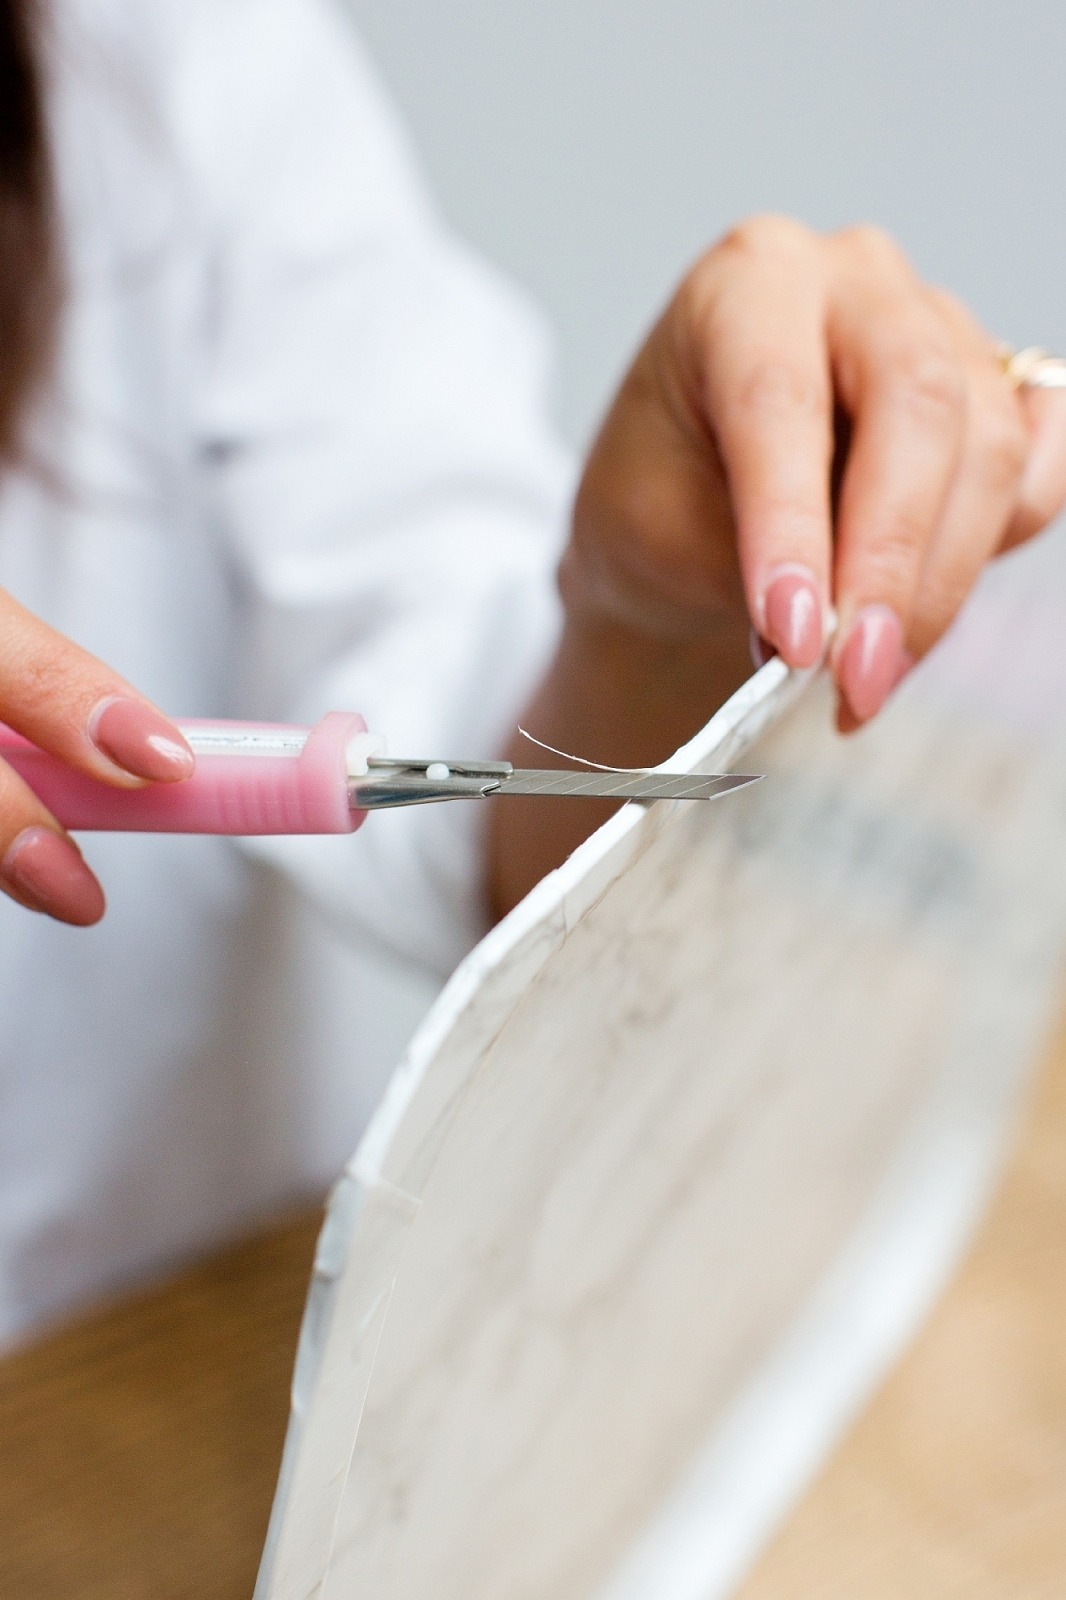
4
Finish Off
- Cover the back of the tray with the Marble again using the duster cloth to smooth out any air pockets as you go.
- When you get to the corner repeat the process of cutting three slits with your craft knife, and folding the paper over each other to make a smooth, flush edge.
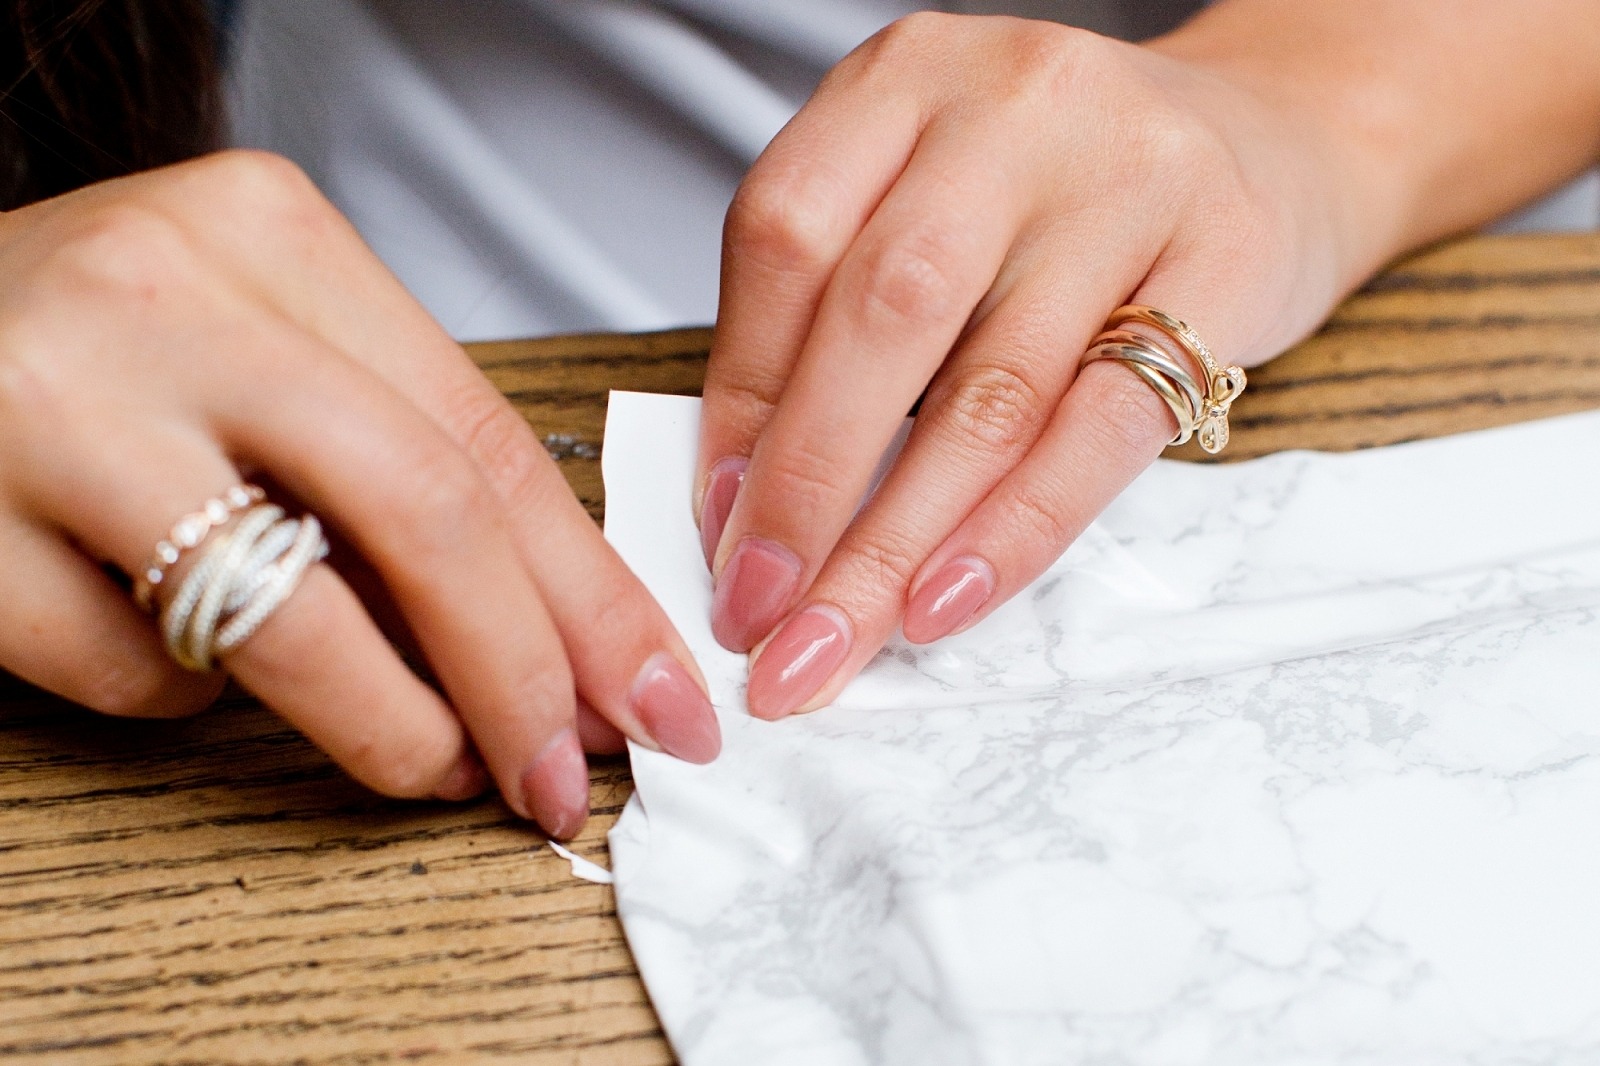
- Trim off any excess with your craft knife and give the whole tray a really good rub with the duster to finish.
Top Tip
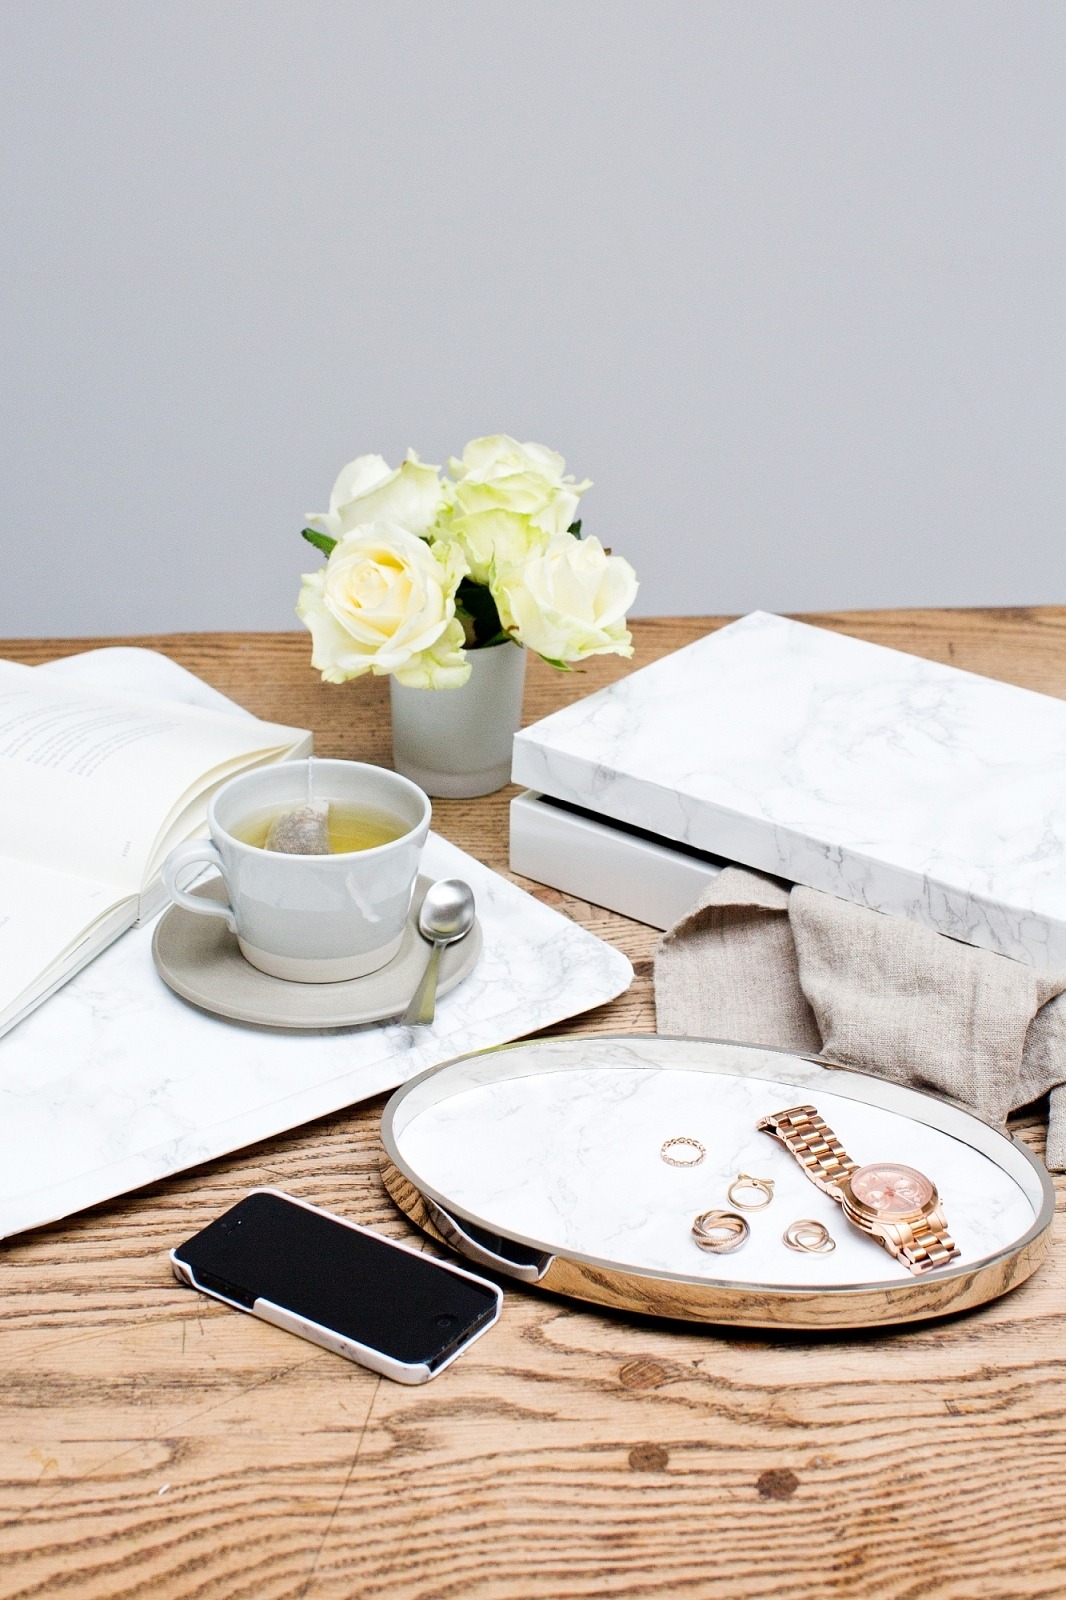
I have used the marble paper to cover two trays and a box now. (All in the below photo). The most important thing to bare in mind when your choosing an object to cover is that you want it to look as realistic as possible so what would believably be marble.